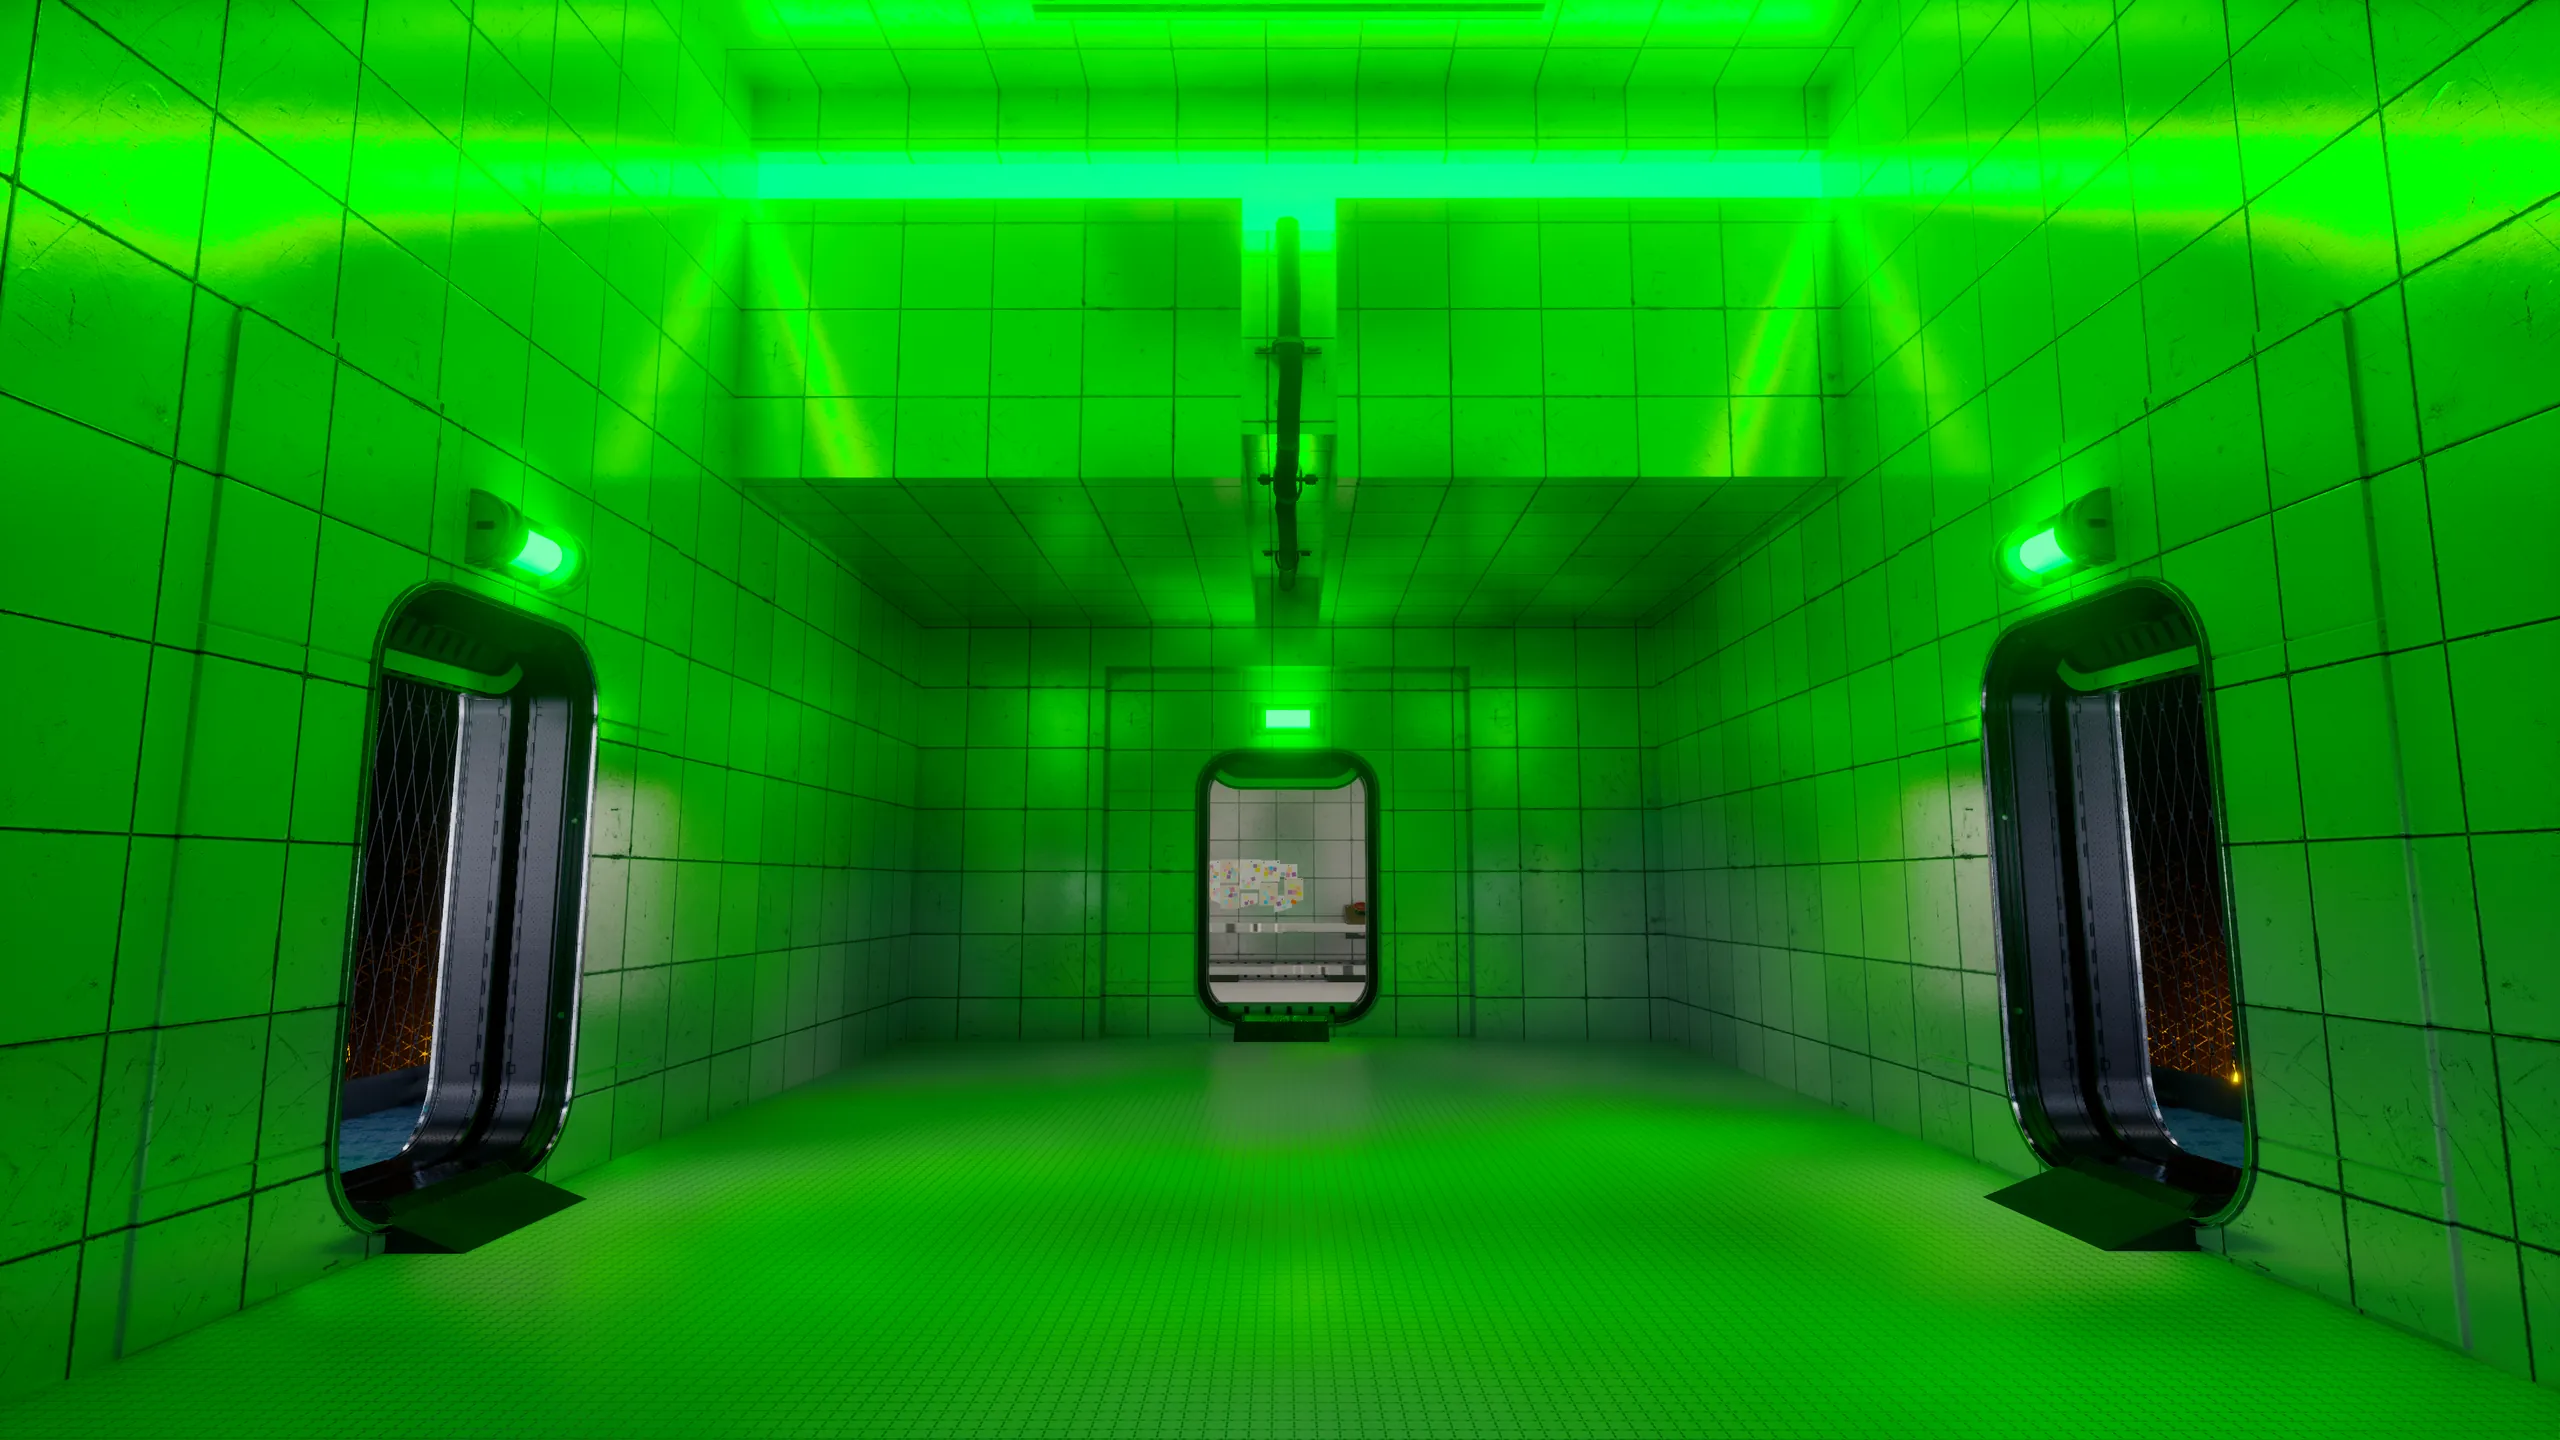
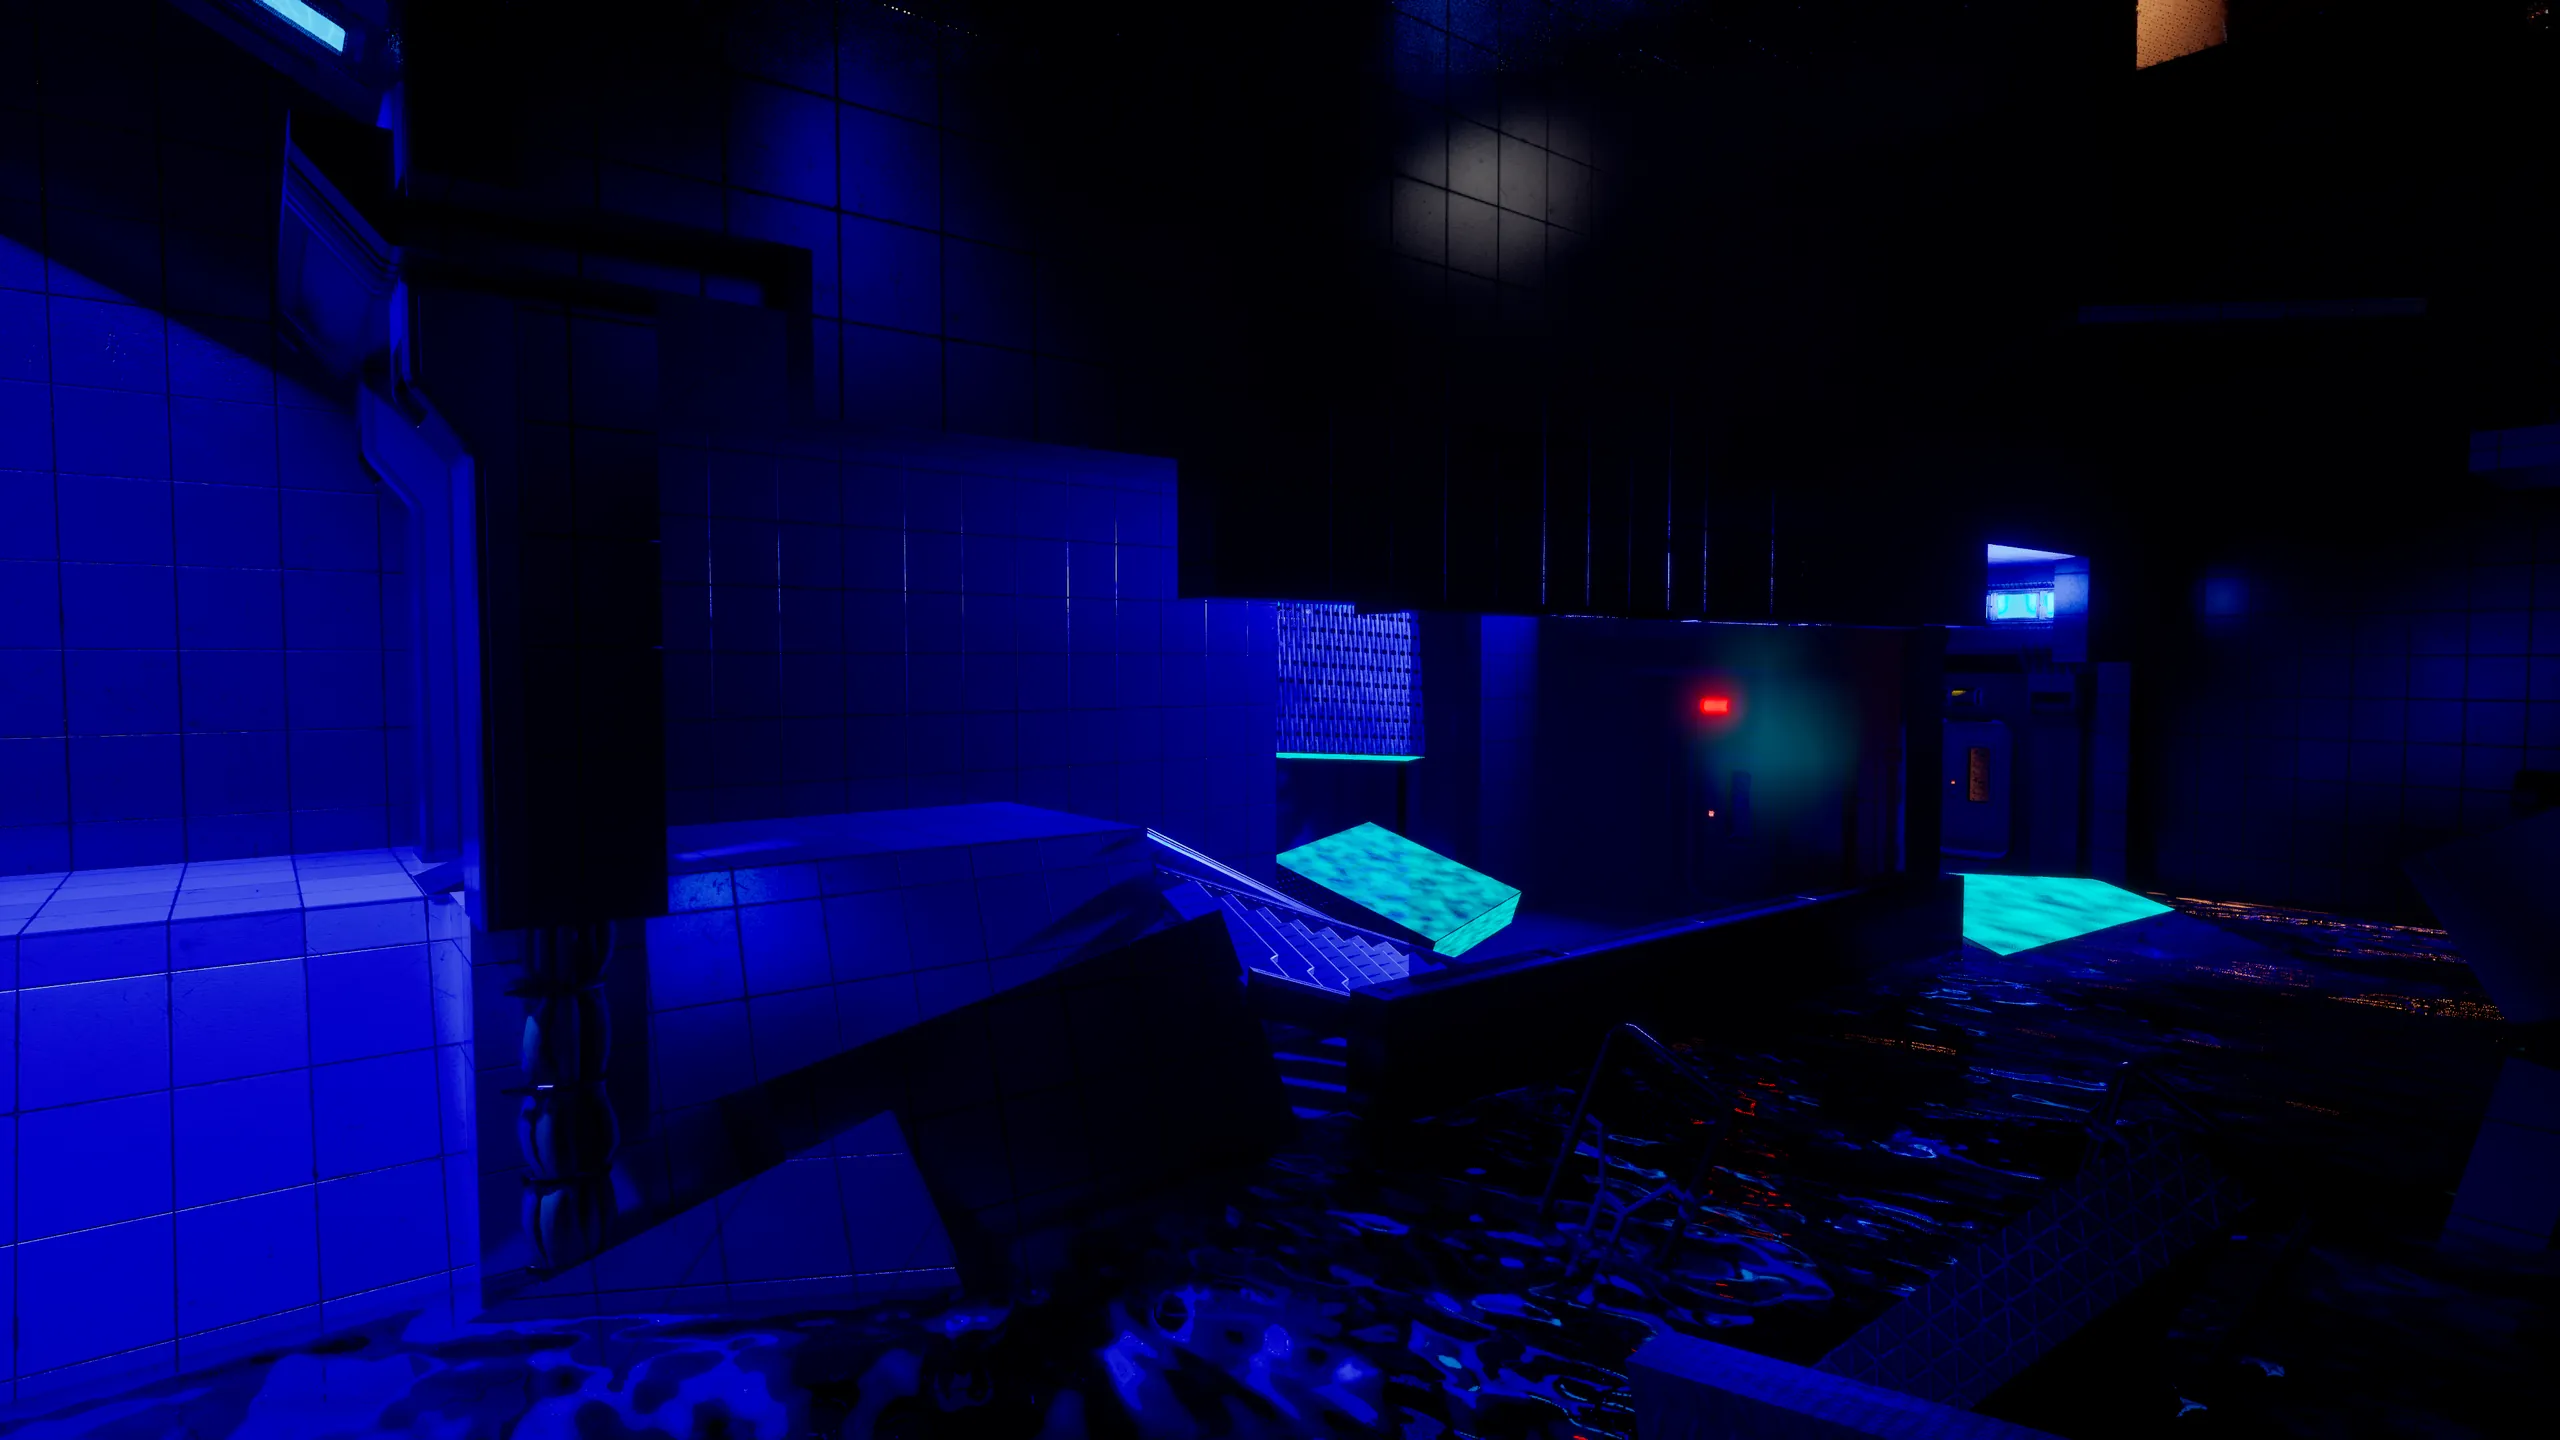
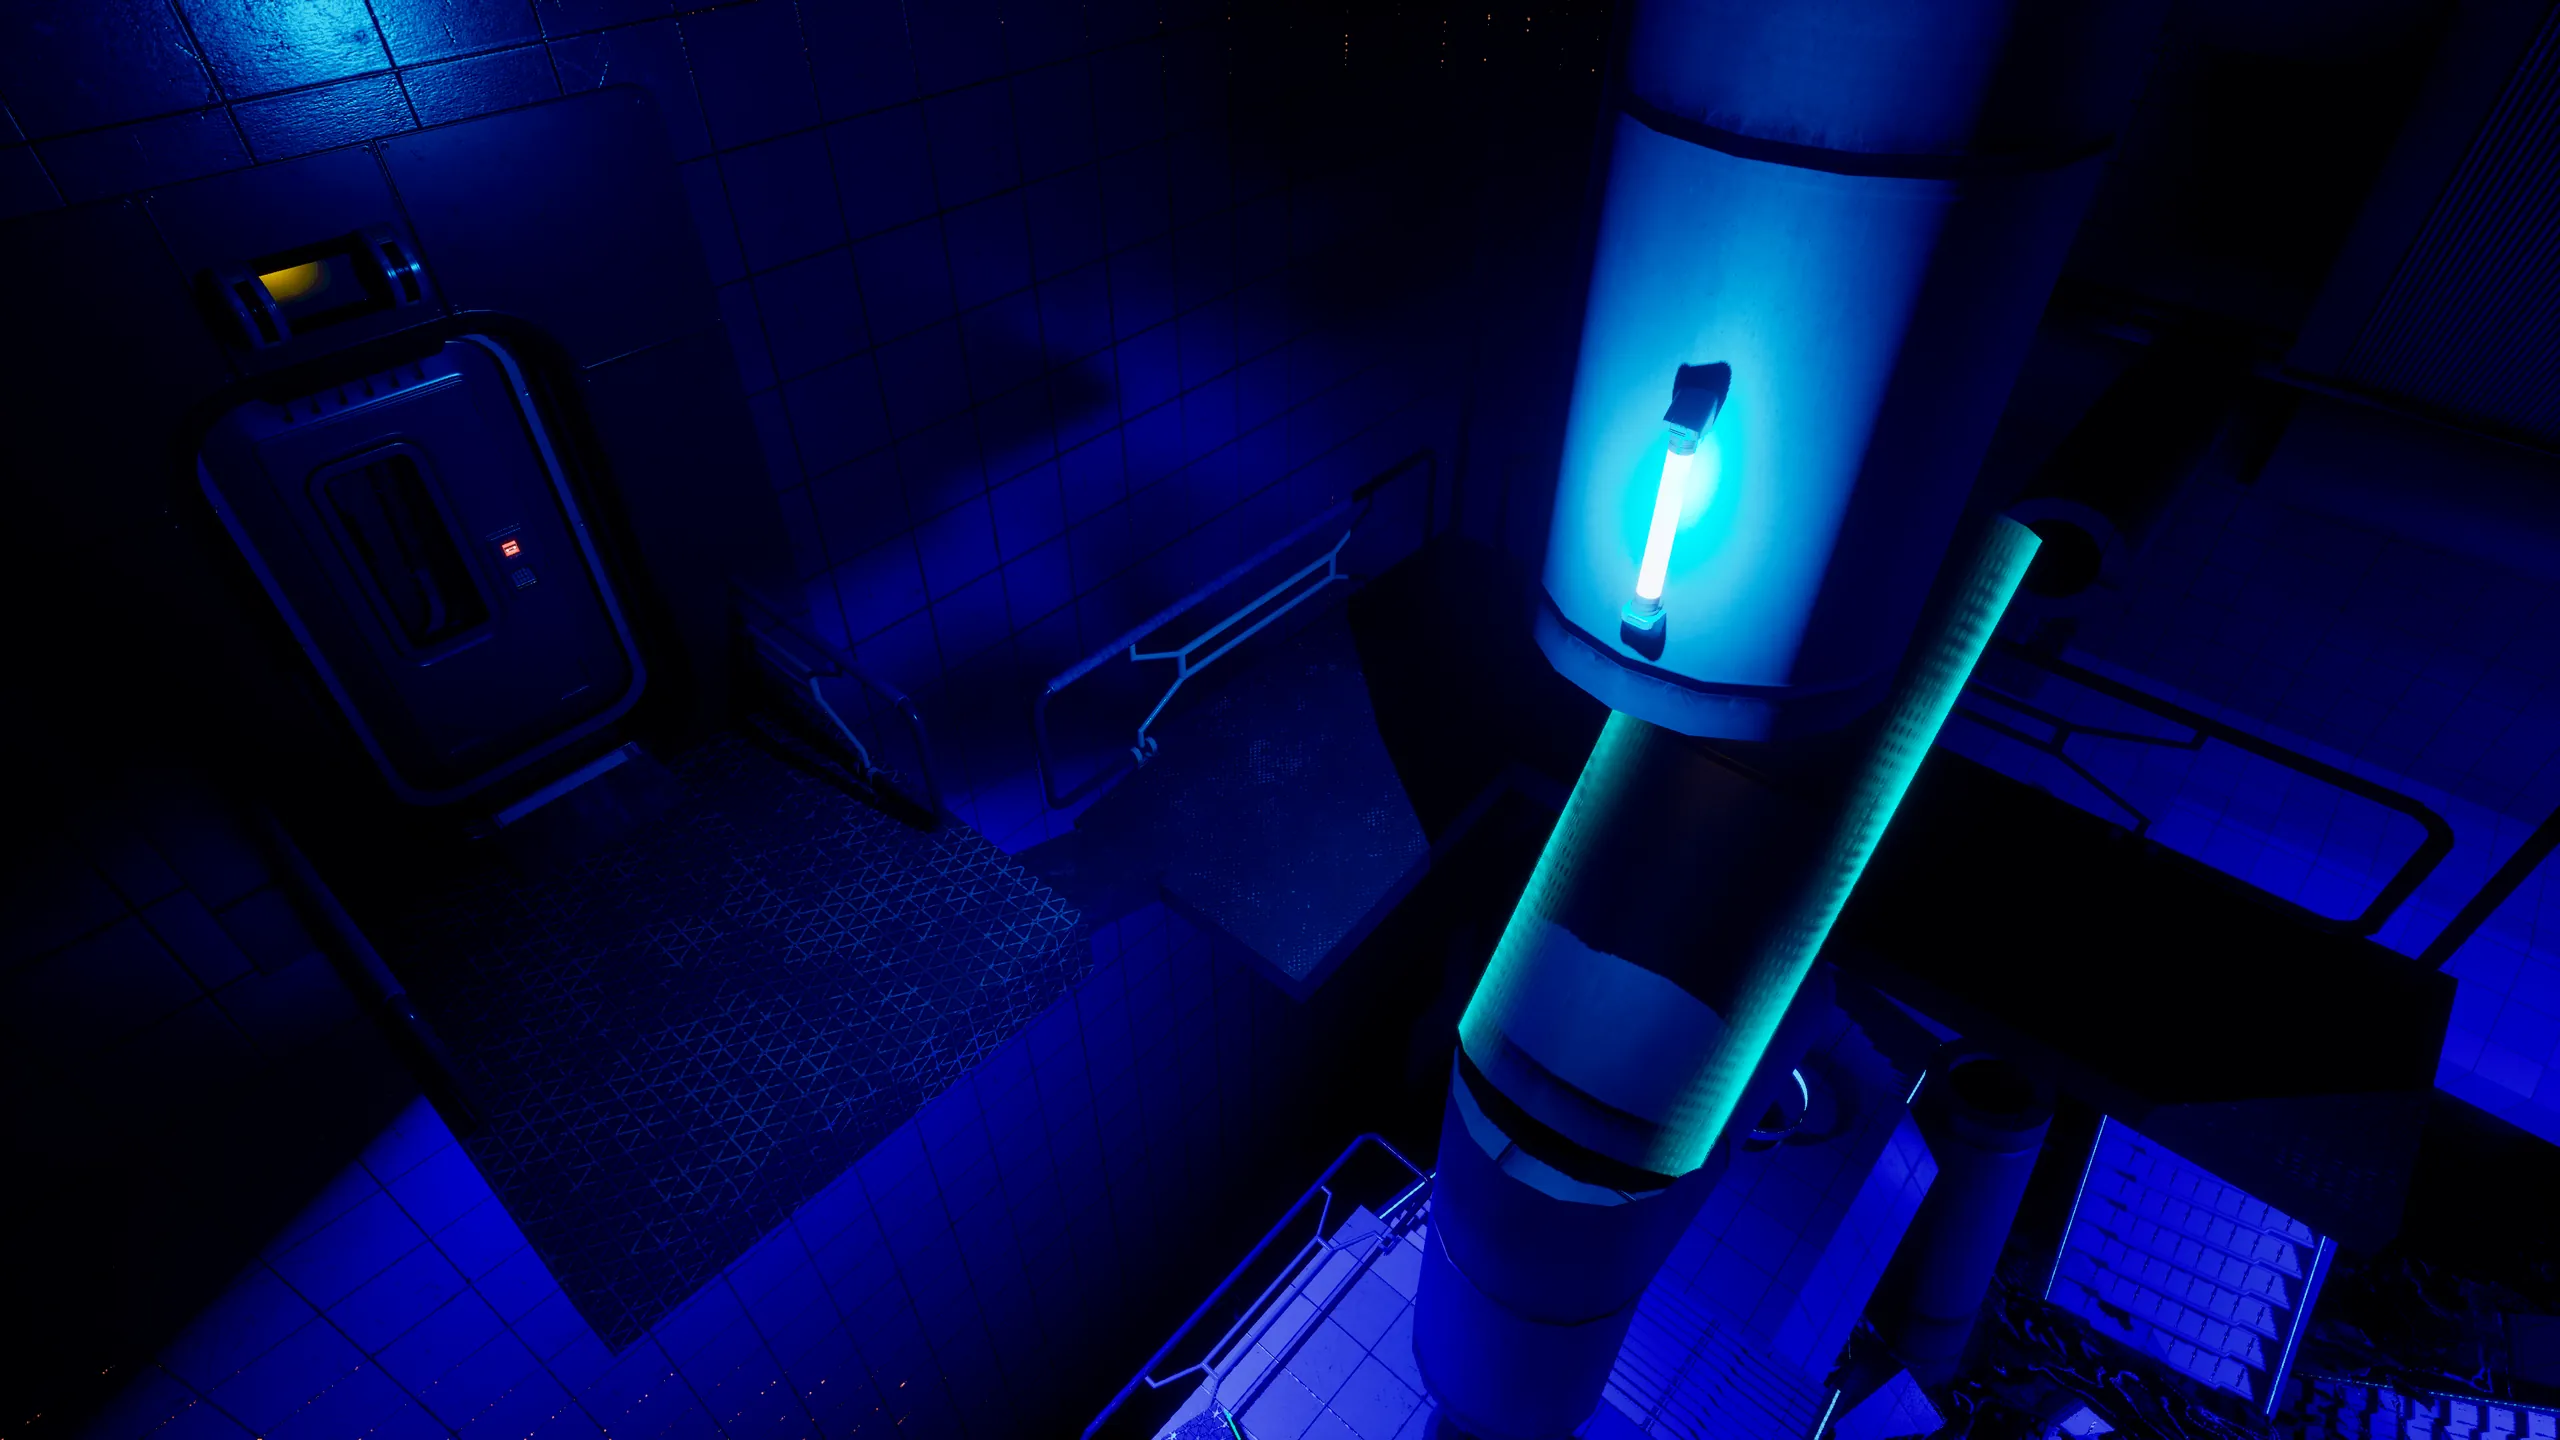
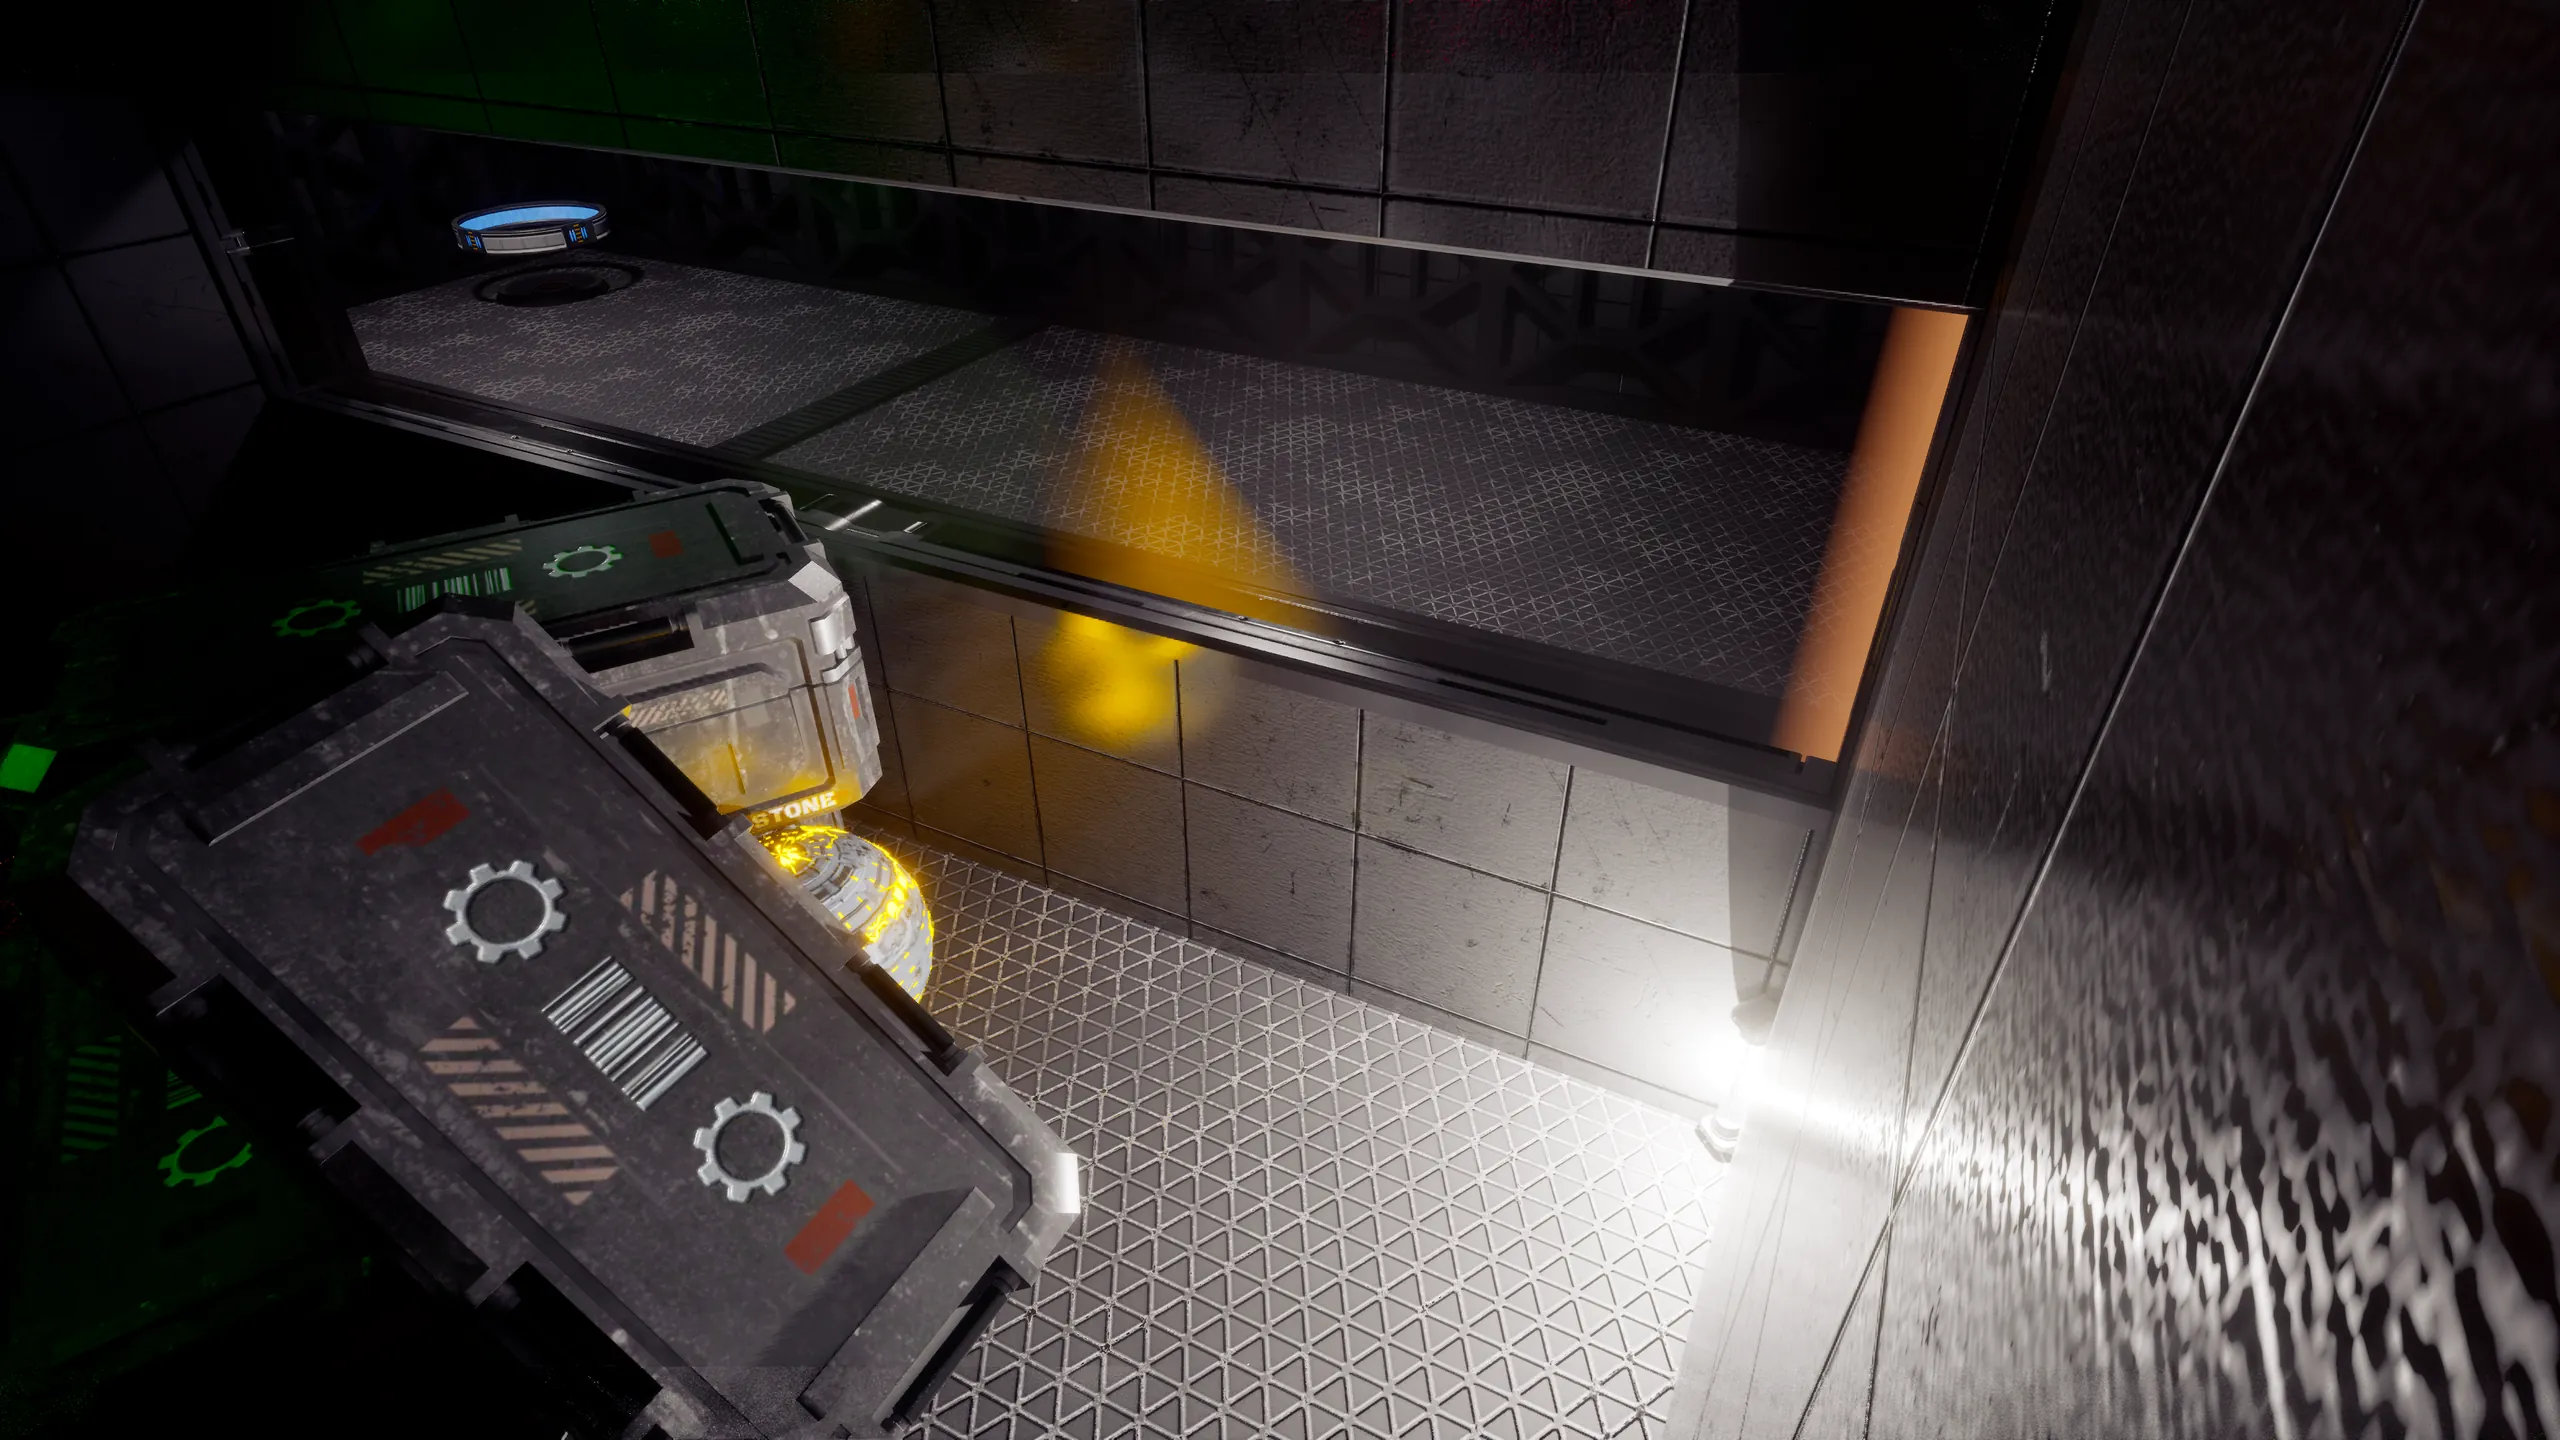
Res Mutatae

Level designPuzzle designTechnical design

A 3D time-rewind puzzle game on a stranded spaceship.
I owned its most layered zone, the Laboratory and the corridor that leads to it.

My part
Level & game designer · the Laboratory, the Flooded Corridor and the Blueprint setup, used by 26 Blueprints across the game
Team
7 people · 4 designers, 3 programmers, Digital Bros Game Academy
Time
3 months · Feb – May 2026
Engine
Unreal Engine 5.5 · Blueprint
Released
May 2026 · Windows, on itch.io

01Overview

The 30-second version

The project

The academy's final project, shipped on itch.io in May 2026. Below, my three parts: what I did, and how it went.

The constraints

  • Three months, team of 74 designers and 3 programmers, Feb – May 2026.
  • One verb: the rewindThree time tools from the pitch merged into one: every puzzle is built around it.
  • Unreal Engine 5.5Blueprint; the rewind and the core systems by the programmers.

The zone

What I did

The Laboratory and the Flooded Corridor: layout, puzzles, dressing and light. One drain reopens four flooded areas of the ship.

How it went

9 steps in three puzzles, from low to high load, the hardest last. Two routes I didn't plan broke nothing, so they stayed.

The Blueprint setup

What I did

Buttons and sphere sockets signal doors, lights, flood volumes and death boxes, linked from the Details panel.

How it went

26 Blueprints across the game used it by release; the other three designers wired their puzzles with it.

Sphere and sockets

What I did

After an early review said the rewind did a lever's job, I rebuilt the core affordances around a sphere you carry and sockets.

How it went

The socket is in every level of the game, placed by the other designers too; the puzzles moved to timing, order and moving space.

02The zone

Routes you see before they open

The zone shows routes and areas before they open: curiosity is part of the guidance. The Flooded Corridor has three levels of its own, with the Drain Room at the top. The Laboratory has two floors: below, the dry Dark Room and a flooded hall; above, the room with four doors, a walkway and a platform, with stairs down to a mezzanine that looks into the Dark Room.

One drain, in the Drain Room, empties the water and reconnects the ship.

Two ways in. From the Laboratory's elevator you start in the Dark Room, see the hall flooded, and take a duct back to the corridor. From the corridor, the drain comes first, and the Laboratory is never seen flooded.

Command BridgecorridorCentral HubPrivateQuartersCommander'sroomReactorHangarLaboratoryFloodedCorridor
My zoneFlooded until the drainThe drainElevatorShip layout: design team.

The zone from the side

Flooded CorridorElevatorLaboratory3F2F1FDrain RoomShortcutDripping pipes1Middle level · double doors2Lower levelDropGrateCollapsed platformLoftPlatformRoom with four doors867MezzanineDark Room543Flooded hall9GrateRolling stone ductDuctFrom the Hangar elevatorTo the ReactorFrom the hub

Swipe sideways to see all of it.

Drop, one wayRewind to useOpens after the drainWater until the drainPuzzle step, numbered as in The puzzlesGoal

Not to scale: only the order of the levels counts.

The zone in 3D

  • Door with a lock
  • Opens after the drain
  • Water, until the drain
  • Rewindable platform or grate
  • Spinner
  • Socket
  • Sphere
  • Button
  • Shaft between levels
  • Duct
  • Puzzle step, numbered as in The puzzles
  • Goal

Pick a level to see it on its own. Drag sideways to turn the model. Plans traced from the blockout; heights follow the side view, not measured.

The zone, level by level

Drag to move around the plan; + and − zoom.

Flooded Corridor, middle level

downdownupupupupup5 mNFrom the Hangar elevatorDouble doorsSocketSocketGrate up tothe shortcutSphere holderCollapsed platformCollapsedcolumnDrop from theDrain RoomAnteroomStairs up tothe Drain RoomPlatformFlooded level belowFlooded level belowABCDEFGHIJ
  • Way in, from the Hangar elevator
  • Double doors
  • Their two sockets
  • Grate up to the shortcut
  • Sphere holder
  • Collapsed platform
  • Collapsed column
  • Drop from the Drain Room
  • Platform, with an open door
  • Anteroom and stairs up to the Drain Room
Door with a lockStairs, up or down as markedLedge: drop down onlyOpen to the level belowRewindable platformRewindableSocketSphere

Traced on the blockout top views. North is up.

03Three kinds of pieces

The rewind, and a margin on aim

How the rewind works. Objects you can rewind wear a translucent glitch material: look at one and press R to play it back. E interacts, Q grabs and drops.

A margin on aim. Interact and rewind accept anything within 10 cm of the aim, not just a thin line: aiming shouldn't be the skill. My proposal; the programmers chose the cast shape and the designers tuned the values (interact from 6 m, rewind from 15 m).

Three kinds of pieces, three jobs

Every object you can rewind is one of three kinds. Linear and Looping pieces follow paths I set in Level Sequences: they keep the load low and set the rhythm. Free pieces, the spheres, move by physics and make the hard puzzles.

Linear set path

Moves
Between two states, on a path I set: debris, grates, platforms, the collapsed column.
Job
Low load: a way up, a short break between hard steps. Many do two jobs: the column is the way up to the Drain Room, then to the Reactor.

Looping on a loop

Moves
The spinners: they turn on their own, on a loop I set; the rewind turns them backwards.
Job
Low load: watch the loop, then reverse it. One spinner serves two puzzles.

Free carried

Moves
By physics, and you carry them: the spheres. The rewind replays their last moves along a spline, a tool the programmers built.
Job
High load: timing, order and moving space. The hard puzzles, and the playful part. A sphere that leaves the play area respawns; where it could reach the wrong puzzle, a scanner grid despawns it.
timeposition
  • Cubic on Linear pieces: slow near each end, where the timing matters.
  • Linear on Looping pieces: constant speed, so no lap stalls.
Key interpolation, set on the transforms in Level Sequences.

How they make the rhythm

The usual chain: a Linear or Looping piece delivers a sphere, the sphere goes into a socket, the socket opens a door. Low-load steps mostly sit between the hard ones, and the hardest comes last.

Flooded Corridor

  1. Dripping pipesLinear · observe, low load
  2. Double doorsFree · timing, high load

Dark Room

  1. Hide and seekExplore, low load
  2. Altered doorFree · timing, high load
  3. Rolling stoneFree, high load

Laboratory

  1. TurntableLooping · observe, low load
  2. Spin me roundLooping, low load
  3. Second spinLinear + Looping, medium load
  4. Too many spheresFree · timing, high load, the hardest step
The steps in page order, area by area. Bar height: the load I designed each step for, low, medium or high; not measured.

04One room, three versions

The double doors, from first prototype to shipped

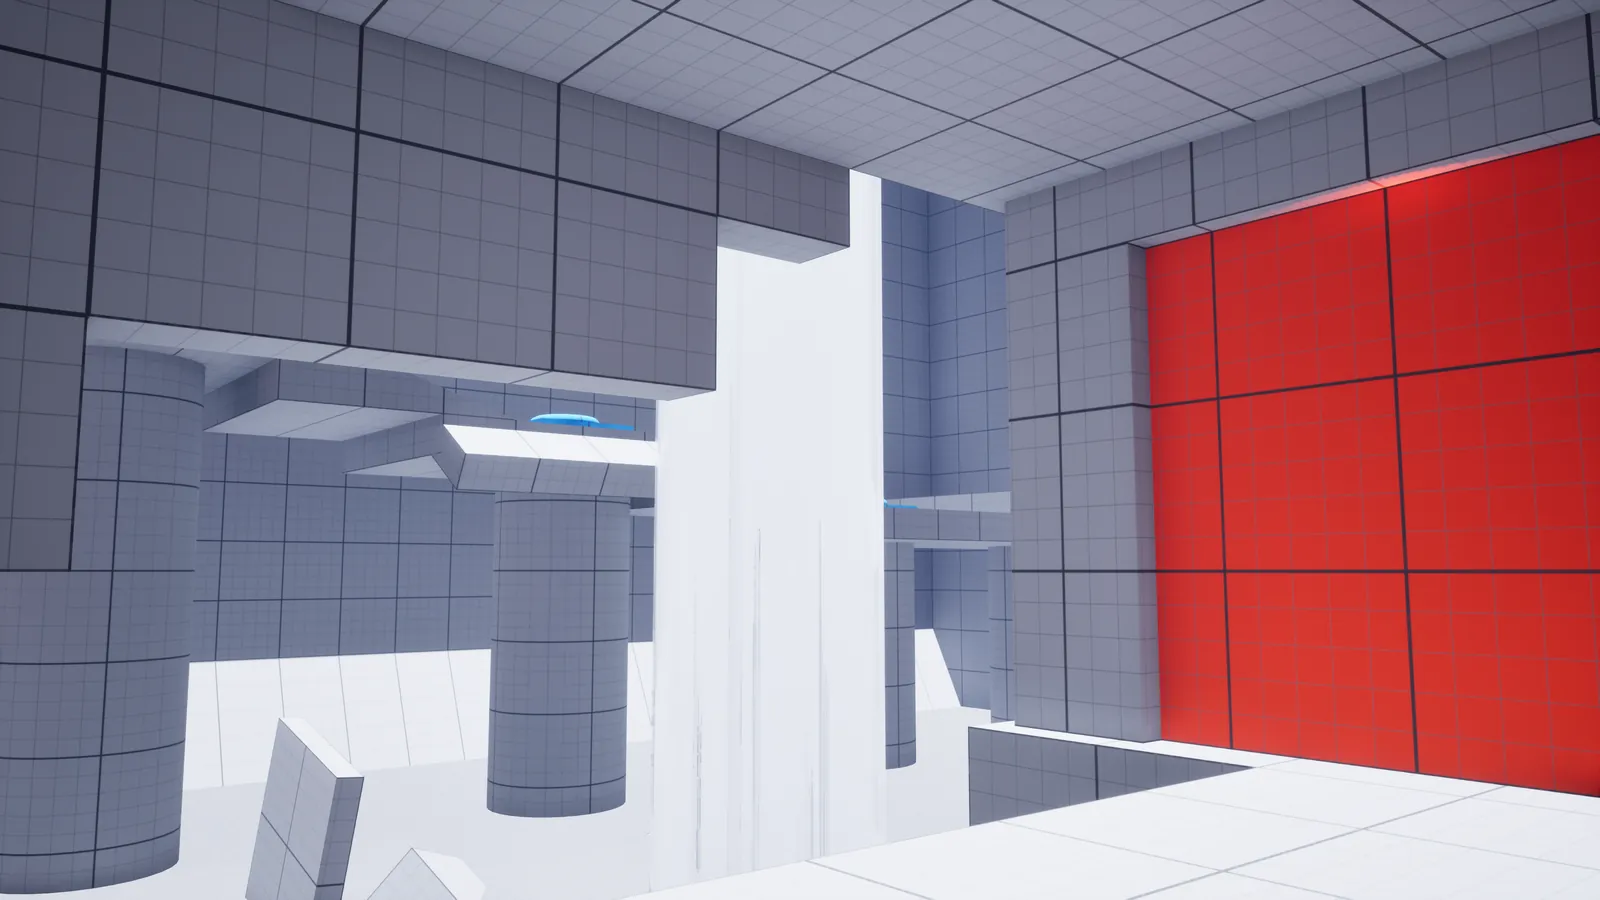
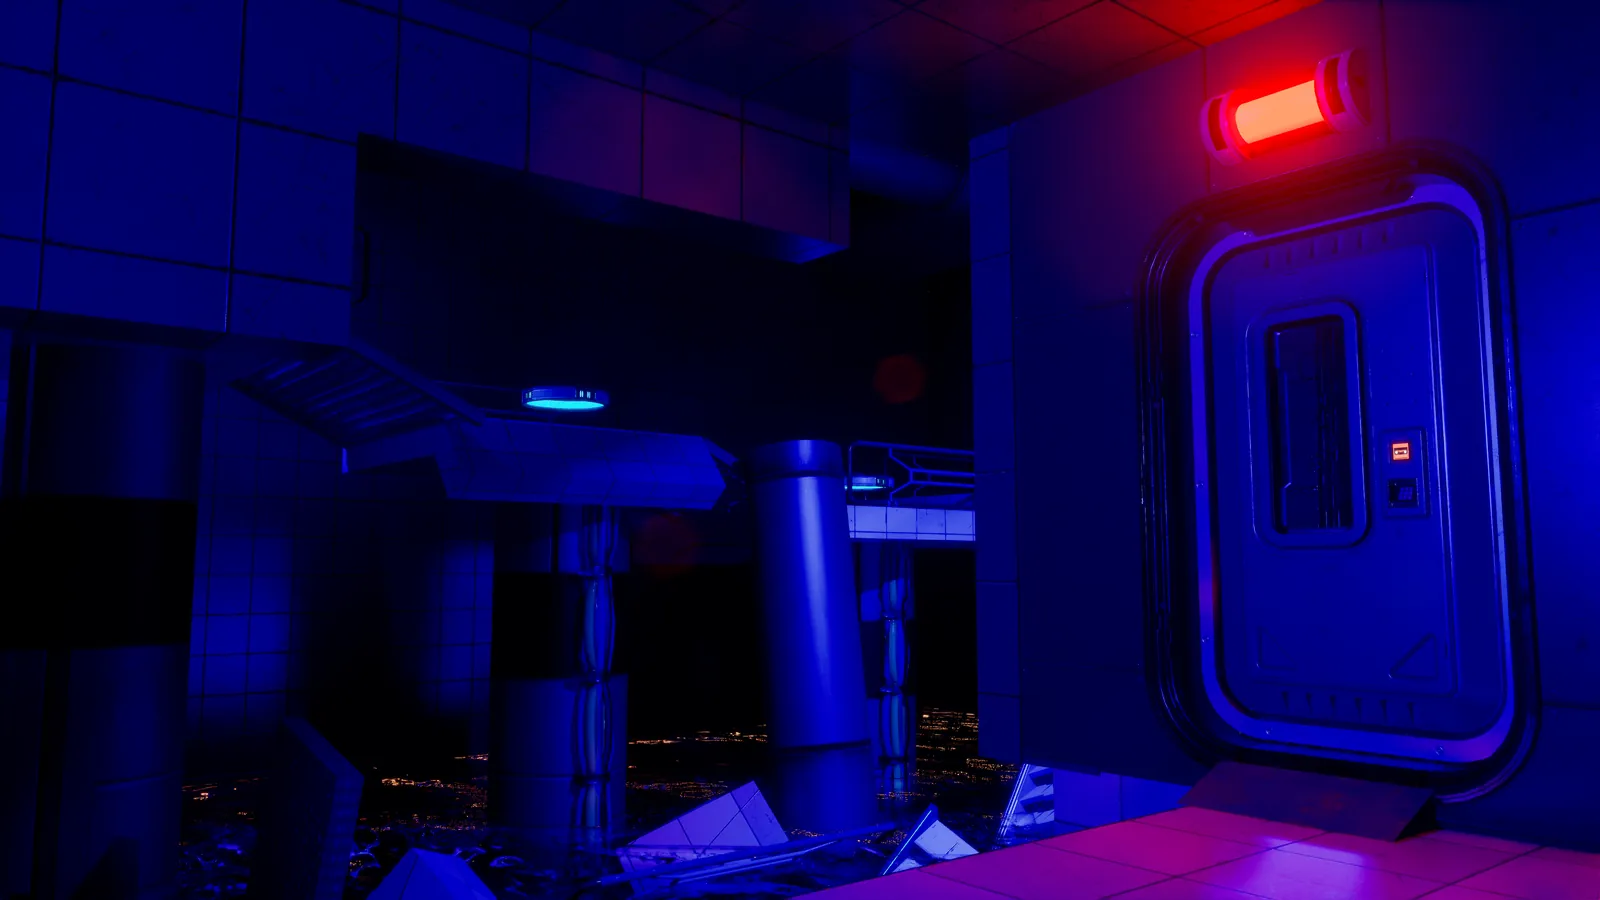
The double doors were my first prototype, a bare blockout, and they shipped in the Flooded Corridor. The same camera at three dates; the four changes on the way are below.

Four changes, and why

Three came from feedback (an early review, a playtest, an external mentor), one from my own review.
Open a row for the full card.

  1. The rewind did a lever's job

    Early feedback · first prototypesFirst prototype · 26 MarRebuilt around a sphere you carry and sockets: puzzles on timing, moving space and order.
    Observed
    Early reviews of the team's first puzzle prototypes: pressing rewind moved a gear from one side to the other, something a lever could do. Nothing sold the idea of time.
    Cause
    The core verb must do something only it can do, or the theme is decoration.
    Change
    I took the critique into my first prototype, a bare blockout of the double doors: a graspable energy sphere and matching sockets, with puzzles built on timing, moving space and the order you do things in. Most linear pieces kept their role and went into the pacing as lighter beats.
    Evidence
    The video above: my first prototype, the finished blockout, then the shipped room. Below, the shipped puzzle from start to finish.
    Show the whole puzzle, solved
  2. A waterfall hid the sockets

    PlaytestFixed by 23 AprWaterfall moved; the view of the sockets cleared.
    Observed
    From the windowed corridor, the waterfall blocked the view of the two sockets of the double doors.
    Cause
    If players miss what matters, the space is wrong, not the player.
    Change
    Waterfall moved and the view cleared; it stays in the Flooded Corridor.
    Evidence
    Re-tested after the change by the player who reported it, with a positive result.
    Waterfall in front
    Waterfall moved
    Waterfall in frontWaterfall moved
    Same camera: the alpha blockout (30 Mar), then the final build.
  3. A mistimed rewind could strand you between two doors

    External mentorFixed by 23 AprA grate between the doors opens a way back, and hints at a route for later.
    Observed
    The intended way out (jump into the liquid and respawn) tested badly.
    Cause
    Death is not a reset: getting stuck needs a way out that teaches the map.
    Change
    A grate between the two doors, rewound, opens onto a vent area, and a crack in it leads back before both doors. A ledge shows where a duct from the Laboratory comes out: out of reach at first, it hints at a route and becomes the way back later. I was still blocking out the links between the corridor and the Laboratory, so one vent does both jobs.
    Evidence
    The clip below: the grate rewound, the vents open.
  4. The first socket didn't read as a switch

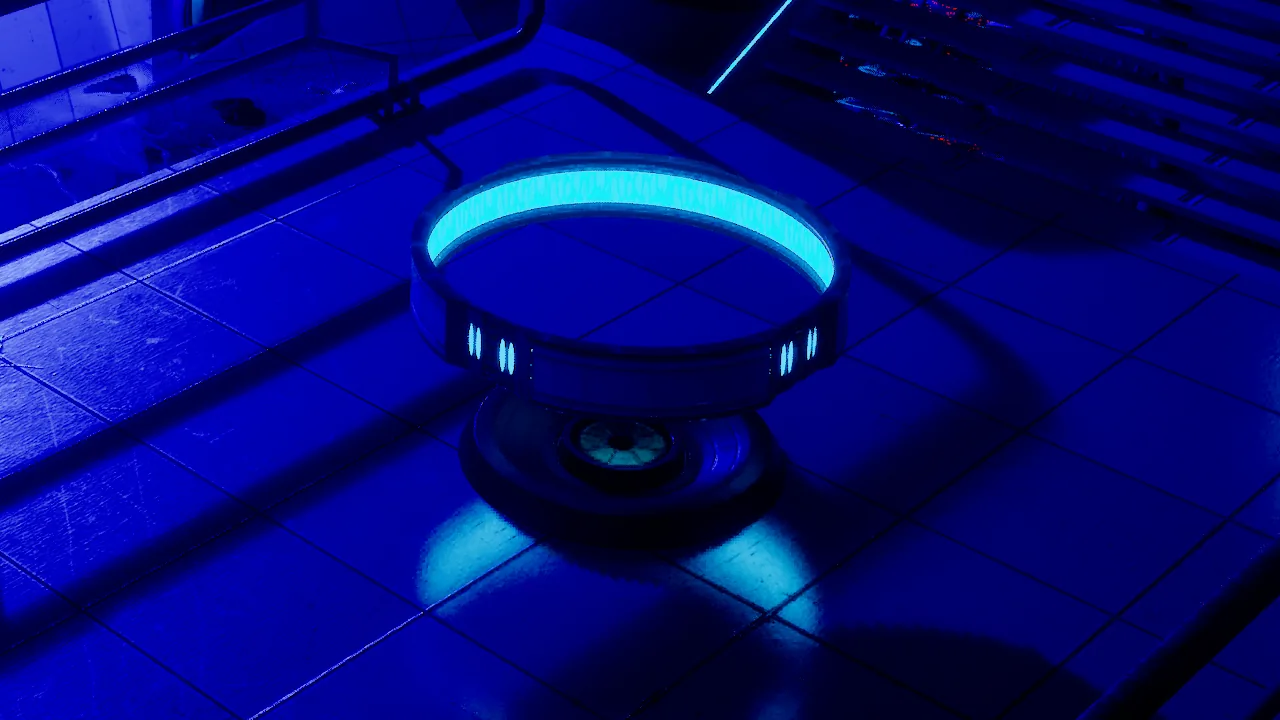
    My reviewFixed 30 AprA floating ring that bobs while it waits and turns green when it's on.
    Observed
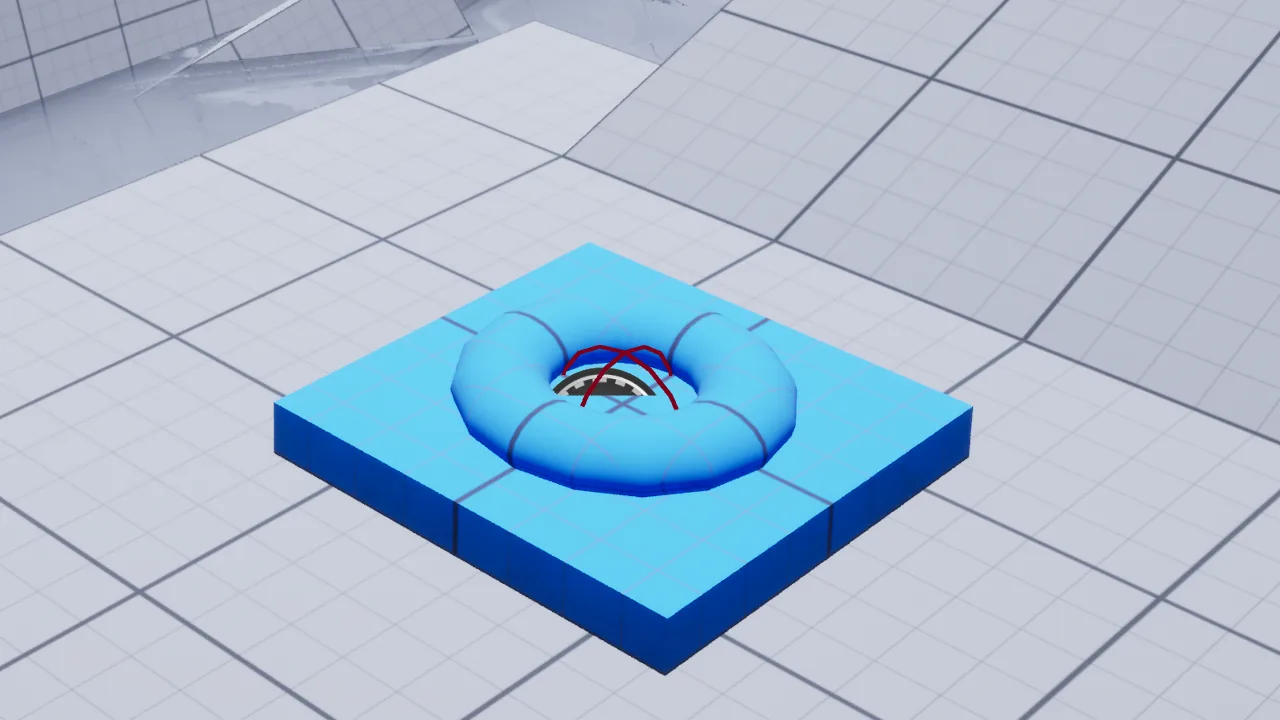
    No one reported it, but in my review a pedestal with a small doughnut on top gave too little feedback when it turned on, and didn't invite the player to use it.
    Cause
    A switch should invite use before, and show its state after.
    Change
    A floating ring that bobs gently while it waits. With the sphere in, the emissive LED on its inner face, the part that draws the eye, turns from blue to green, and the cylinder spins.
    Evidence
    Below: the pedestal, then the ring, from the same camera.
    Pedestal
    Floating ring
    PedestalFloating ring
    Same camera: the blockout on 30 Apr, then the final build.
    Waiting, then on.

05The puzzles

Three puzzles, nine steps

One puzzle per area, each with its own goal. Finishing the Laboratory means pressing one of the game's four final buttons.

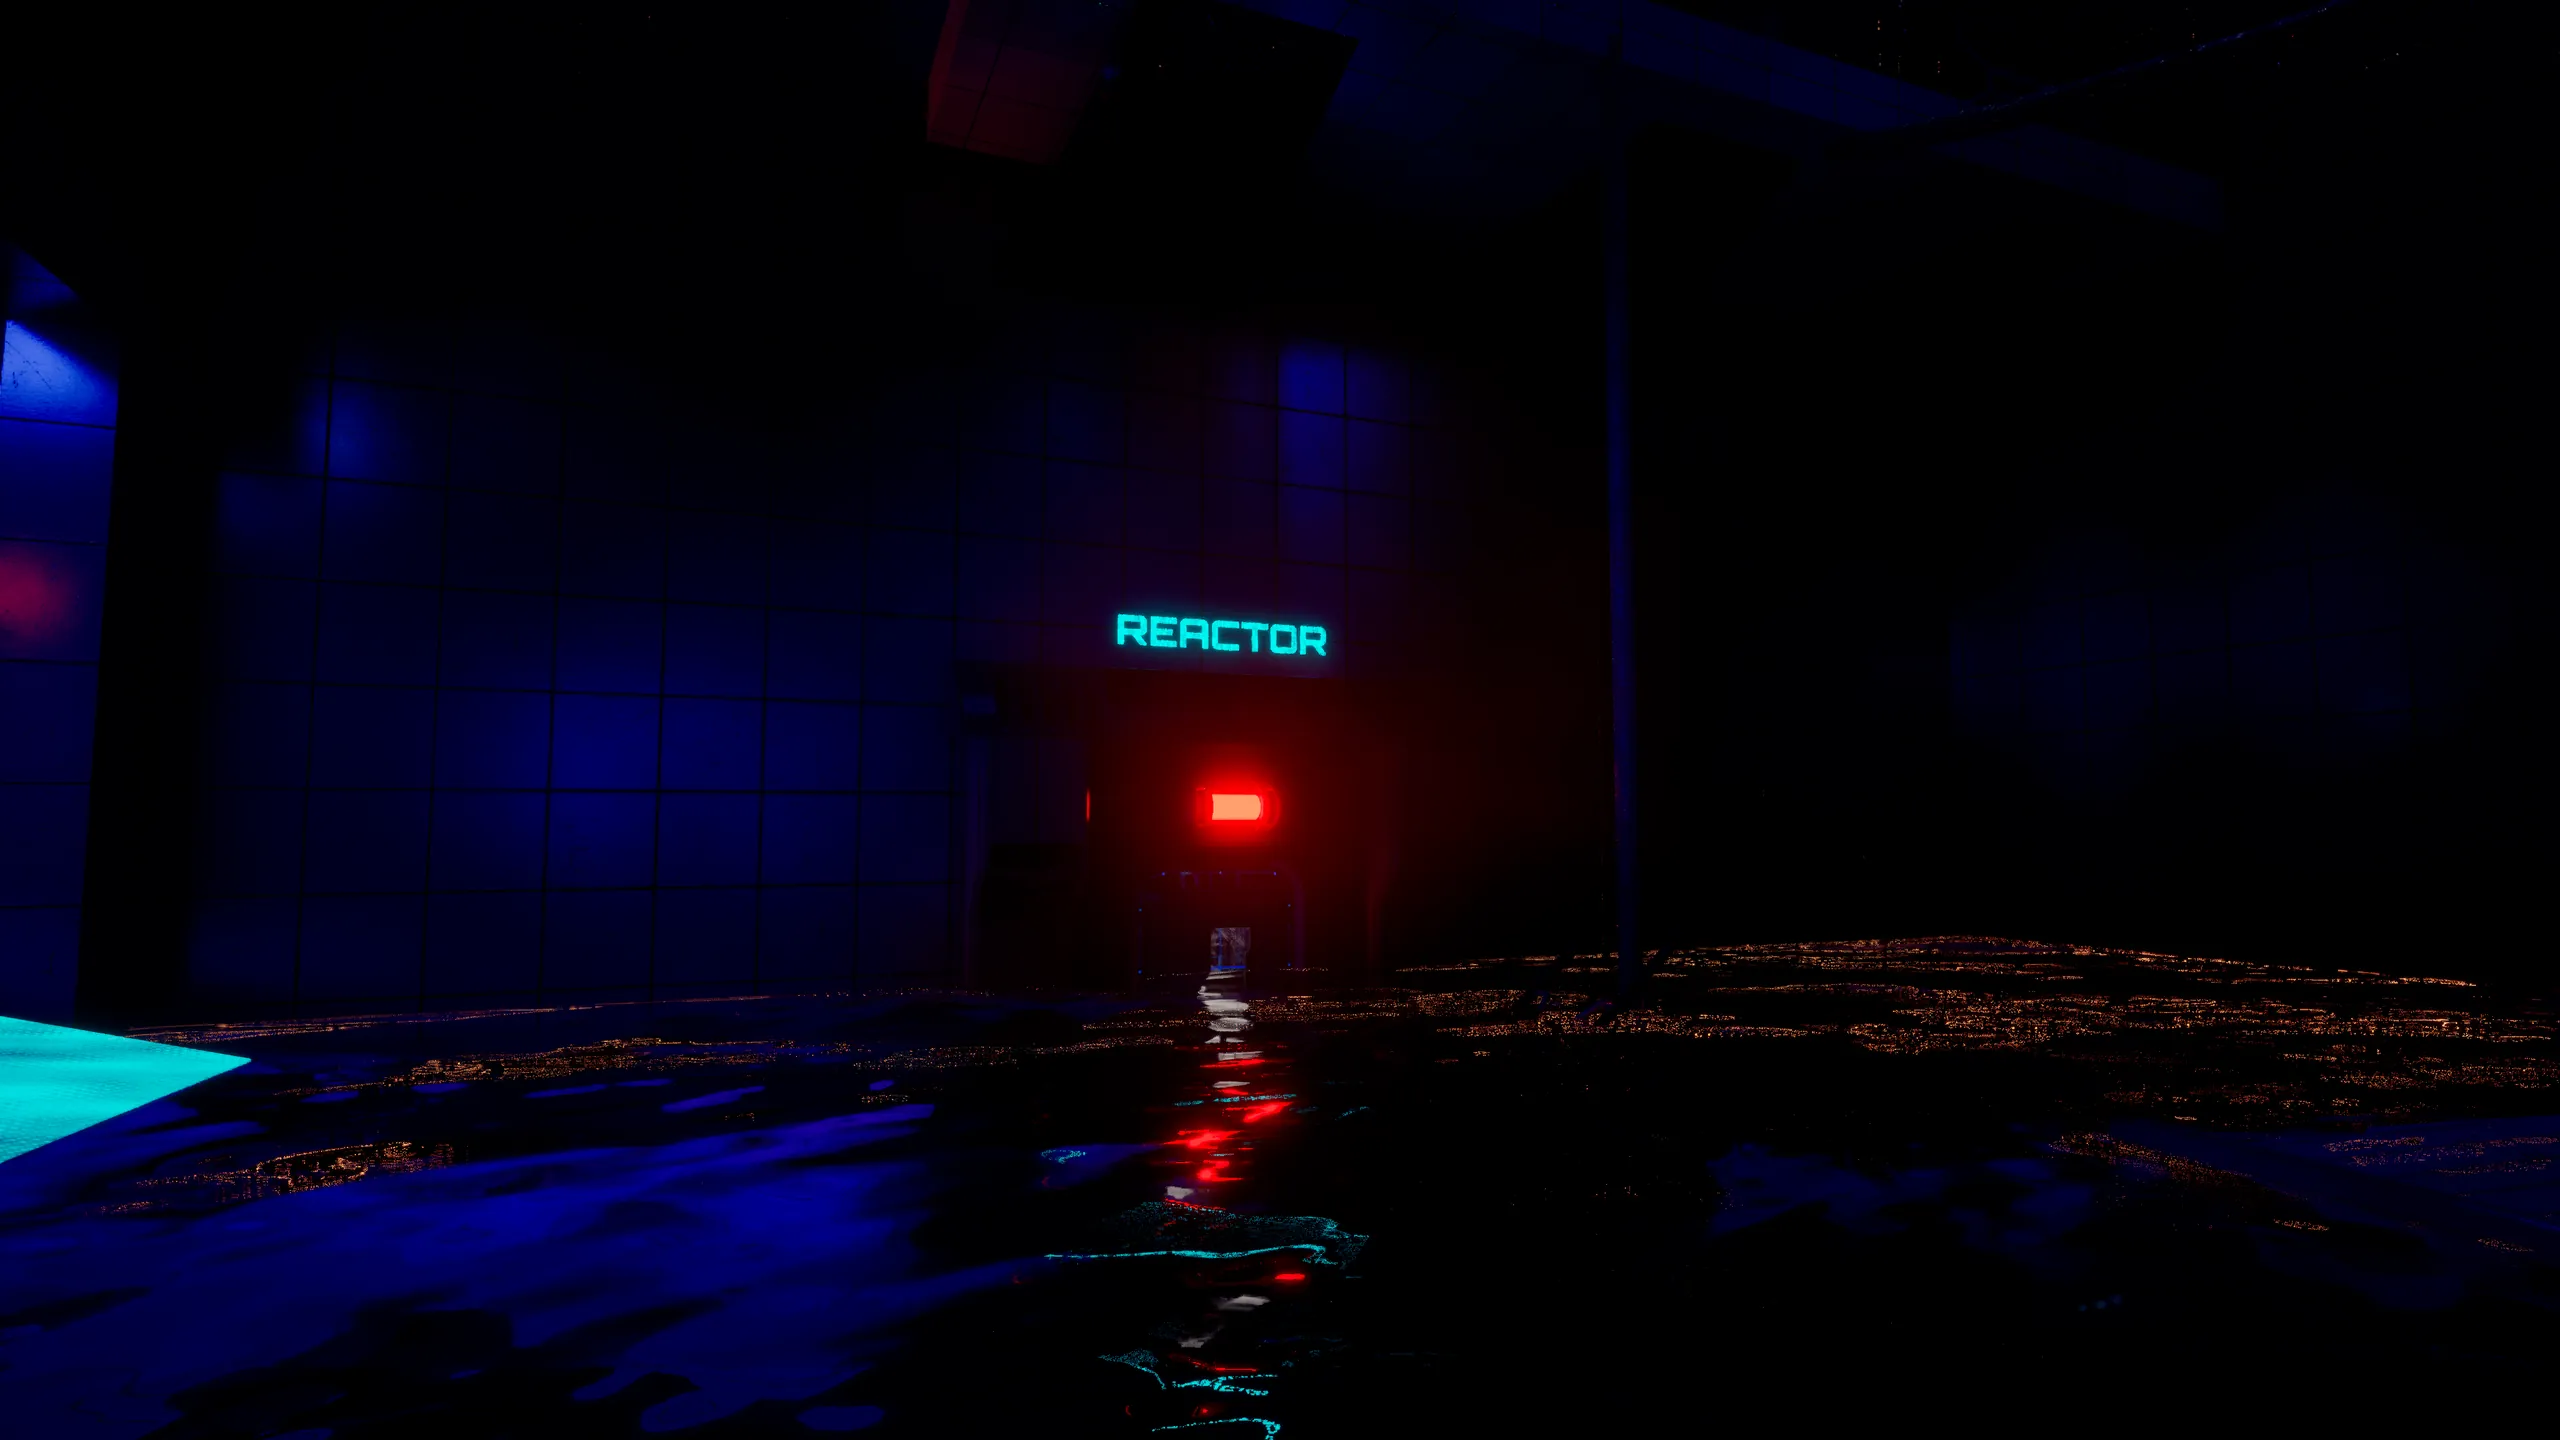
The Flooded Corridor as you walk in: a red light and a Reactor sign at the far end, the waterfall, water on the floor.

Flooded Corridor

2 steps

Goal: Reach the Drain Room and drain the ship.

  1. Step 1: Dripping pipesLinear · observe
  2. Step 2: Double doorsFree · timing
Show solution

1. Dripping pipes. Rewind a collapsed platform into a way up, then rewind the broken pipe whole: the sphere stops bouncing around and settles on its holder, ready for the doors.

2. Double doors. Socket 1 opens door A and socket 2 opens door B. Put the sphere in socket 2, then in socket 1, then rewind it: it retraces its path backwards, so A opens first and B right after.

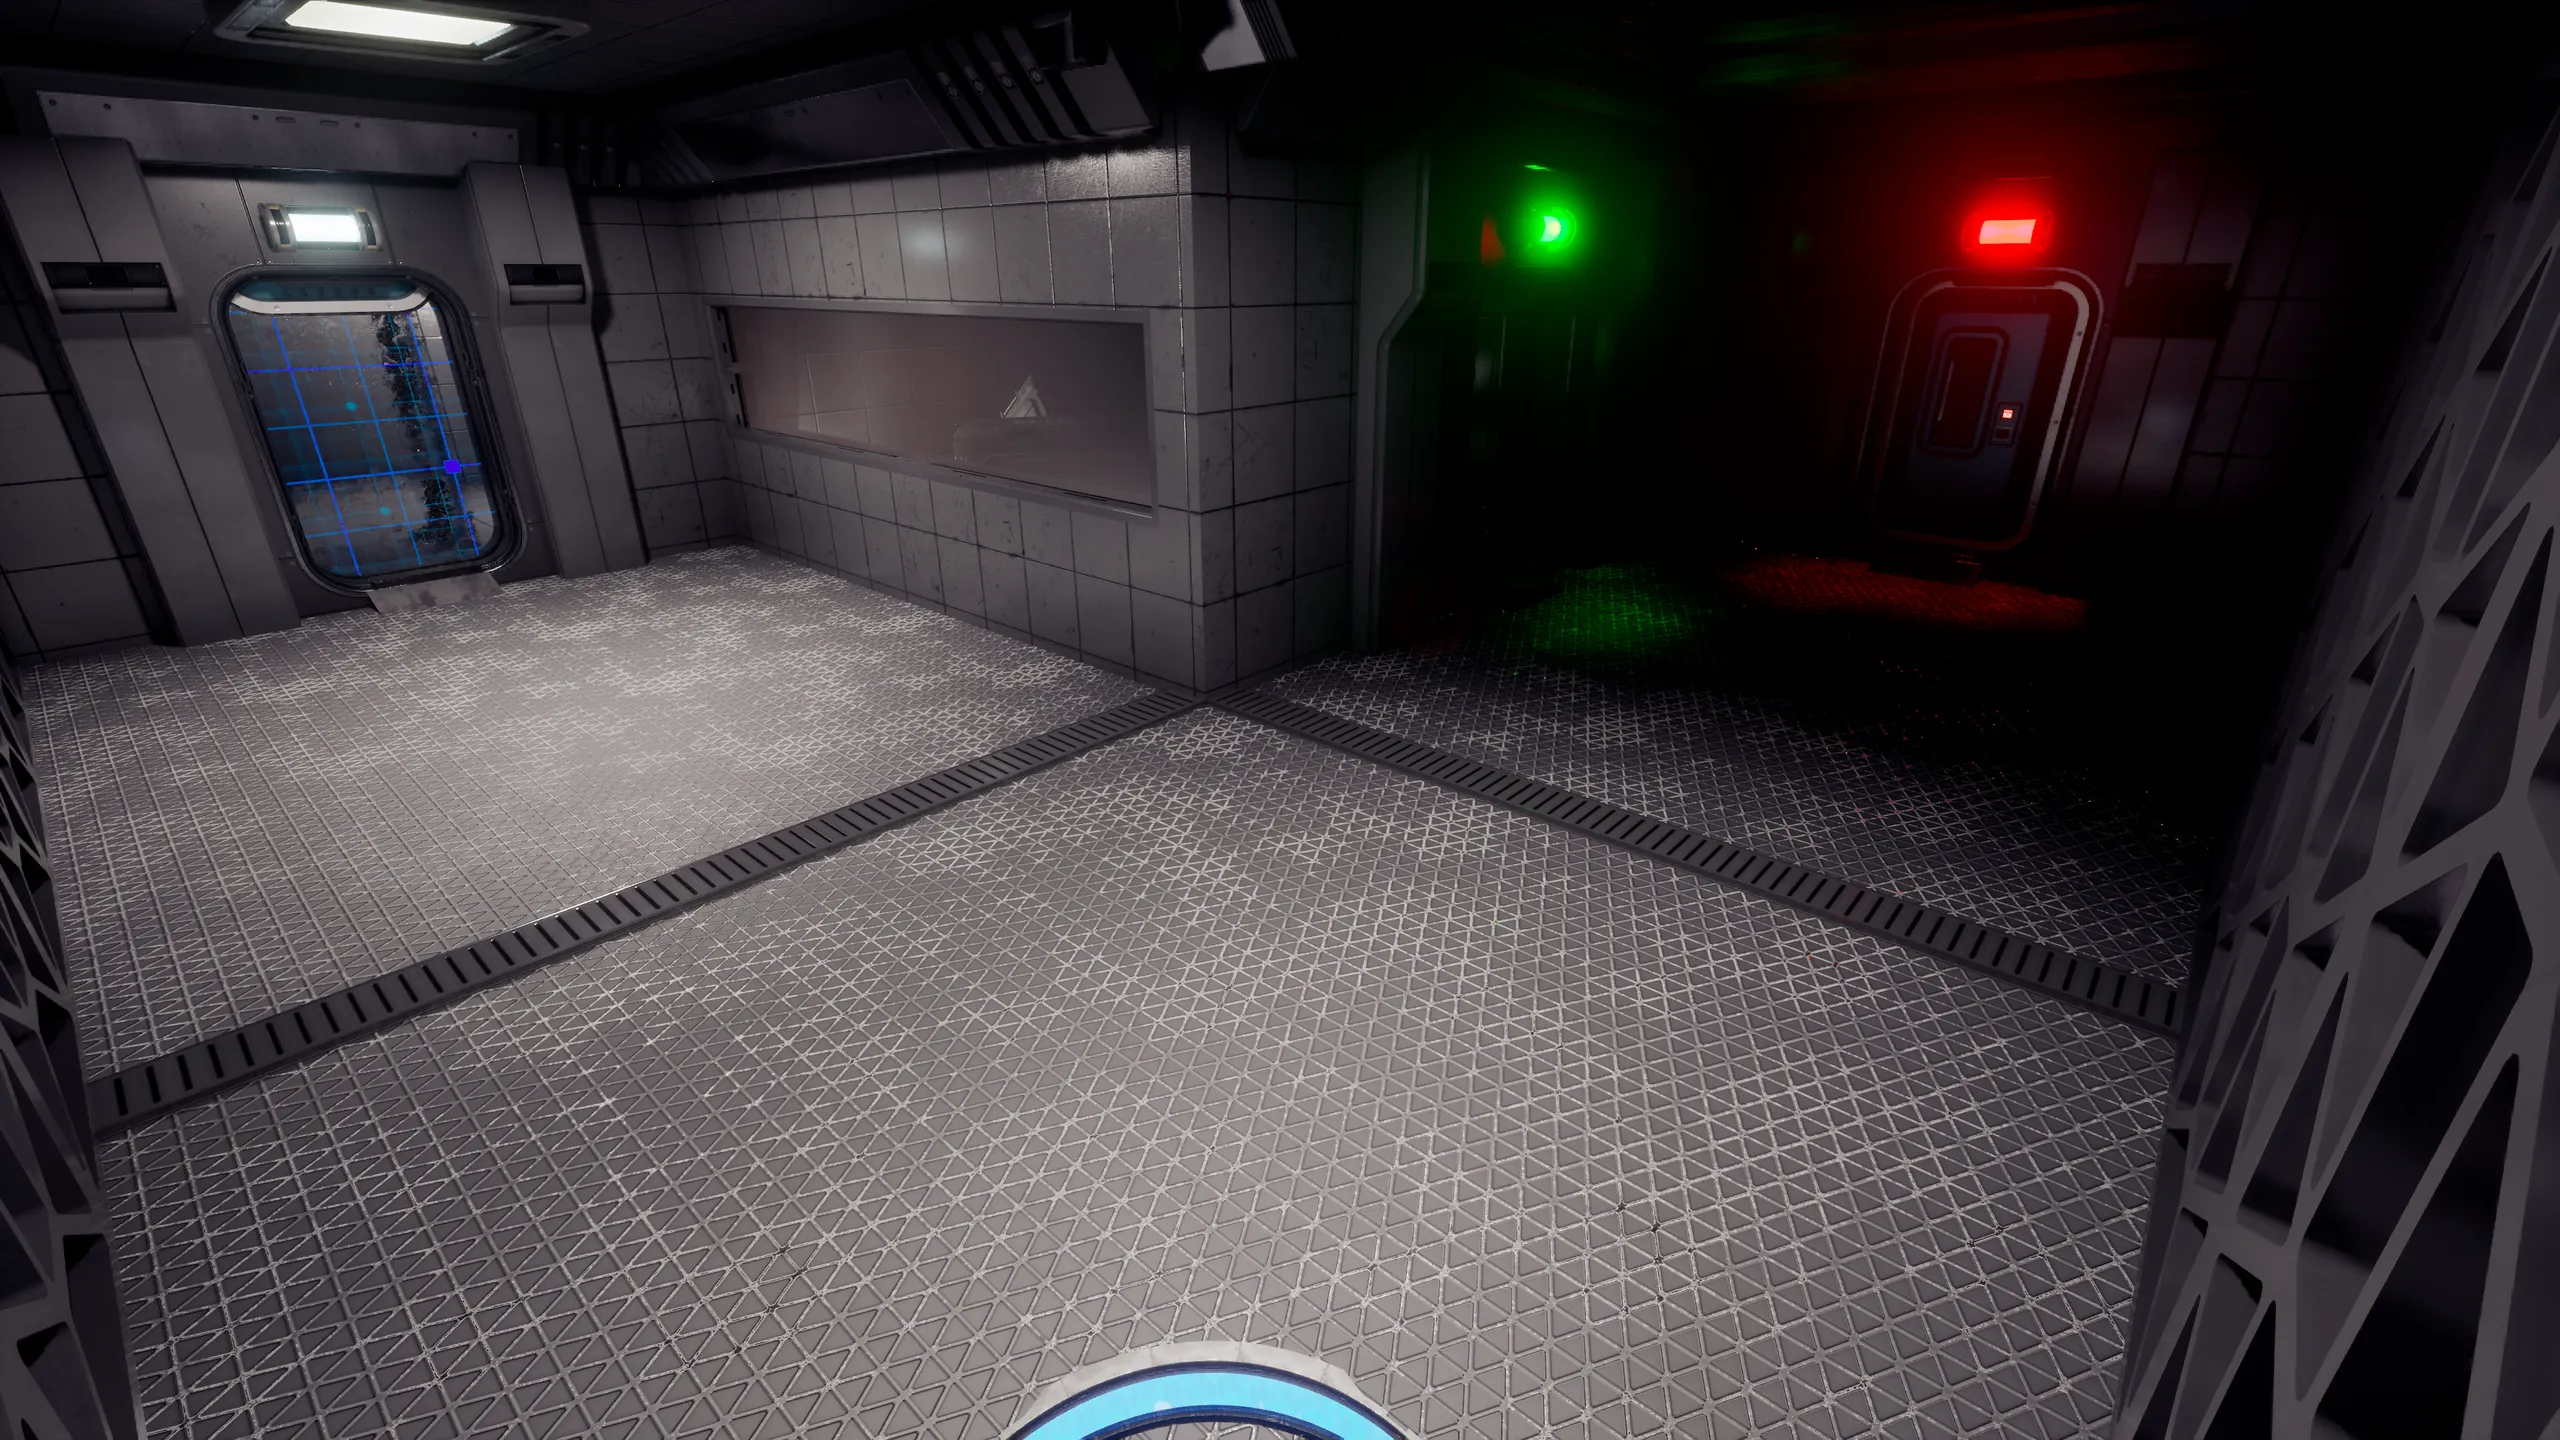
The Dark Room: the L-shaped corridor, a window on the small room, a green and a red door light.

Dark Room

3 steps

Goal: Find the way out of the dark.

  1. Step 3: Hide and seekExplore
  2. Step 4: Altered doorFree · timing
  3. Step 5: Rolling stoneFree
Show solution

3. Hide and seek. No rewind here: an L-shaped corridor and a small room. A window shows where the sphere is hidden; the way to it is around the corner.

4. Altered door. The socket closes one door and opens the other. Place the sphere, take it back, step through, then rewind it into the socket at the right moment.

5. Rolling stone. Big spheres keep falling and rolling down at you. Rewind them to clear the passage: each one, on its way back, pushes the one behind. Then on to the collapsed duct, the climb up to the left door. The spheres are Free pieces: you can also pick them up.

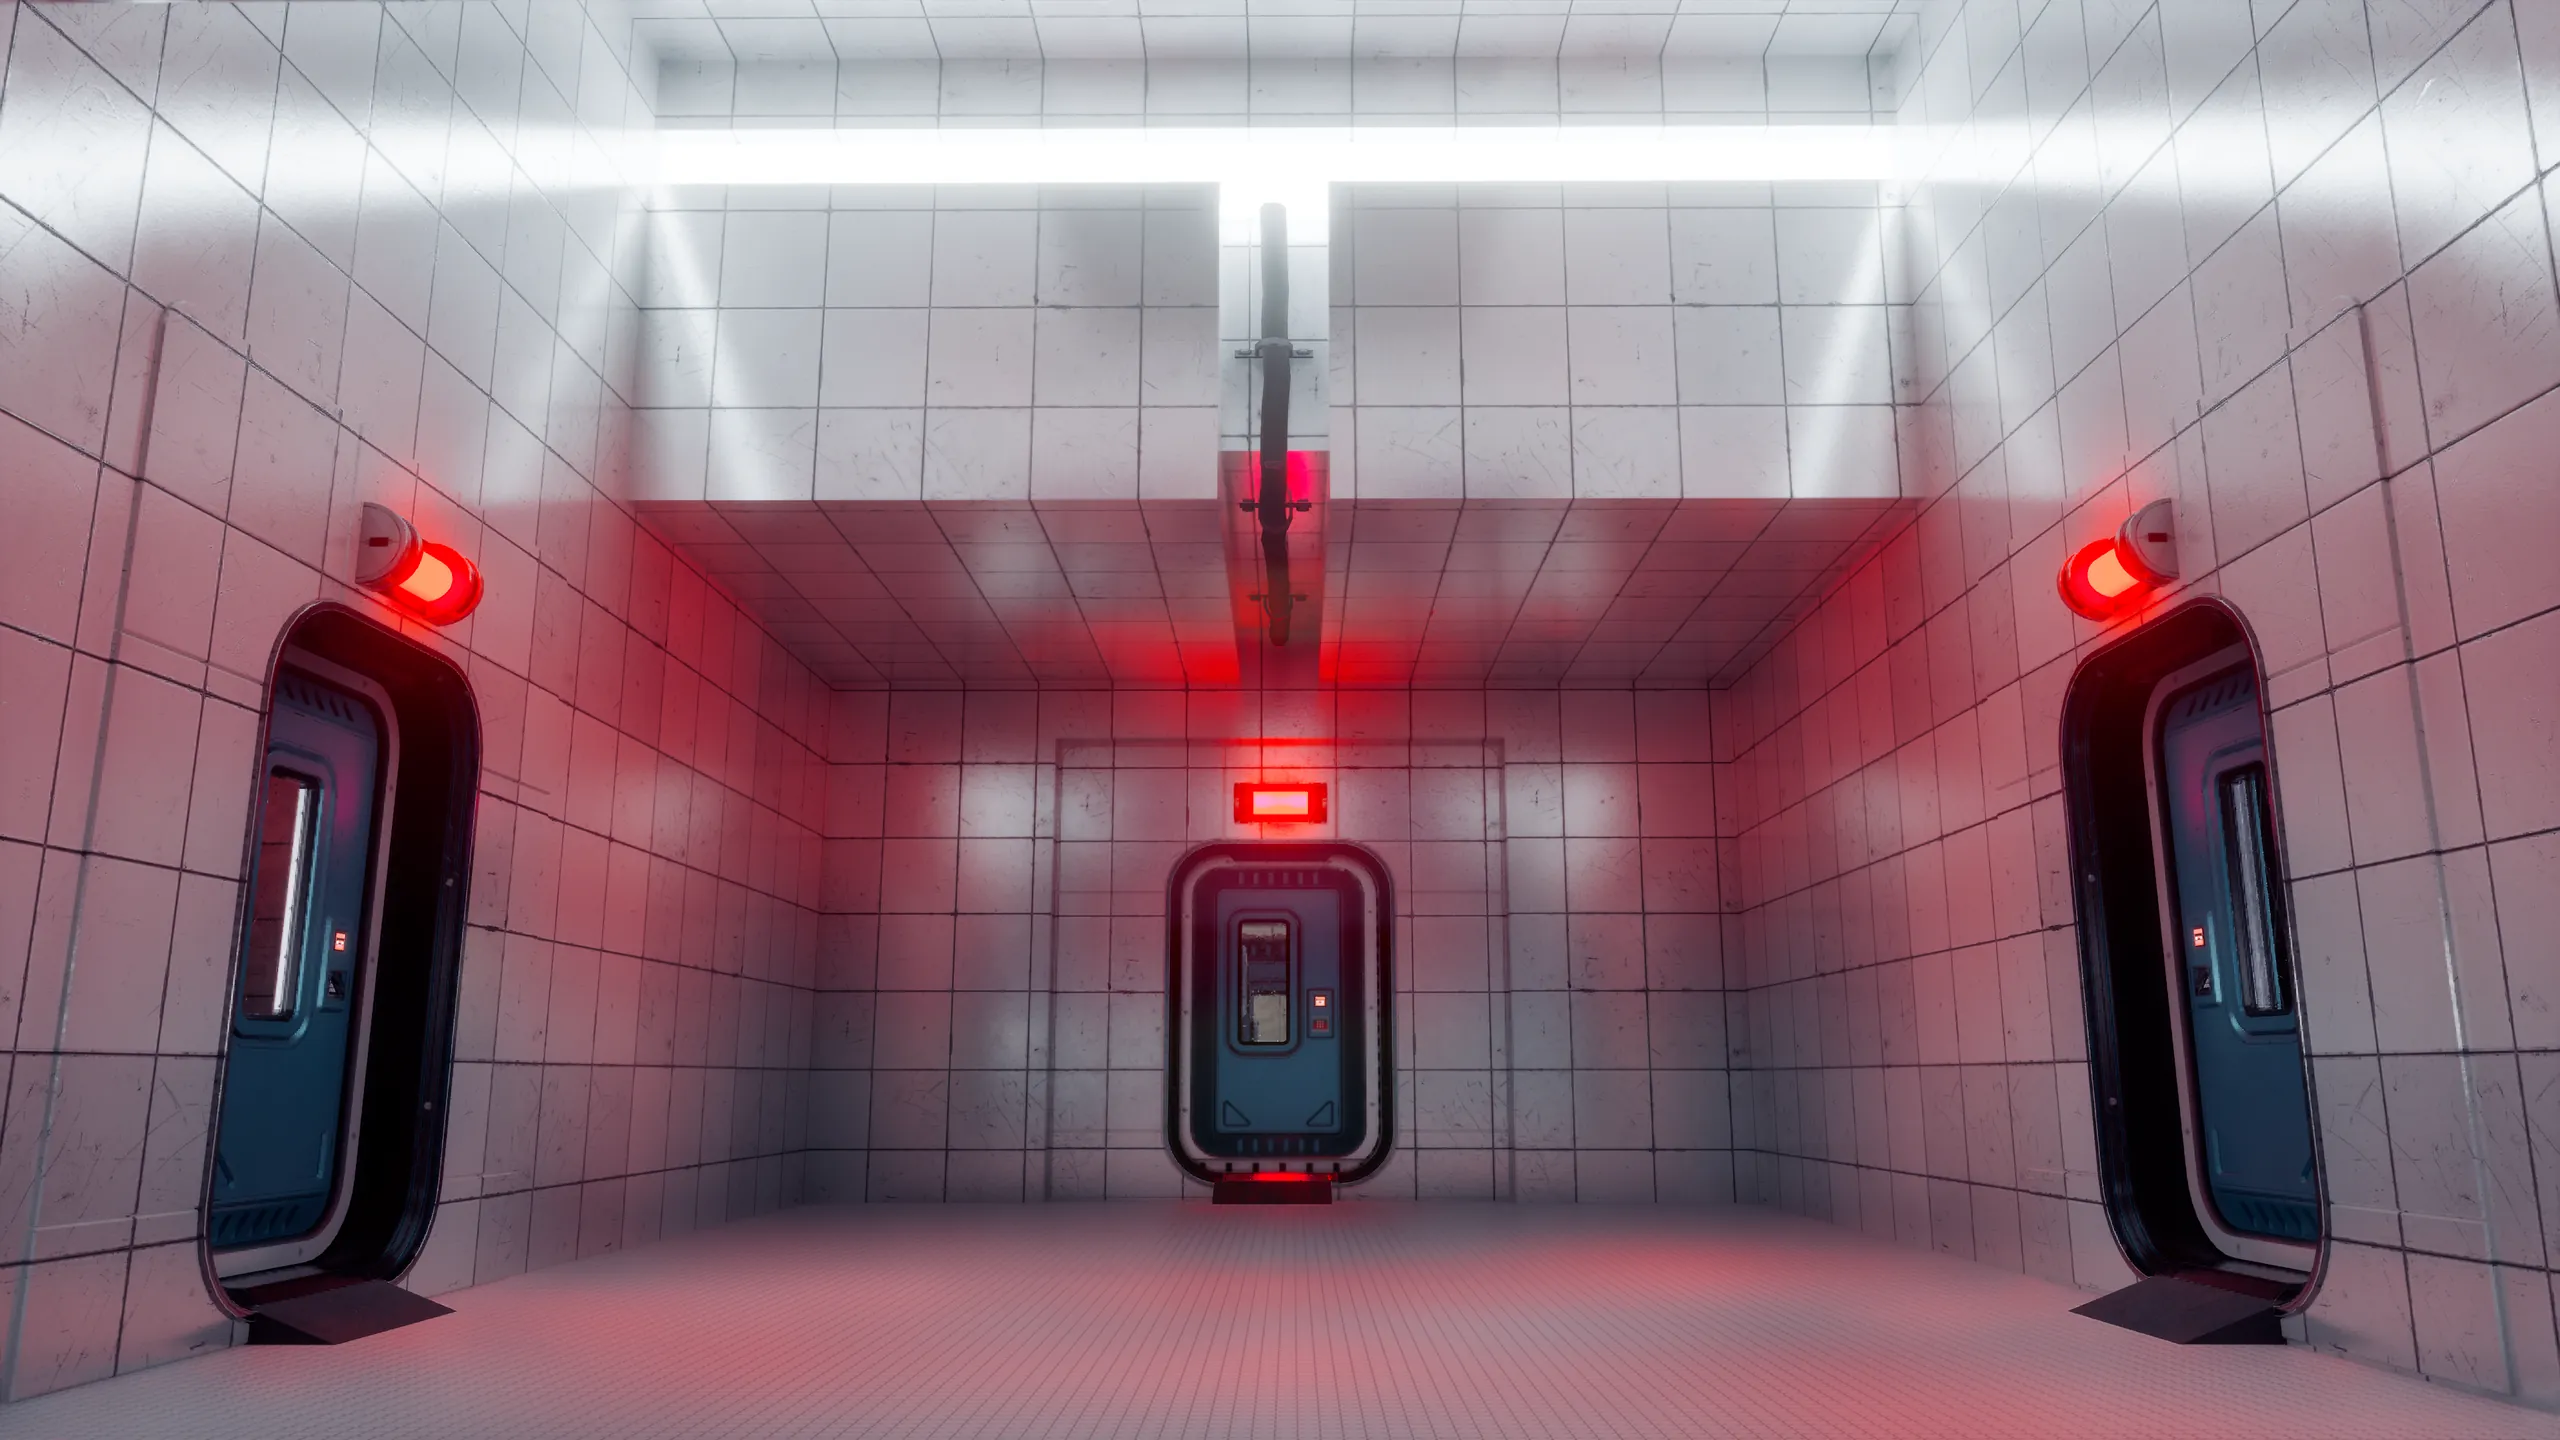
The room with four doors: three closed doors with red lights and the light band above them.

Laboratory

4 steps

Goal: Open the central door: three locks, then the Laboratory's final button.

Left door

  1. Step 6: TurntableLooping · observe

Right door

  1. Step 7: Spin me roundLooping
  2. Step 8: Second spinLinear + Looping

Reviver

  1. Step 9: Too many spheresFree · timing

The trinityall three locks on

Show solution

Left door

6. Turntable. Watch where the spinner carries things, then reverse it: the spinner, not the player, carries the sphere into the socket that opens the left door.

Right door

7. Spin me round. Rewind a spinner and ride it as a platform to the right door. The same spinner sends a sphere down a ramp to the flooded hall: it's needed later.

8. Second spin. By the right door, a spinner like the left door's waits, but no sphere reaches it. Through a small door, rewind a grate and climb to a loft: a fallen block jams the duct. Rewind the duct, the sphere drops into the spinner, reverse the spinner: the right door opens.

Reviver

9. Too many spheres. The reviver needs three spheres, each found a different way: one by exploring, at the back of the second spinner's room; one from a small puzzle, sent down the ramp by the spinner you rode to the right door; and the one the pipe by the socket keeps dropping, on a loop. Rewind alone never sends the looping sphere through the hole at the back of the pipe. Put a sphere in the socket by the broken duct to close the valve, wait for the looping sphere to stop at it, drop in a second sphere, then rewind the looping sphere: on its way back it pushes the second through the hole and into the reviver's socket.

The trinity. The central door opens once the left door, the right door and the reviver are all on.

The routes I didn't plan, and kept

An external mentor found an unplanned way through the hardest step, Too many spheres, and enjoyed it; other players jumped past the double doors. I kept both: skipping the doors costs nothing, because the onboarding in the Private Quarters already teaches the Free rewind. If a route I didn't plan breaks nothing later, it stays.

Show the unplanned routes
Past the double doors, with a jump.
Into the reviver's socket, with a wedge.

06Light

In the dark, light does the guiding

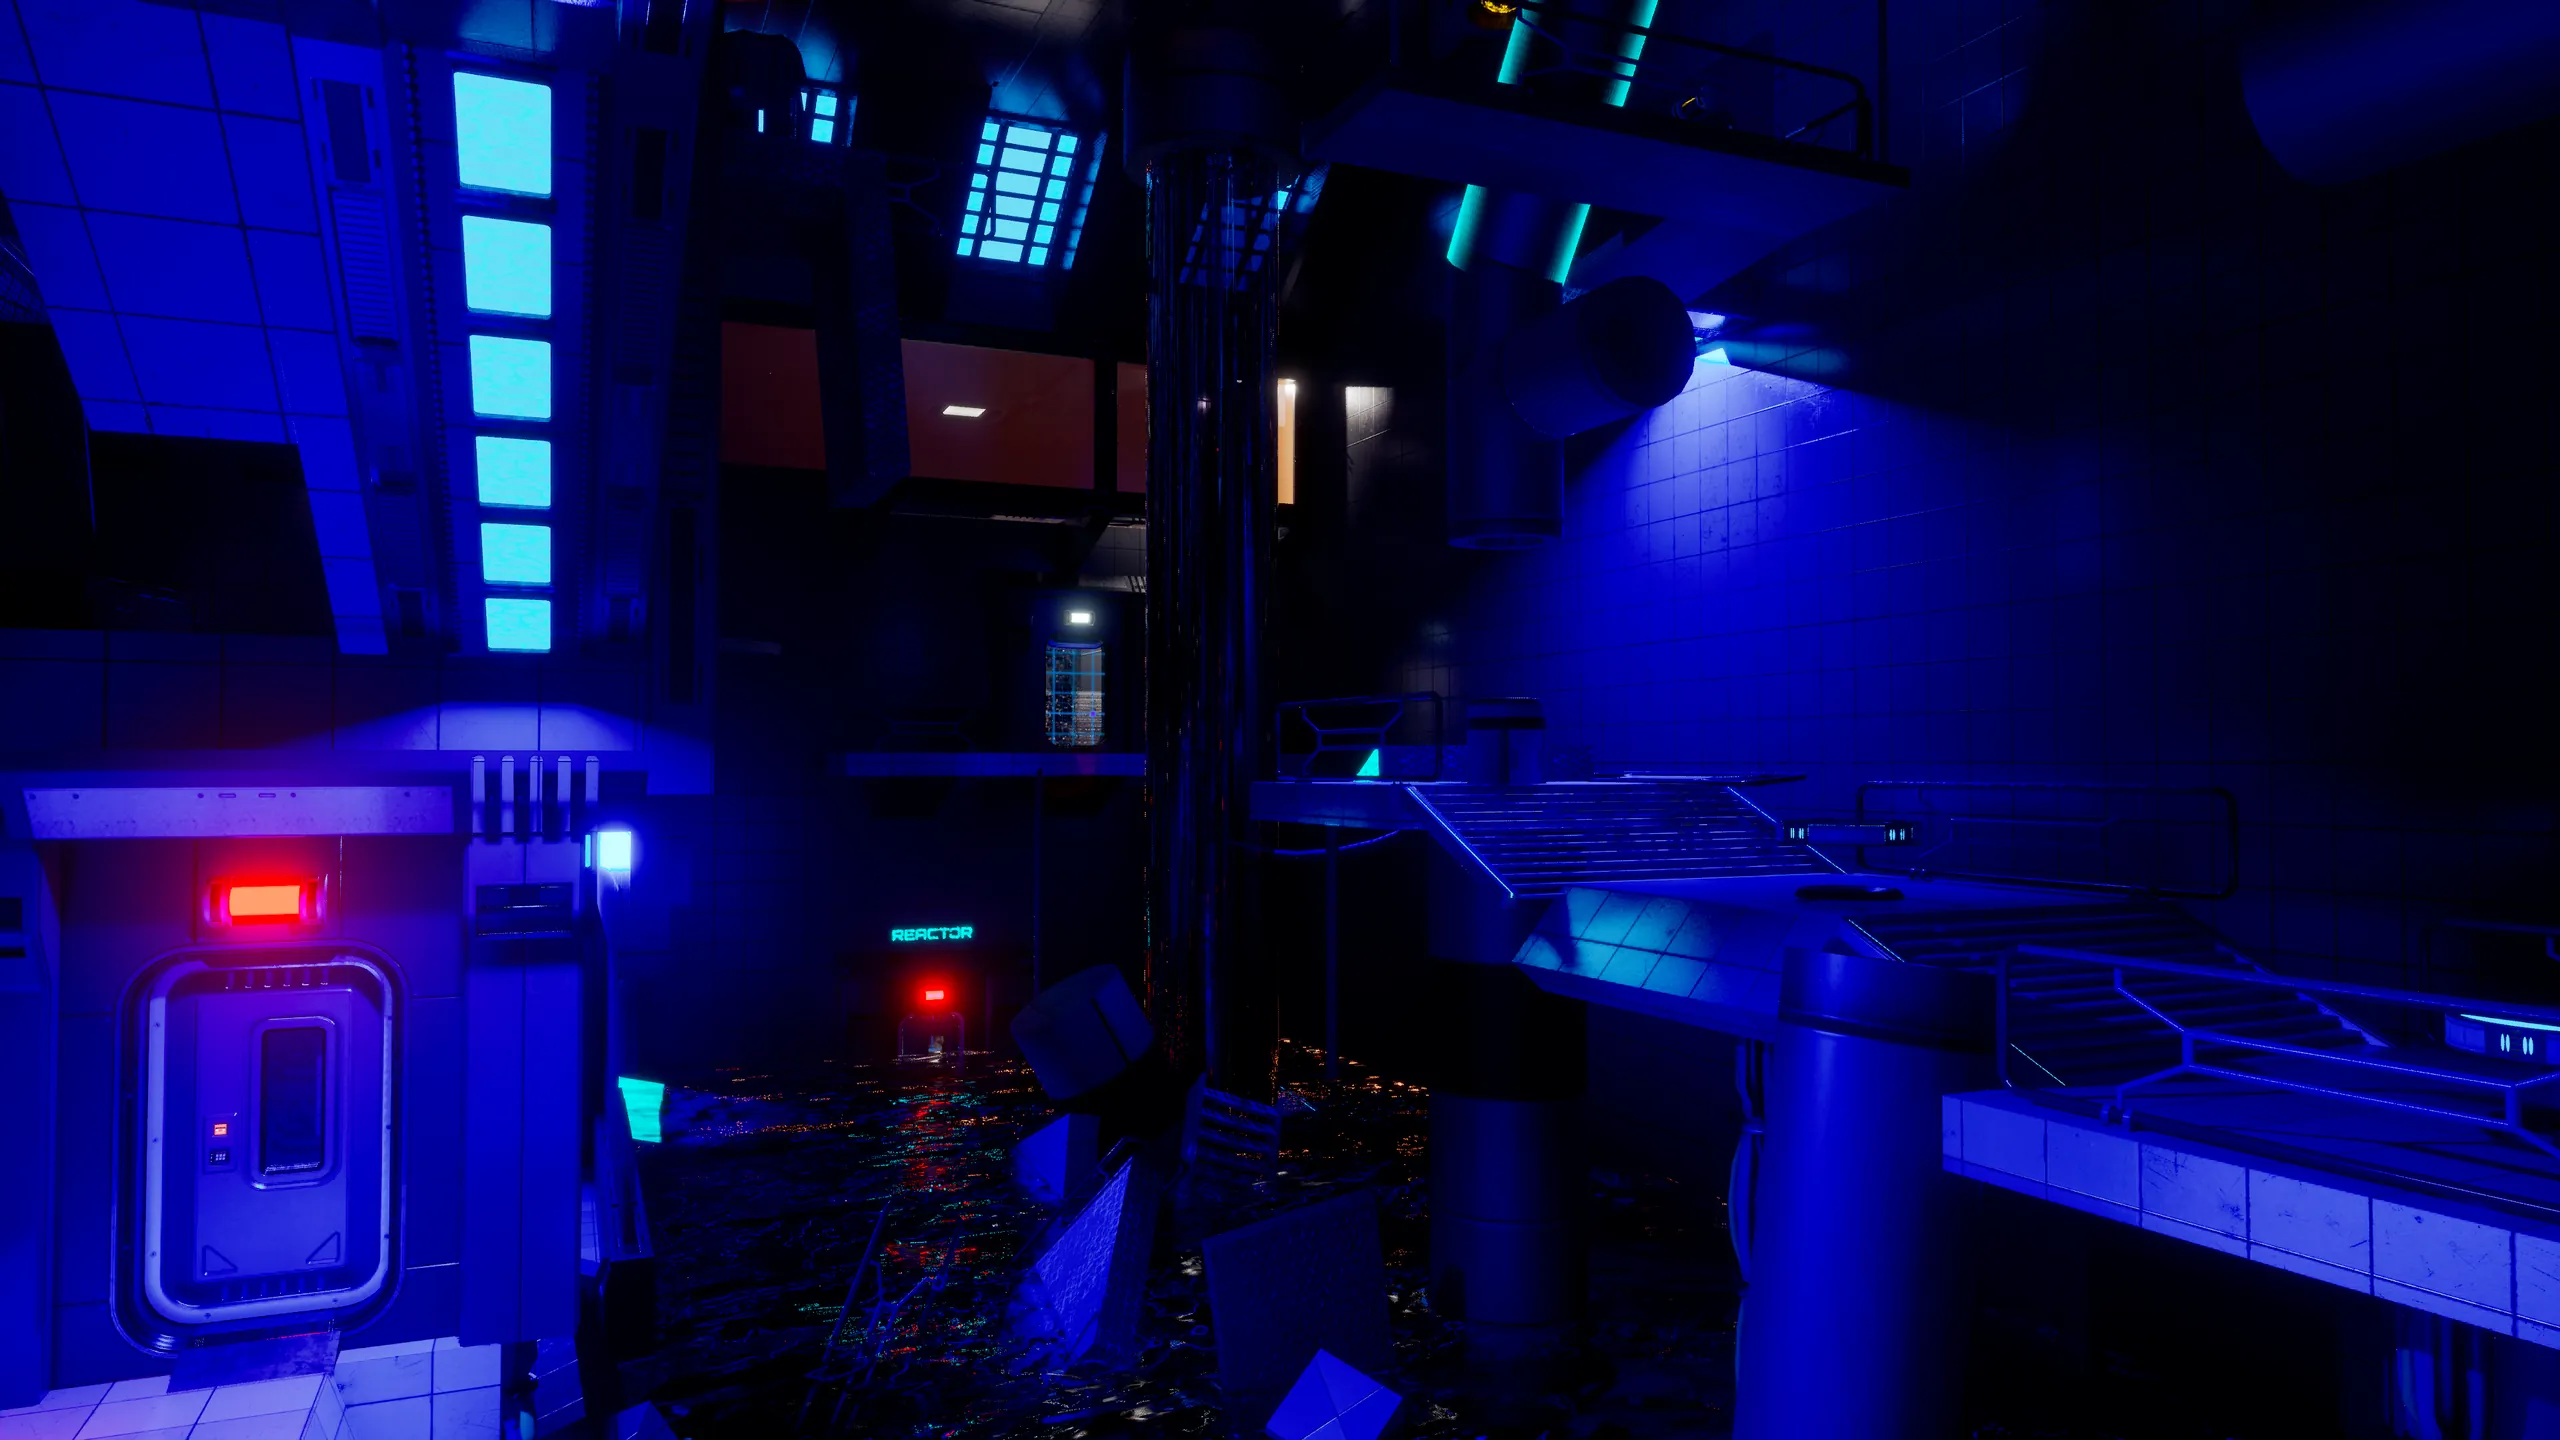
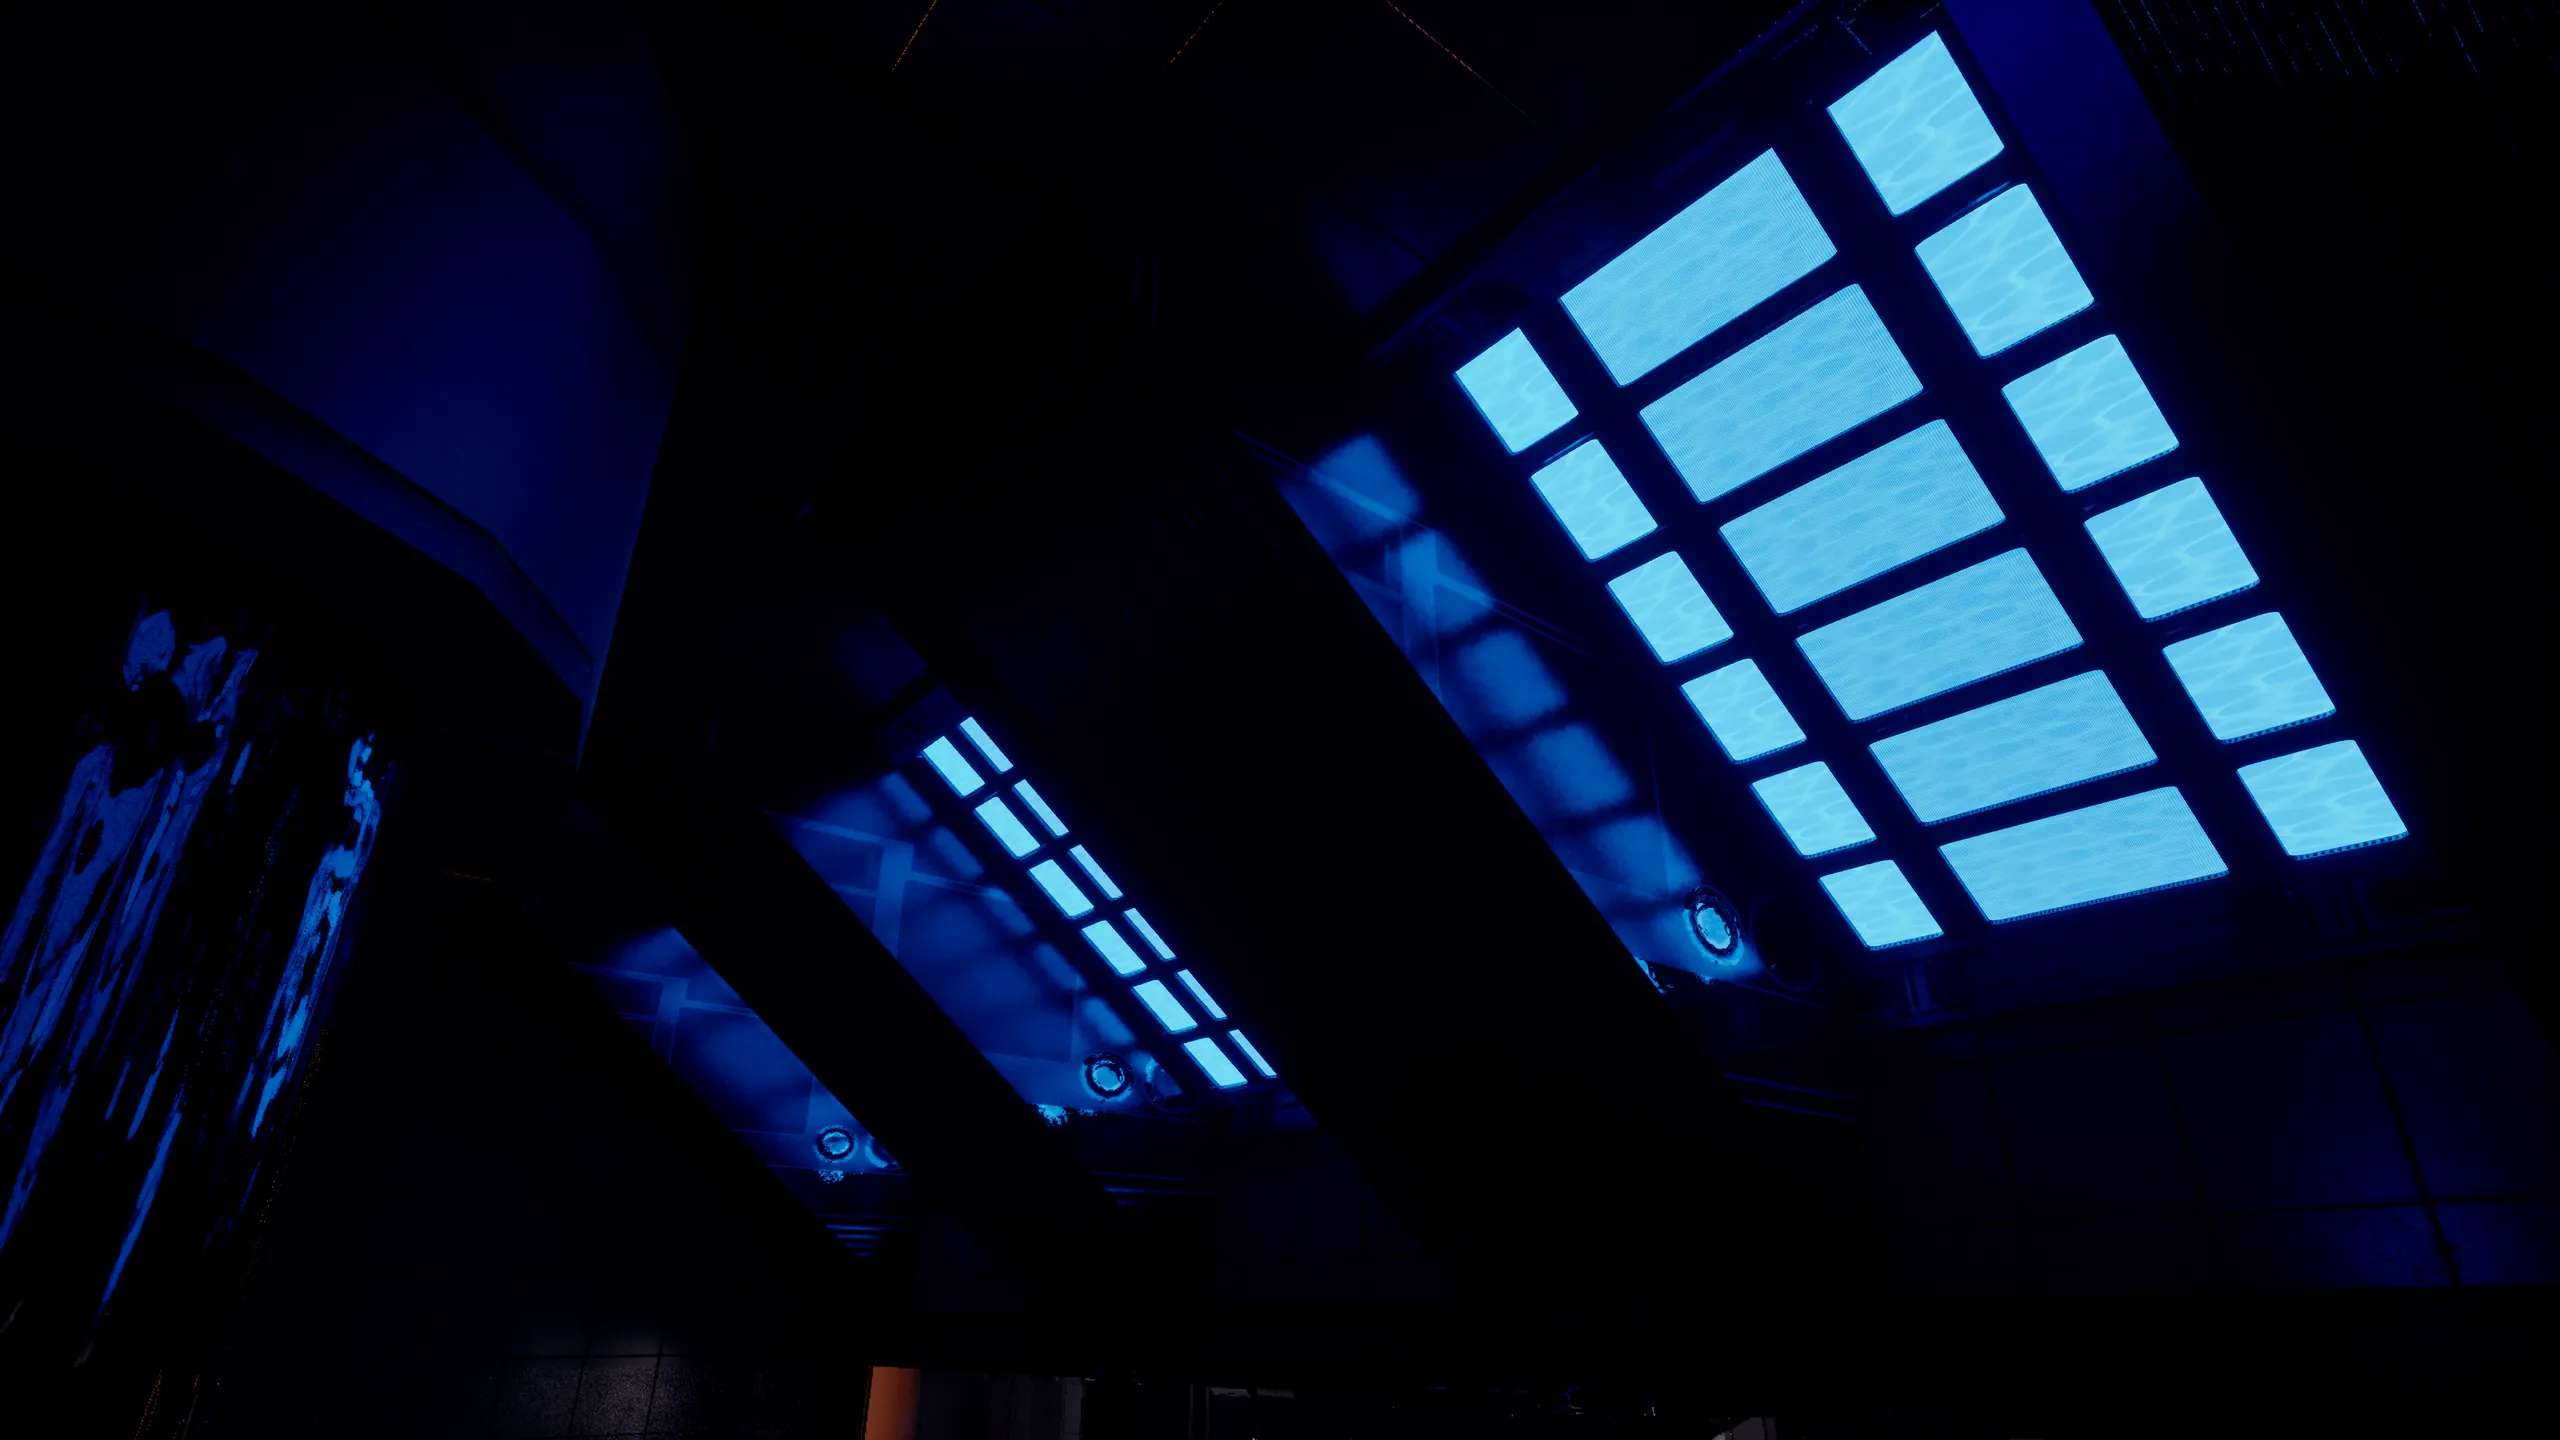
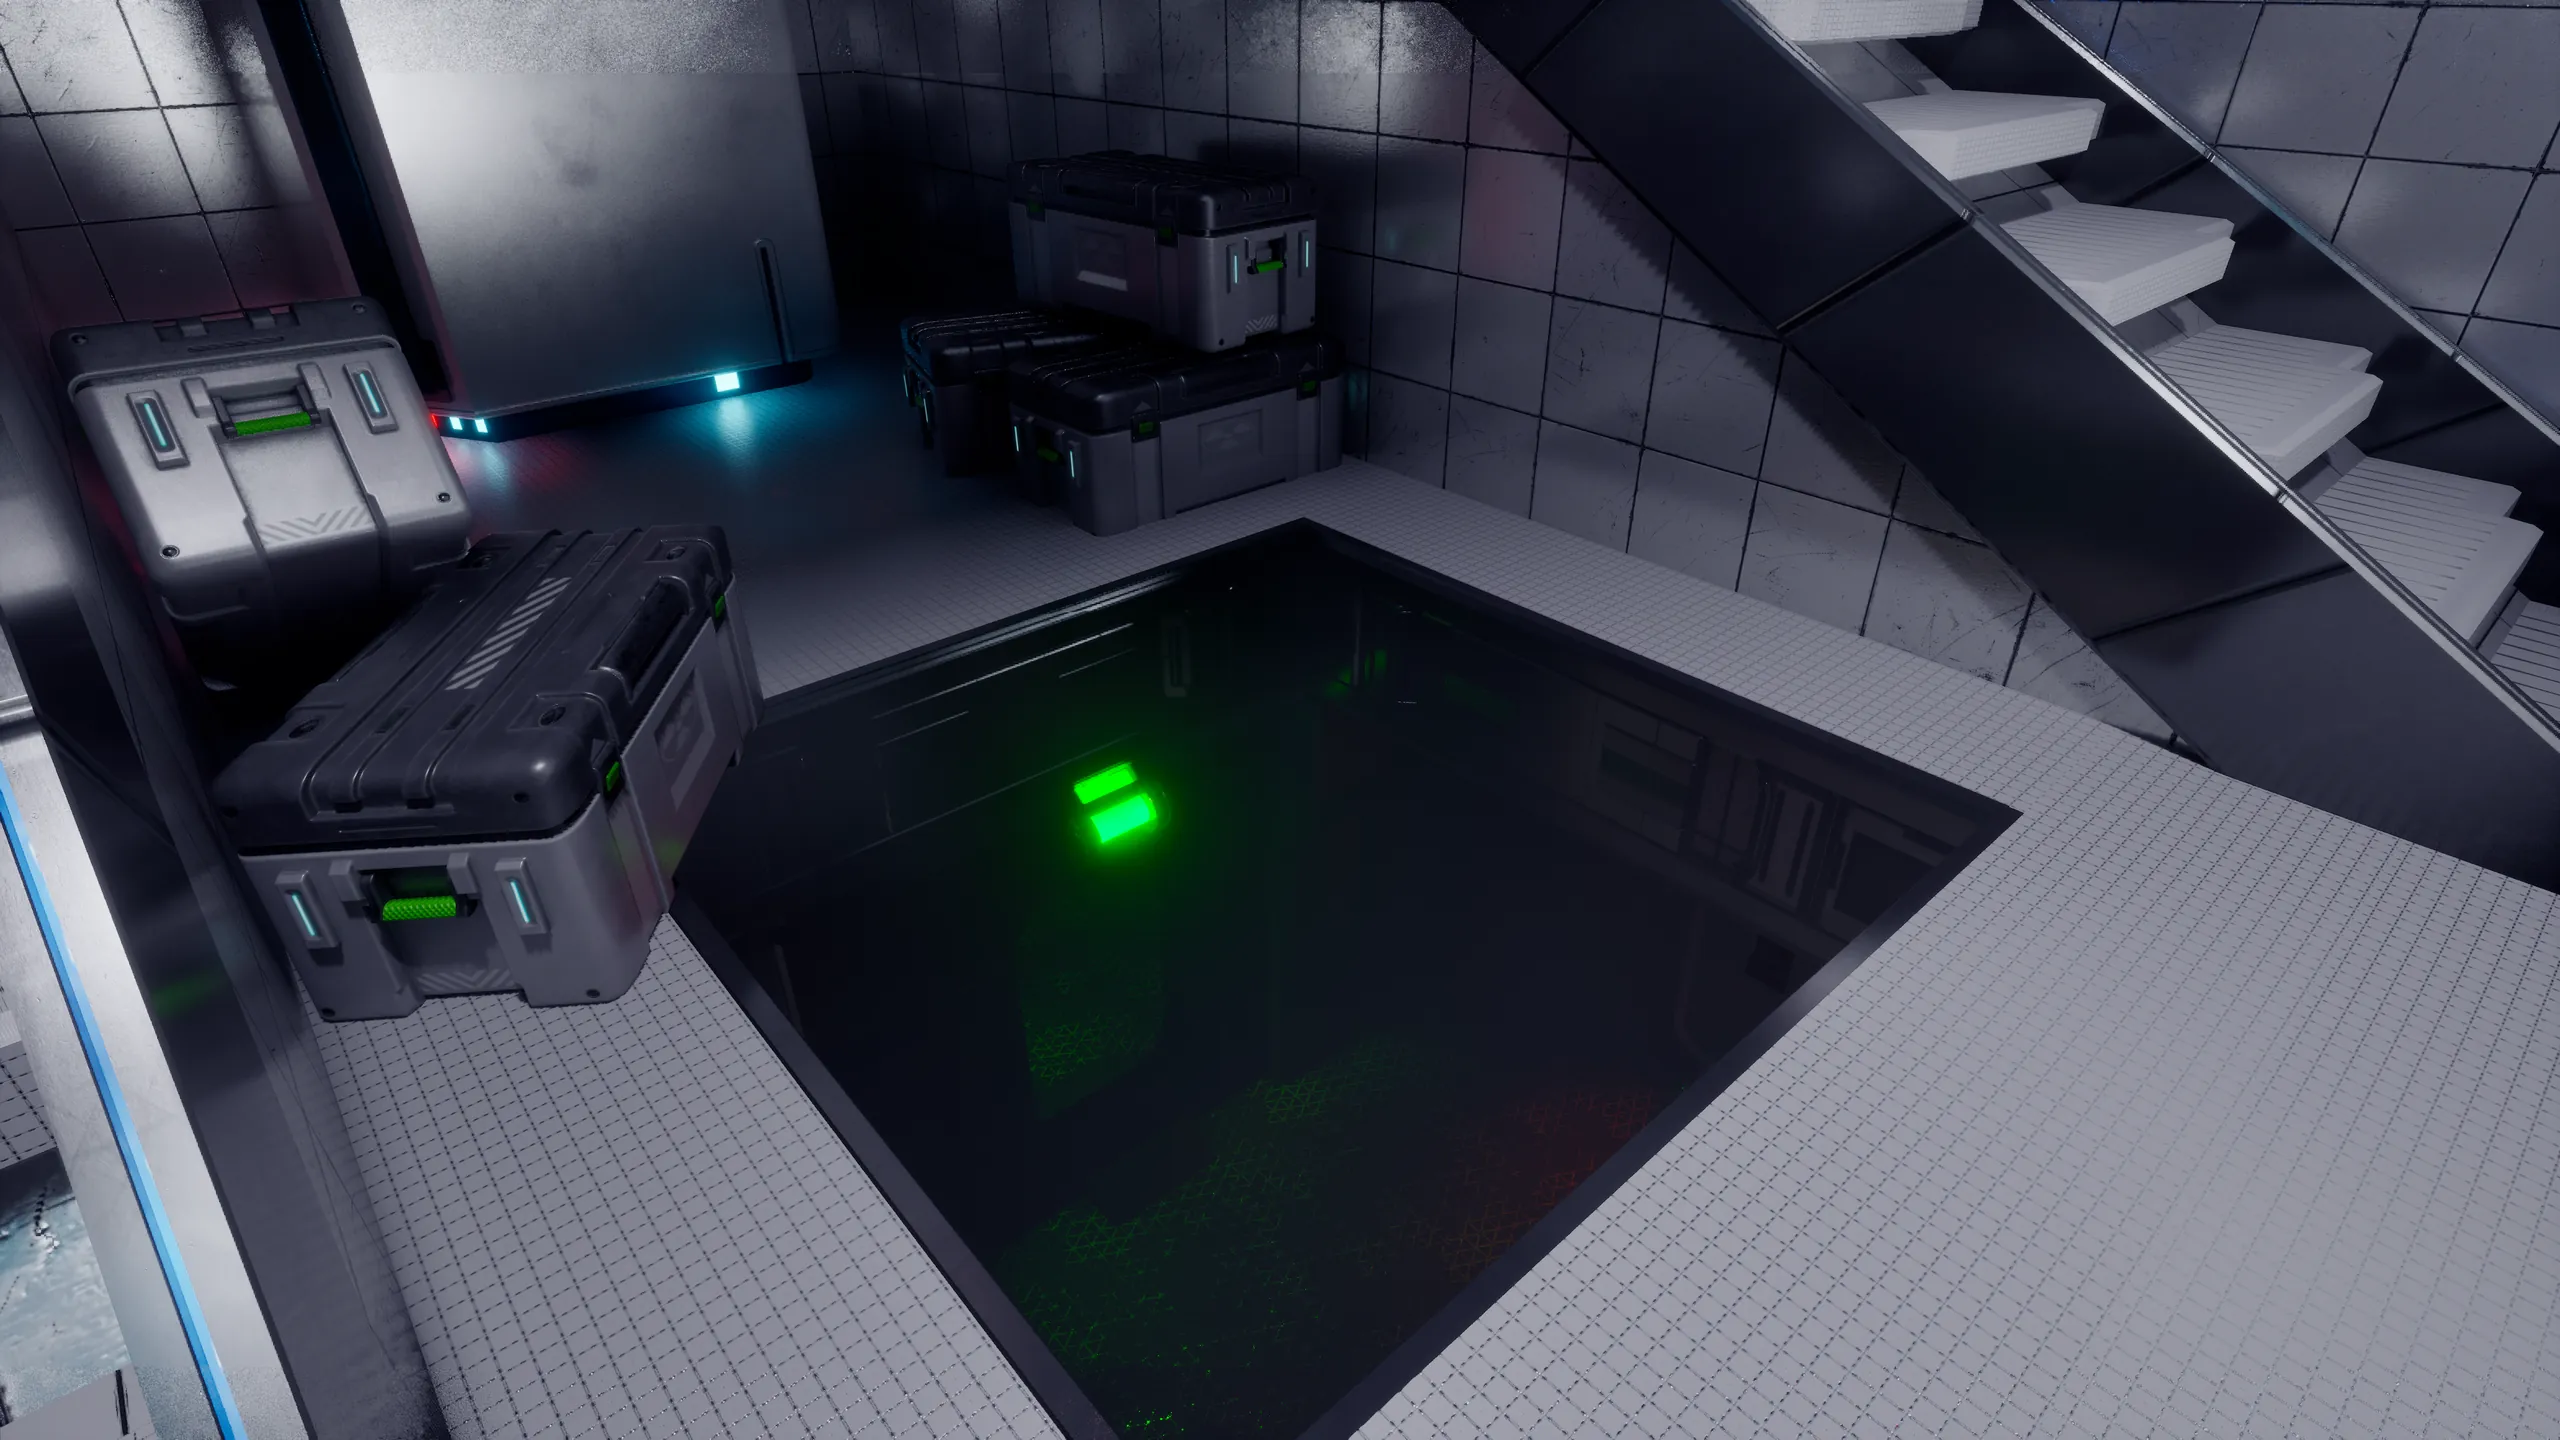
A blue emergency light keeps the Flooded Corridor gloomy, so light in precise spots draws the eye. I placed and tuned every light in the zone: some show the way, some show state, some only set the mood.

A Reactor sign and a red light above a half-submerged door, reflected in the water.

Where to look

  • Sockets glow in the dark.
  • As you walk in, a red light on the water and a Reactor sign point at a half-submerged door.
  • The waterfall moves vertically and draws the eye up.
  • Windows show a goal before you can reach it.
The room with four doors with the left and right locks on, in green, and the reviver still off, in red.

What state it's in

  • Doors and sockets turn green when they're on.
  • A light band in three parts maps each lock to its door, and doubles as a landmark.
  • The sphere crackles with energy, in sound and light: it shows it can do something, and helps you find it.
The Flooded Corridor ceiling in the blue emergency light.

Mood only

  • A blue emergency light that rises and falls.
  • A light that grows brighter once the Dark Room's first step is solved.
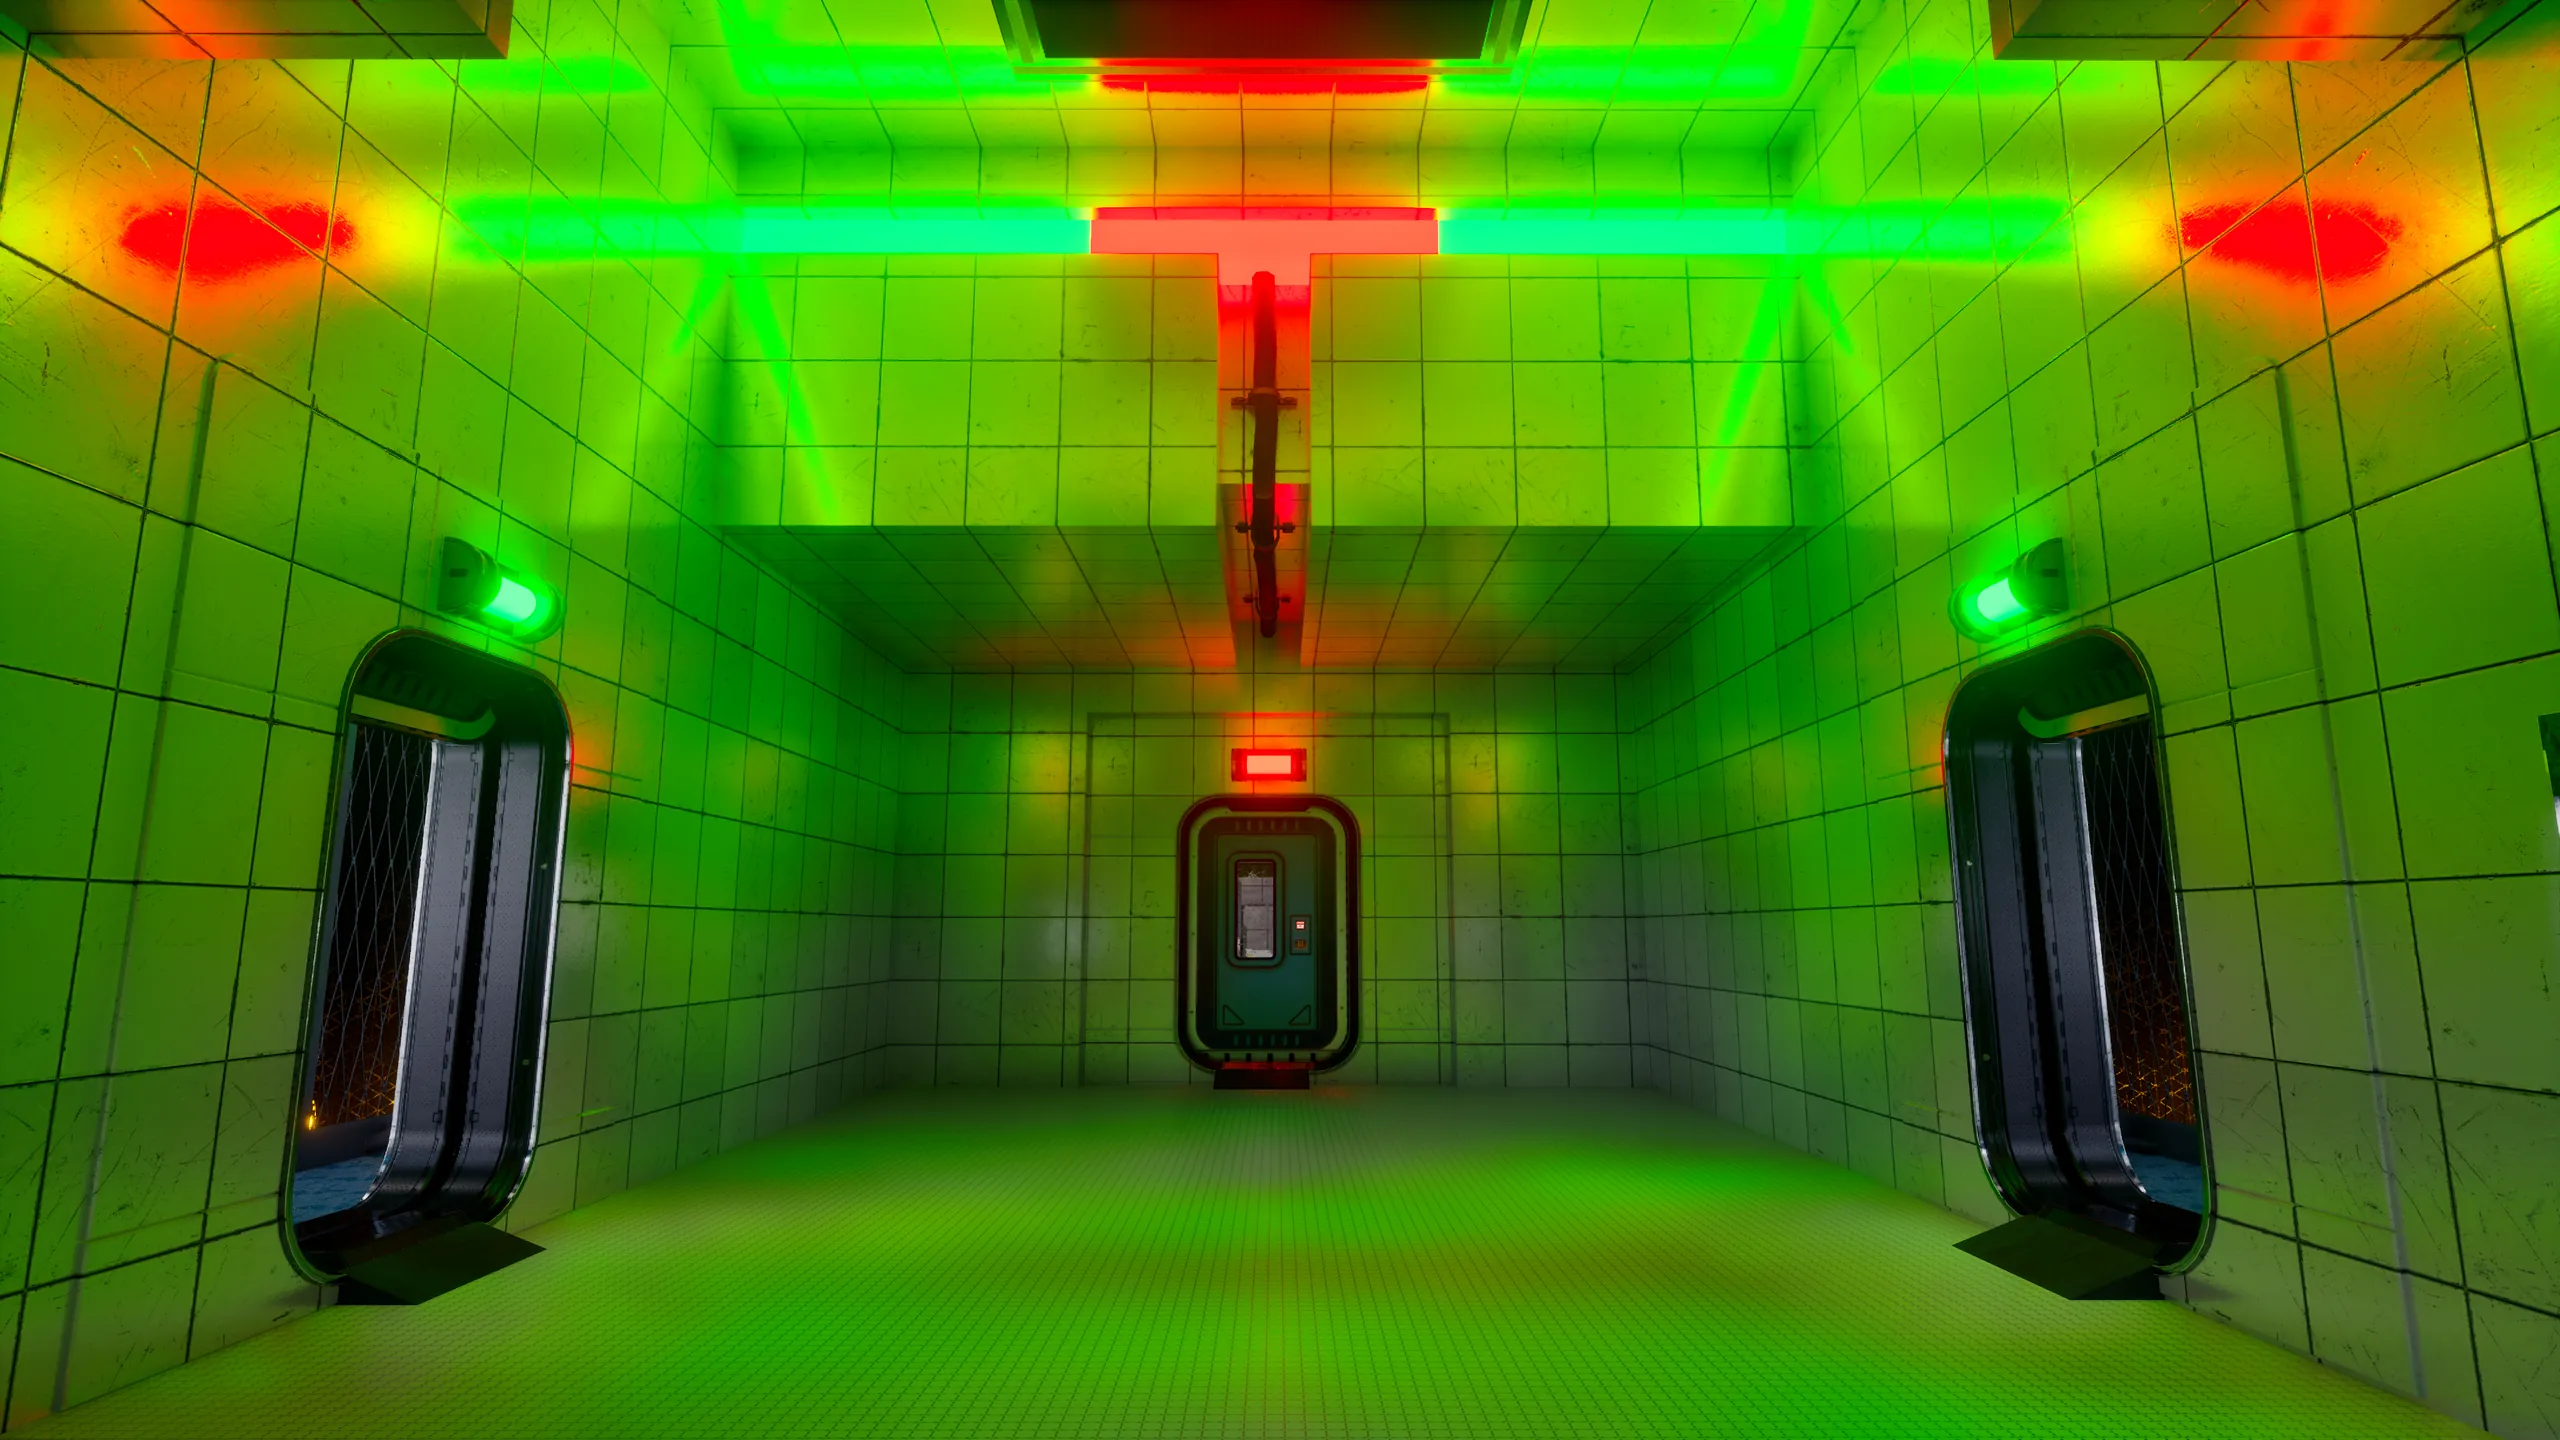
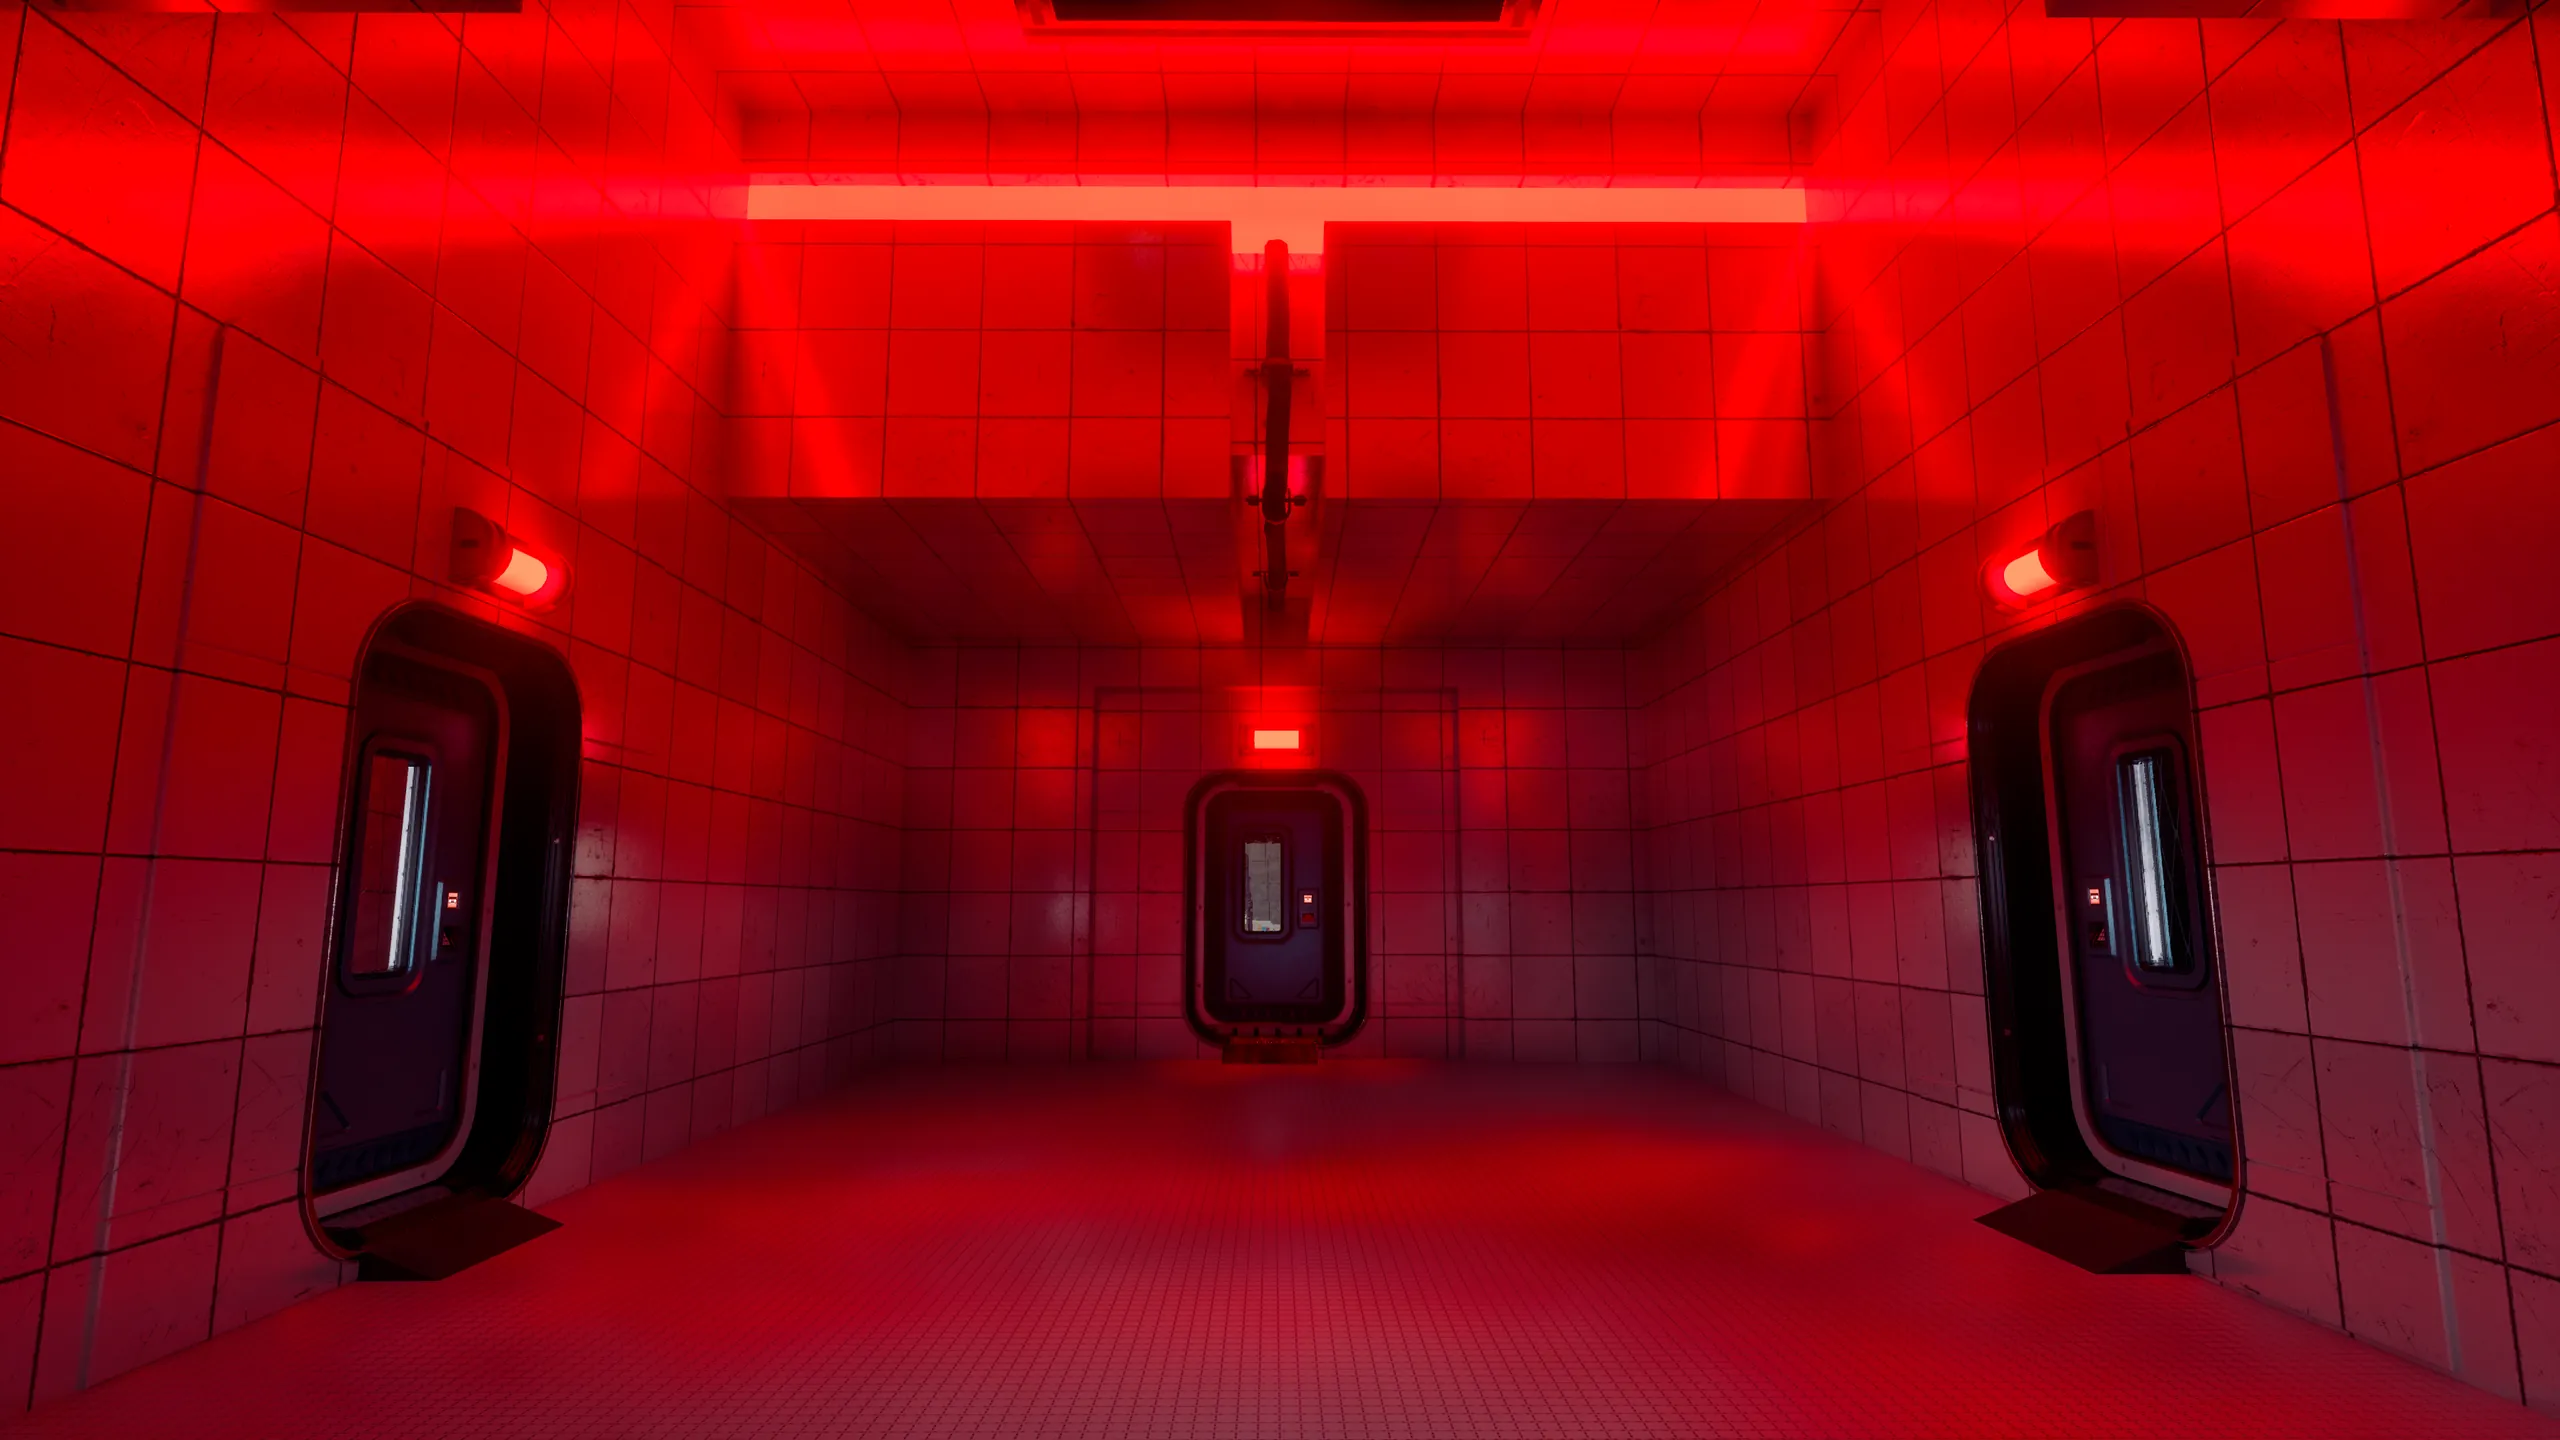
  1. The room with four doors with no lock on: the room and the light band are red.None on. All red.
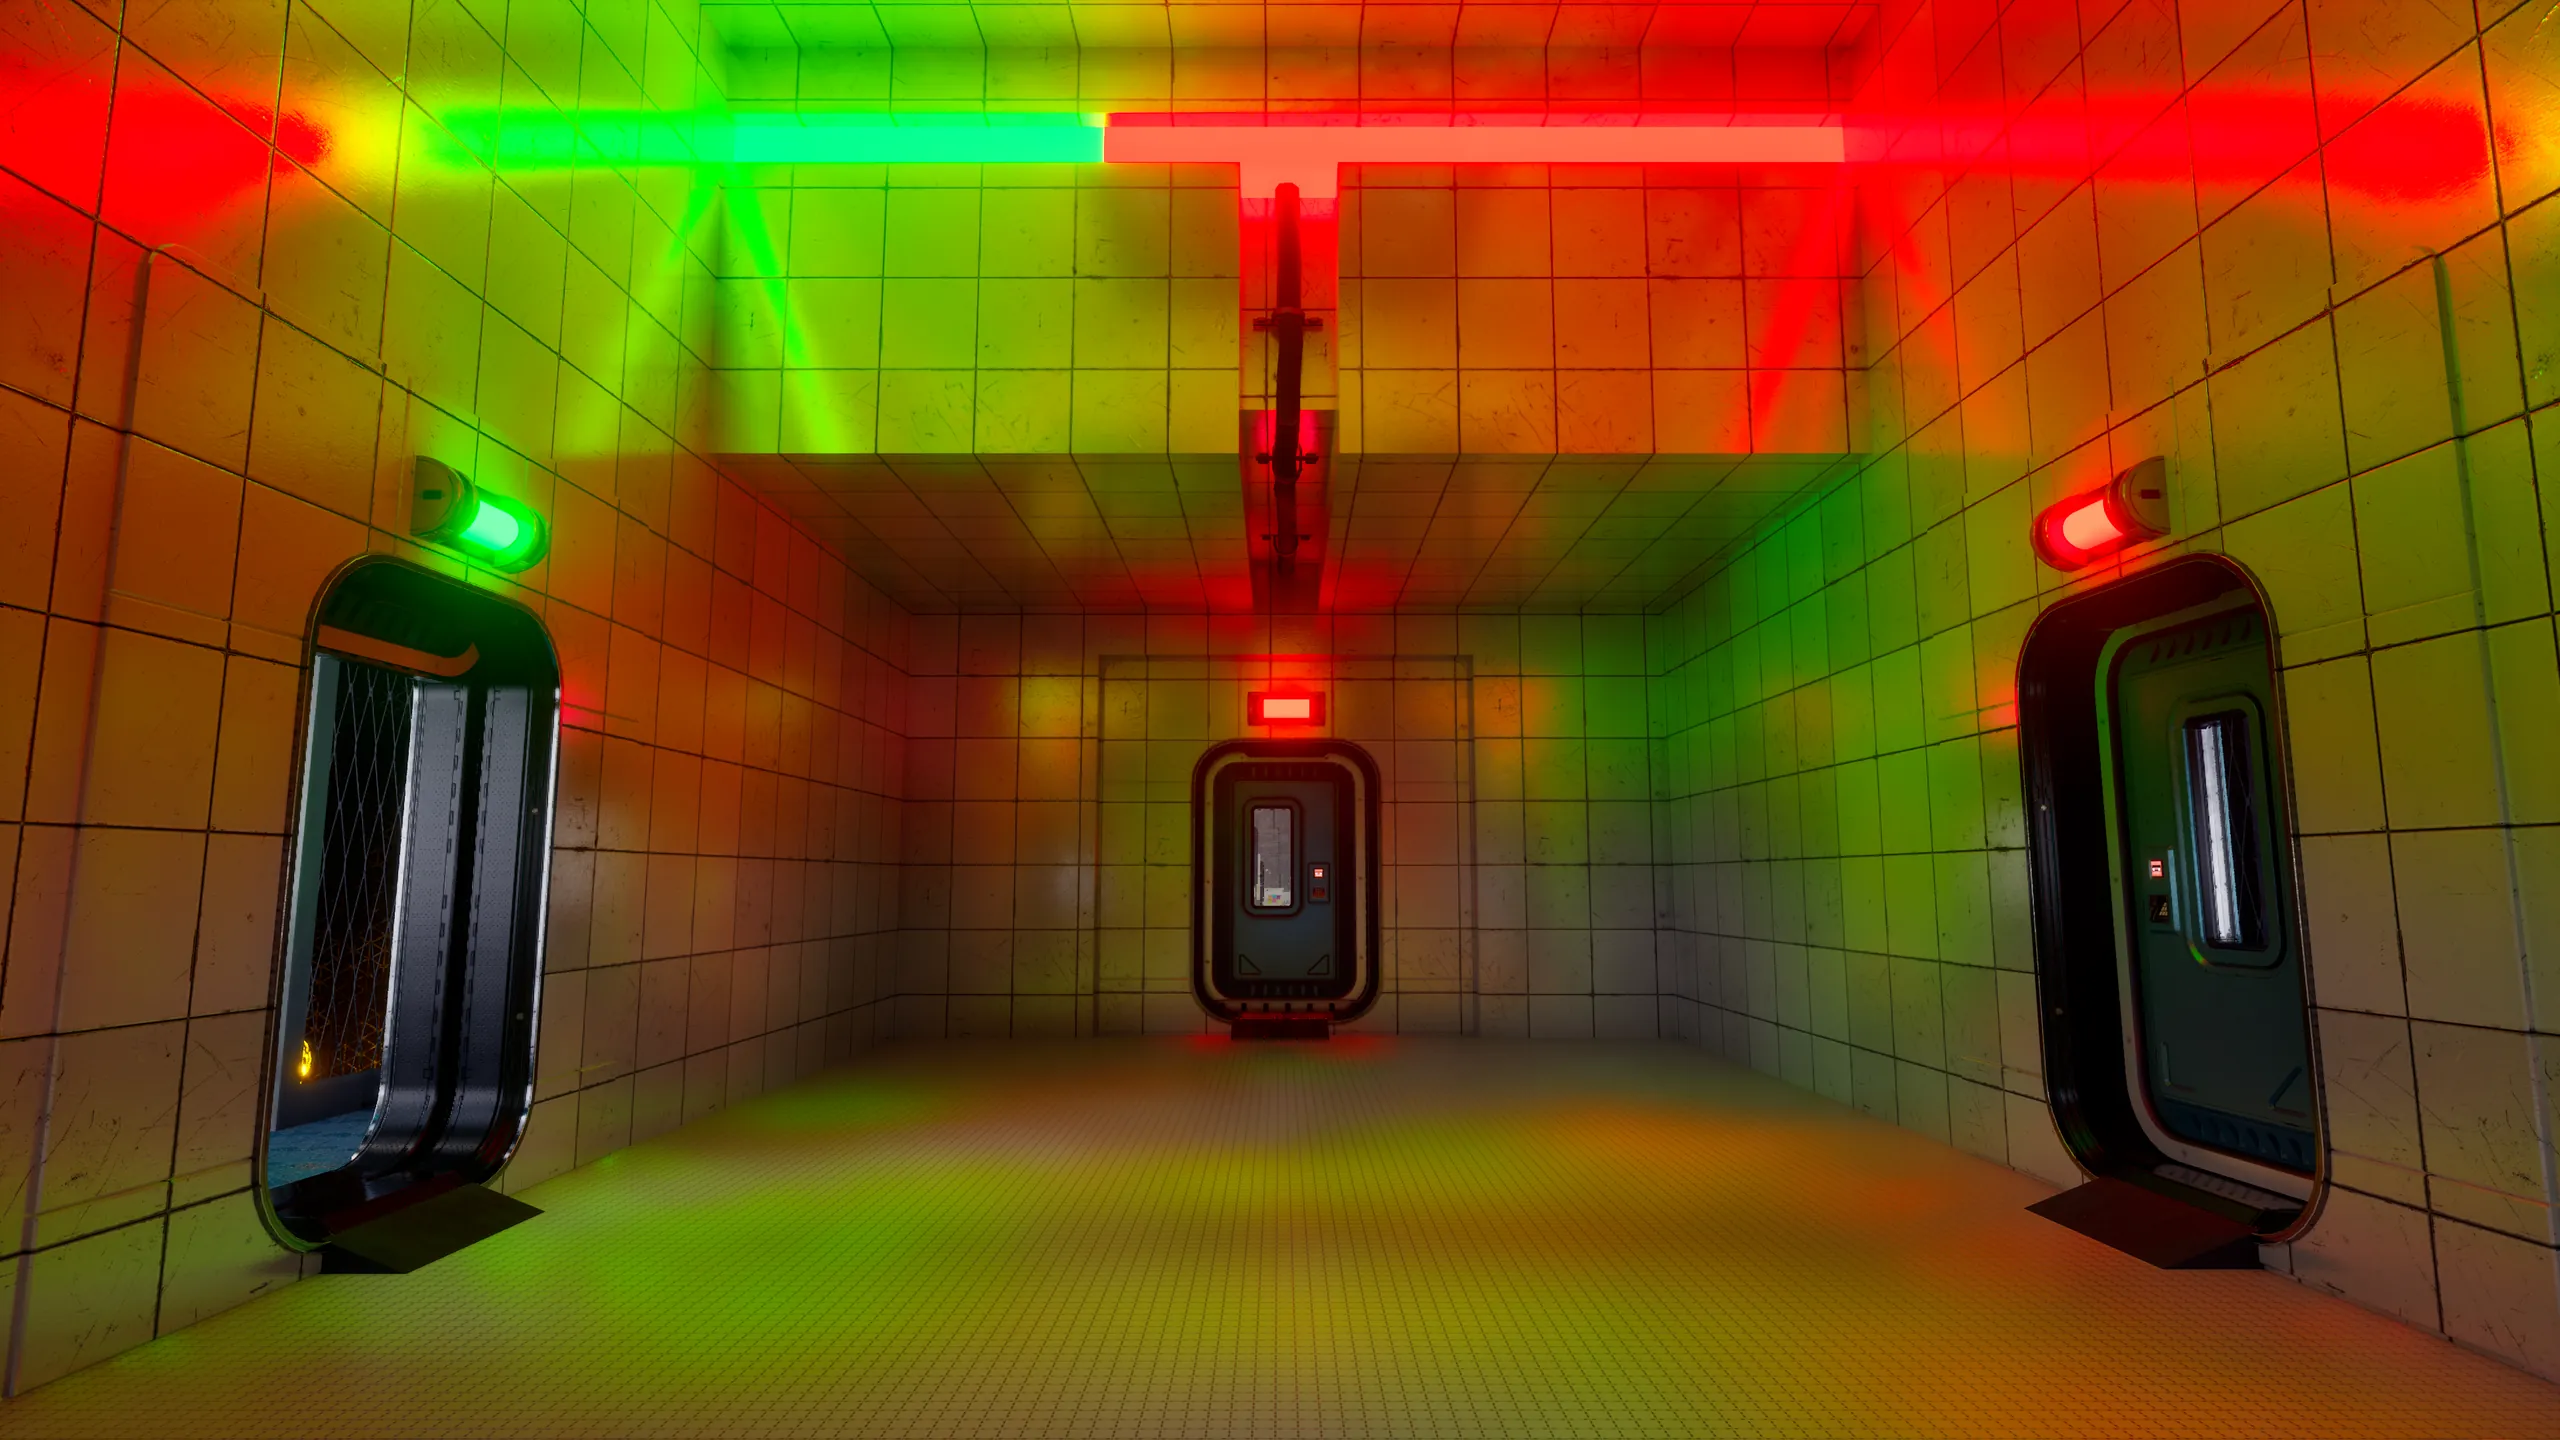
  2. The left lock on: the left door is open and the left third of the band is green.Left on. Its third of the band turns green.
  3. Left and right locks on: both side doors open, the middle third of the band still red.Left and right on. The reviver's third stays red.
  4. All three locks on: the whole room is green and the central door is open.All three on. The central door opens.
The room with four doors, lock by lock: each third of the band belongs to one lock.
Show where each one is
  • The double doors. From their corridor, a window and a hole in the wall show both sockets and the sphere's path.
  • Dripping pipes. A light on the duct that brings the sphere in.
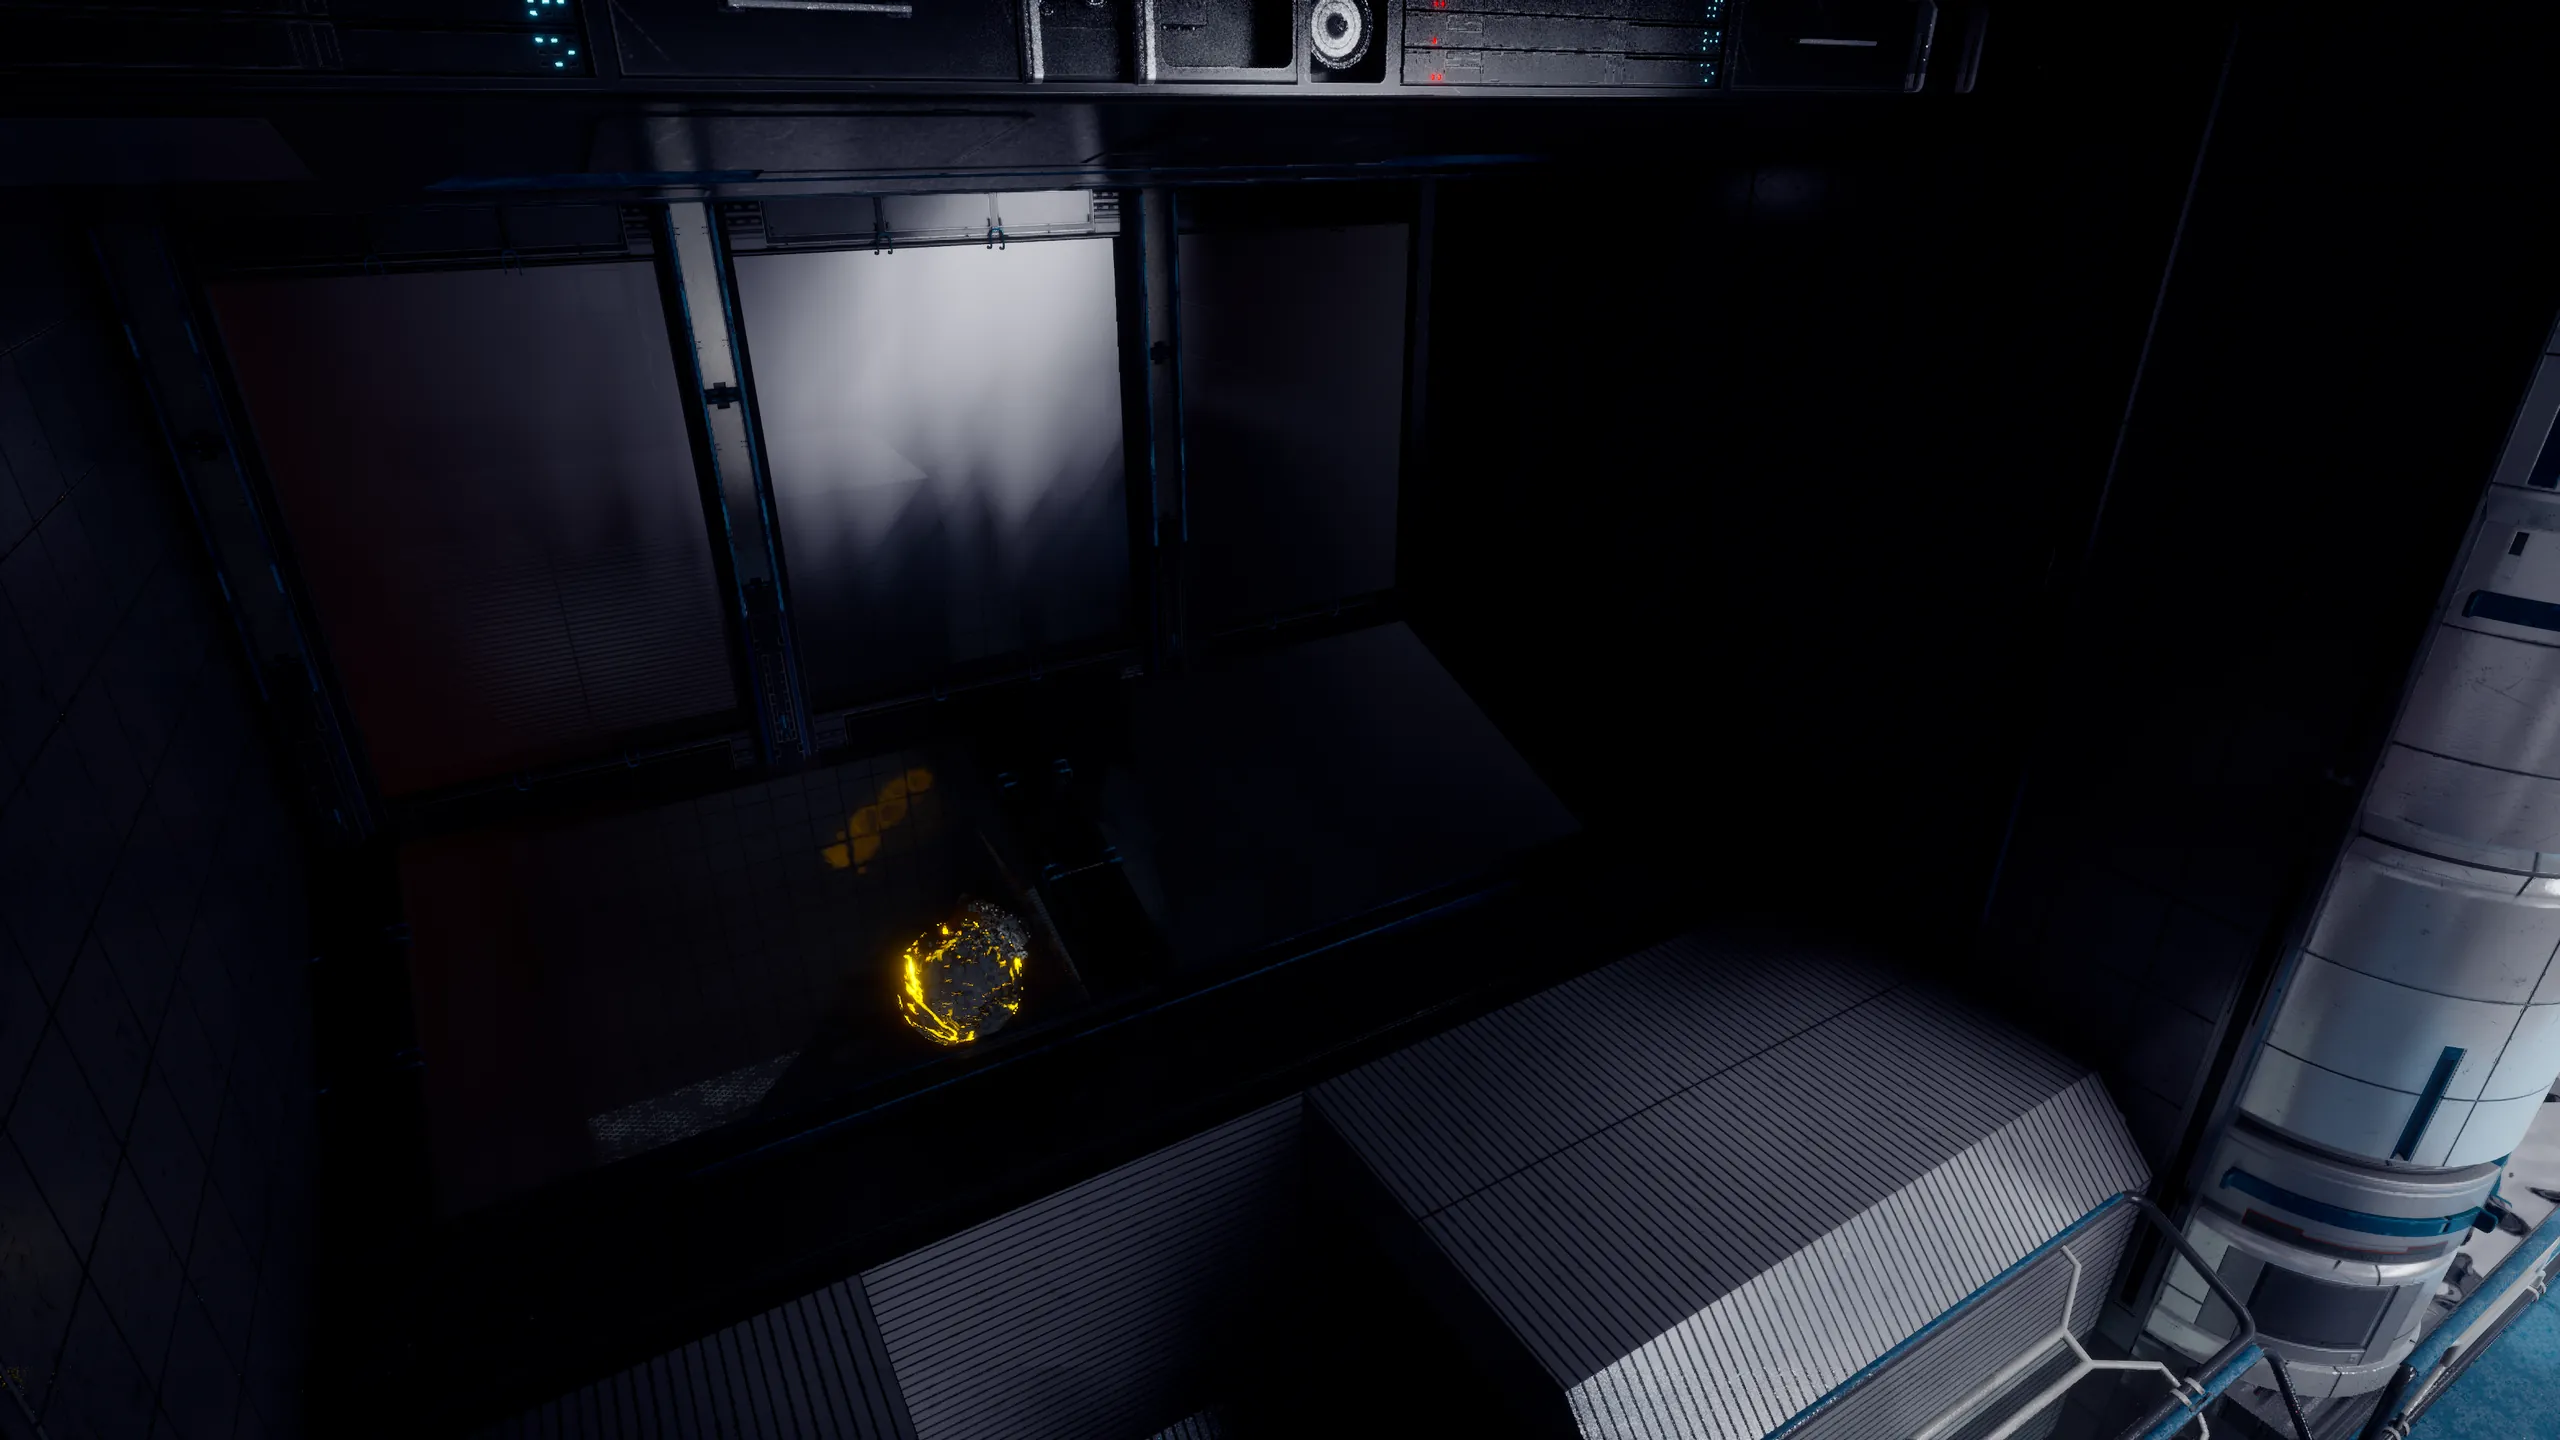
  • Hide and seek. A window shows the sphere's glow; a soft light behind the crates lights where it's hidden.
  • The mezzanine. A window shows the Dark Room and, from the right angle, a socket.
  • The glazed lookout. Near the walkway's hole into the duct back to the Flooded Corridor, a small glazed lookout opens onto the Dark Room, where Rolling stone's spheres fall.
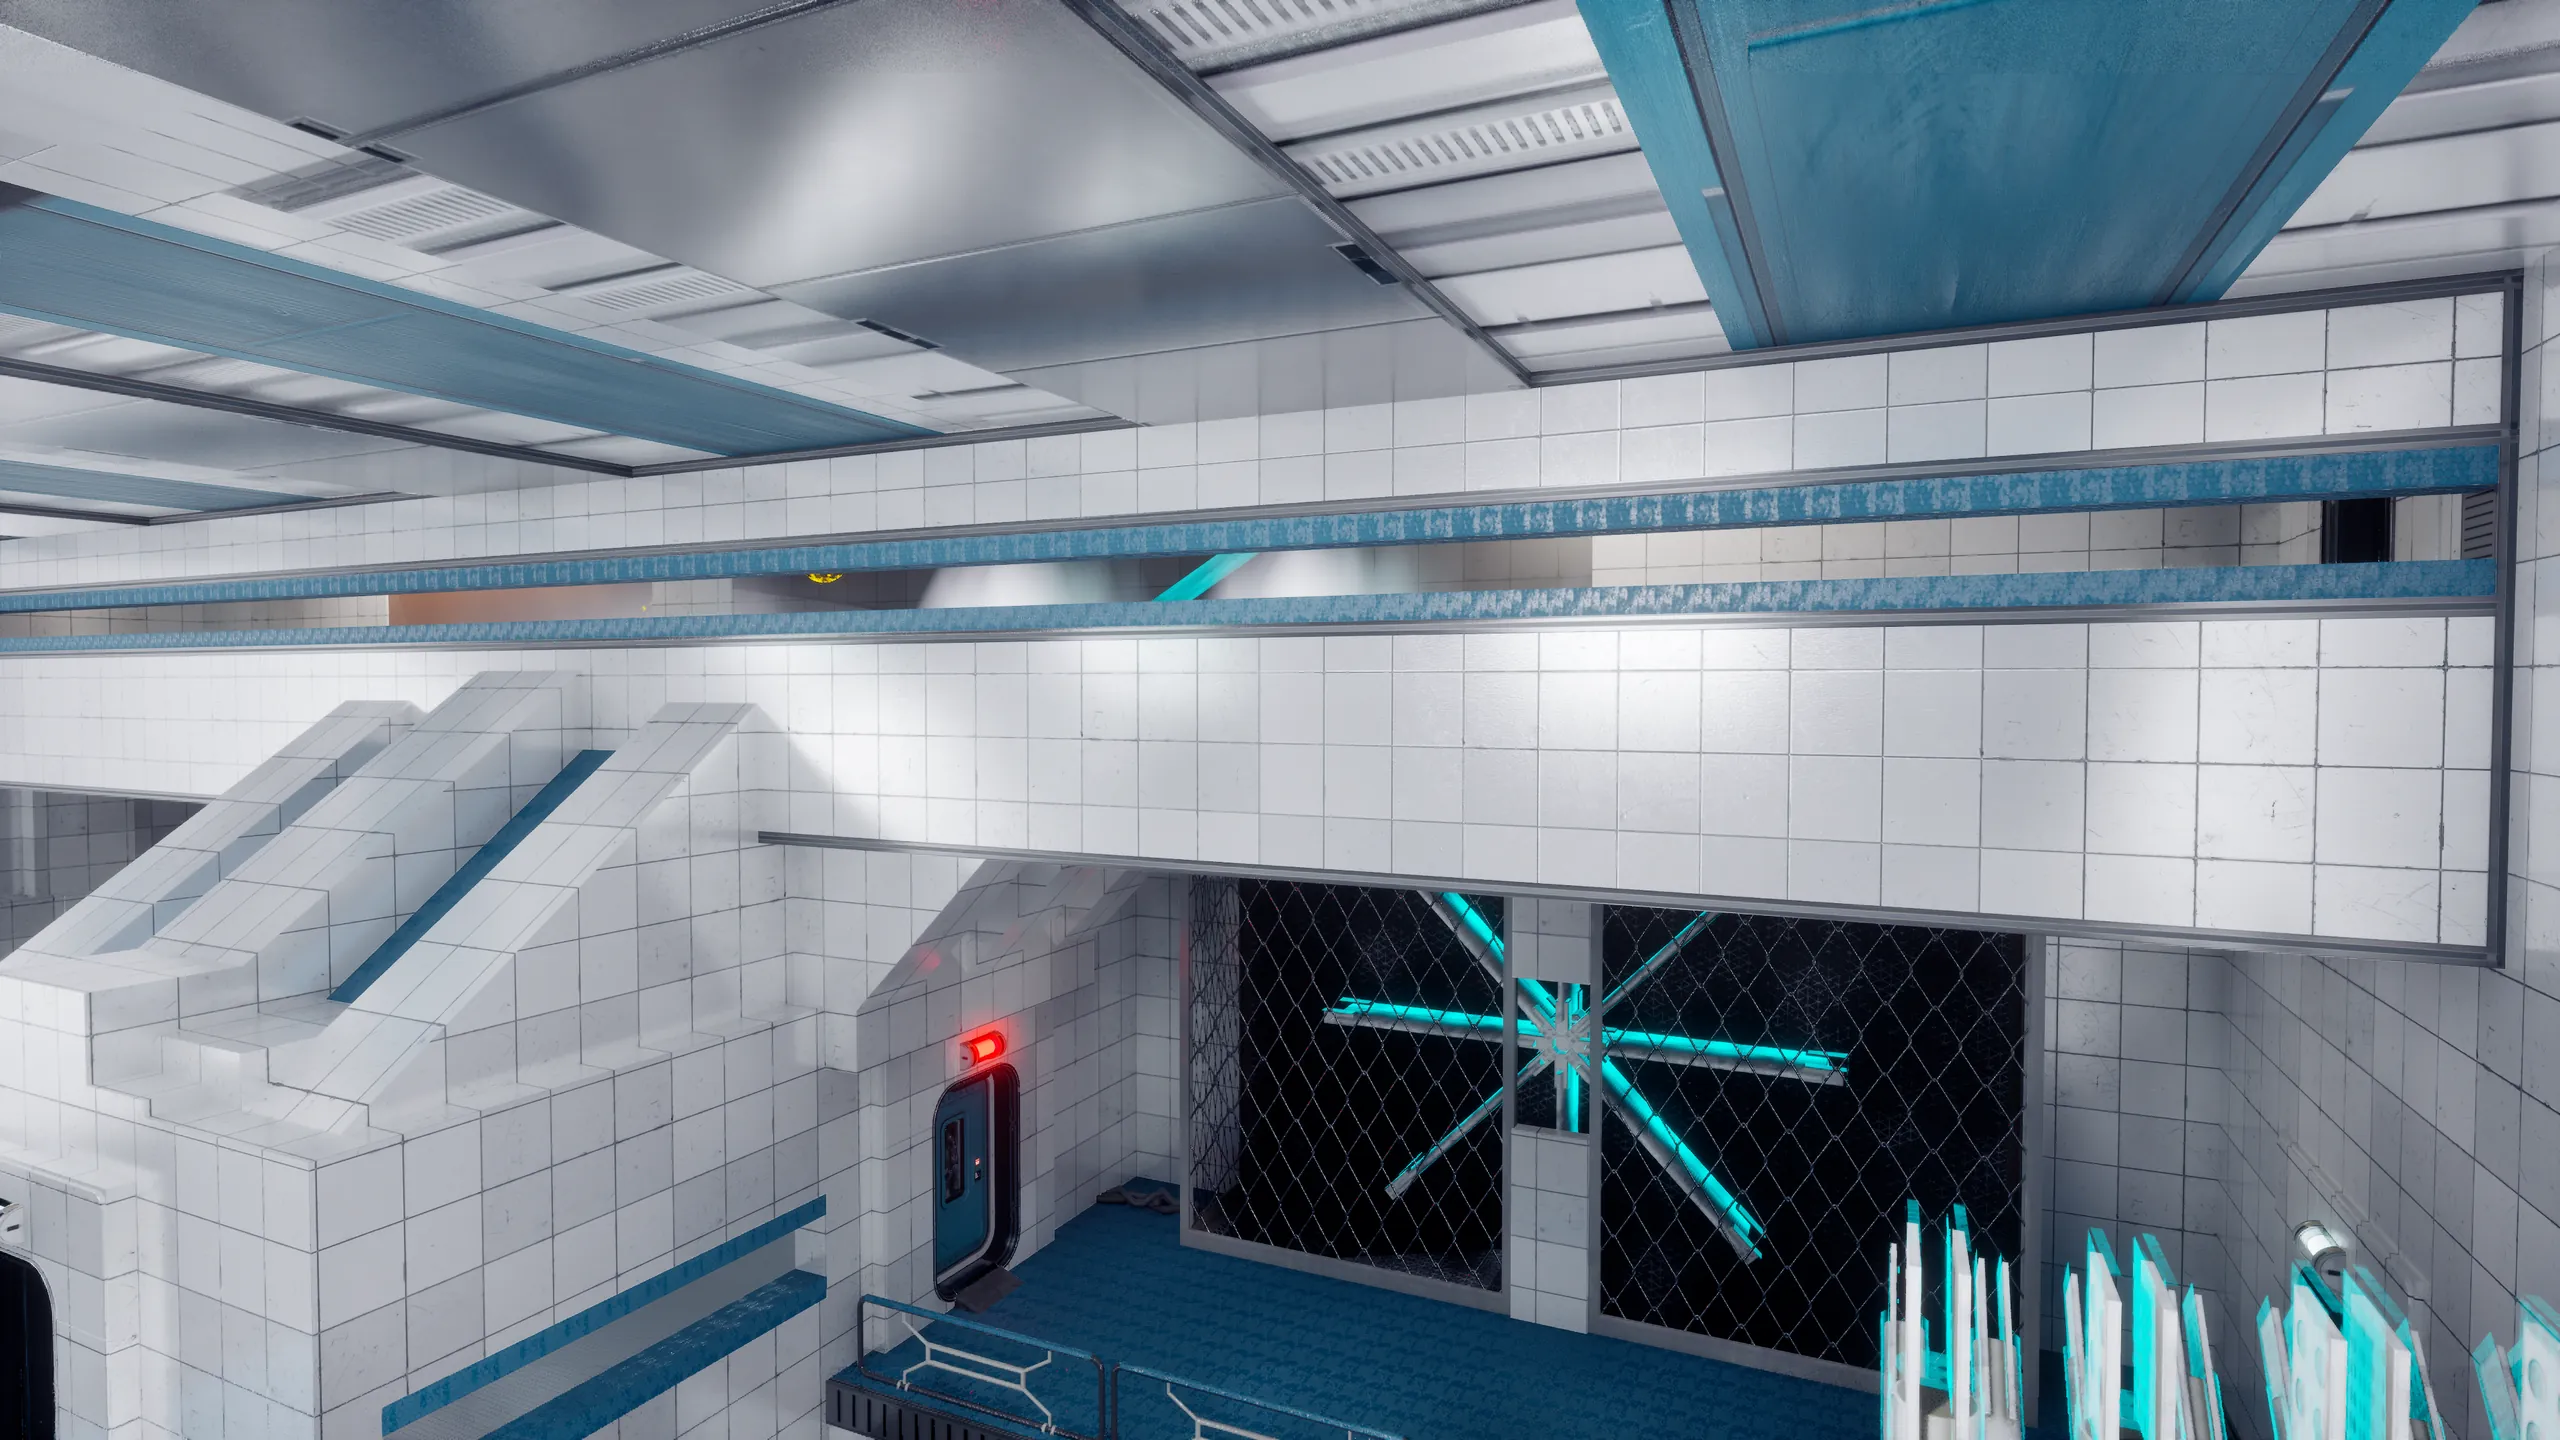
  • The Laboratory. A long window gives a glimpse of lights, and of a way toward the second spinner.
  • The hole in the wall by the double doors.The double doors: the hole in the wall.
  • A light on the duct that brings the sphere to Dripping pipes.Dripping pipes: the light on the duct.
  • Through a window, the sphere's glow and a soft light behind the crates.Hide and seek: the window, the glow.
  • The mezzanine's window looking down on the Dark Room, a green light below.The mezzanine: a window on the Dark Room.
  • From the glazed lookout, a sphere glowing below in Rolling stone's area.The glazed lookout: Rolling stone below.
  • The Laboratory's long window, with the giant spinner behind a mesh.The Laboratory: the long window.

07How objects talk

One setup for every puzzle

Puzzles depend on objects signalling each other. Wired by hand, every puzzle would have needed its own one-off script, so I built a button/socket → target setup in Blueprint: buttons and sphere sockets send a signal through a Blueprint interface; doors, lights, flood volumes and death boxes receive it; the links are set from the Details panel, without opening a graph.

The other three designers wired their own puzzles with it. By release, 26 Blueprints across the game used the interface. The game's core systems, the rewind included, were built by the programmers.

  • One to one

    A socket opens its door.

  • One to many

    The drain: doors, water and flood across four areas.

  • Many to one

    The central door waits for three locks.

  • Inverted

    A door setting: it closes, not opens, when its input turns on.

A button stays pressed for good; a socket stays on while the sphere is in it.

Follow one button: the drain

ButtonThe drain
  • Doorstwo elevator doors · two doors on the corridor to the Command Bridge · the Commander's room · the double doors, held open for good
  • Watera sequence lowers the corridor's water: the collapsed column, the way up to the Drain Room, now also reaches the Reactor door · the waterfall shrinks away · the flood lifts in the Laboratory, the Commander's room and the corridor to the Command Bridge
  • Safetythe death box at the old water level switches off
One press. Most targets are listed in the button's Details panel; the water sequence plays from a child of the button Blueprint, made for the drain.
The drain's Level Sequence, playing in the Sequencer.
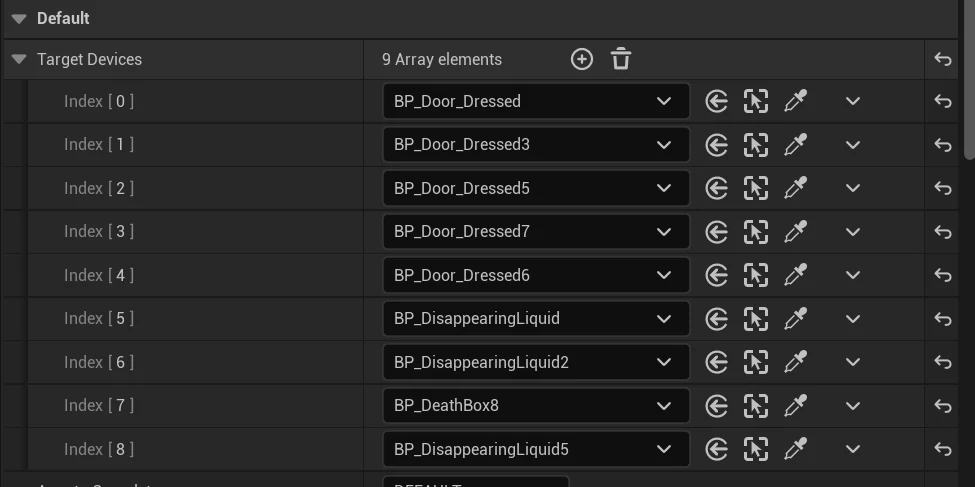
The drain button's Details panel: a Target Devices list of nine entries, five doors, three flood volumes and a death box.
The drain button's target list, in the Details panel.
Show the Blueprint details

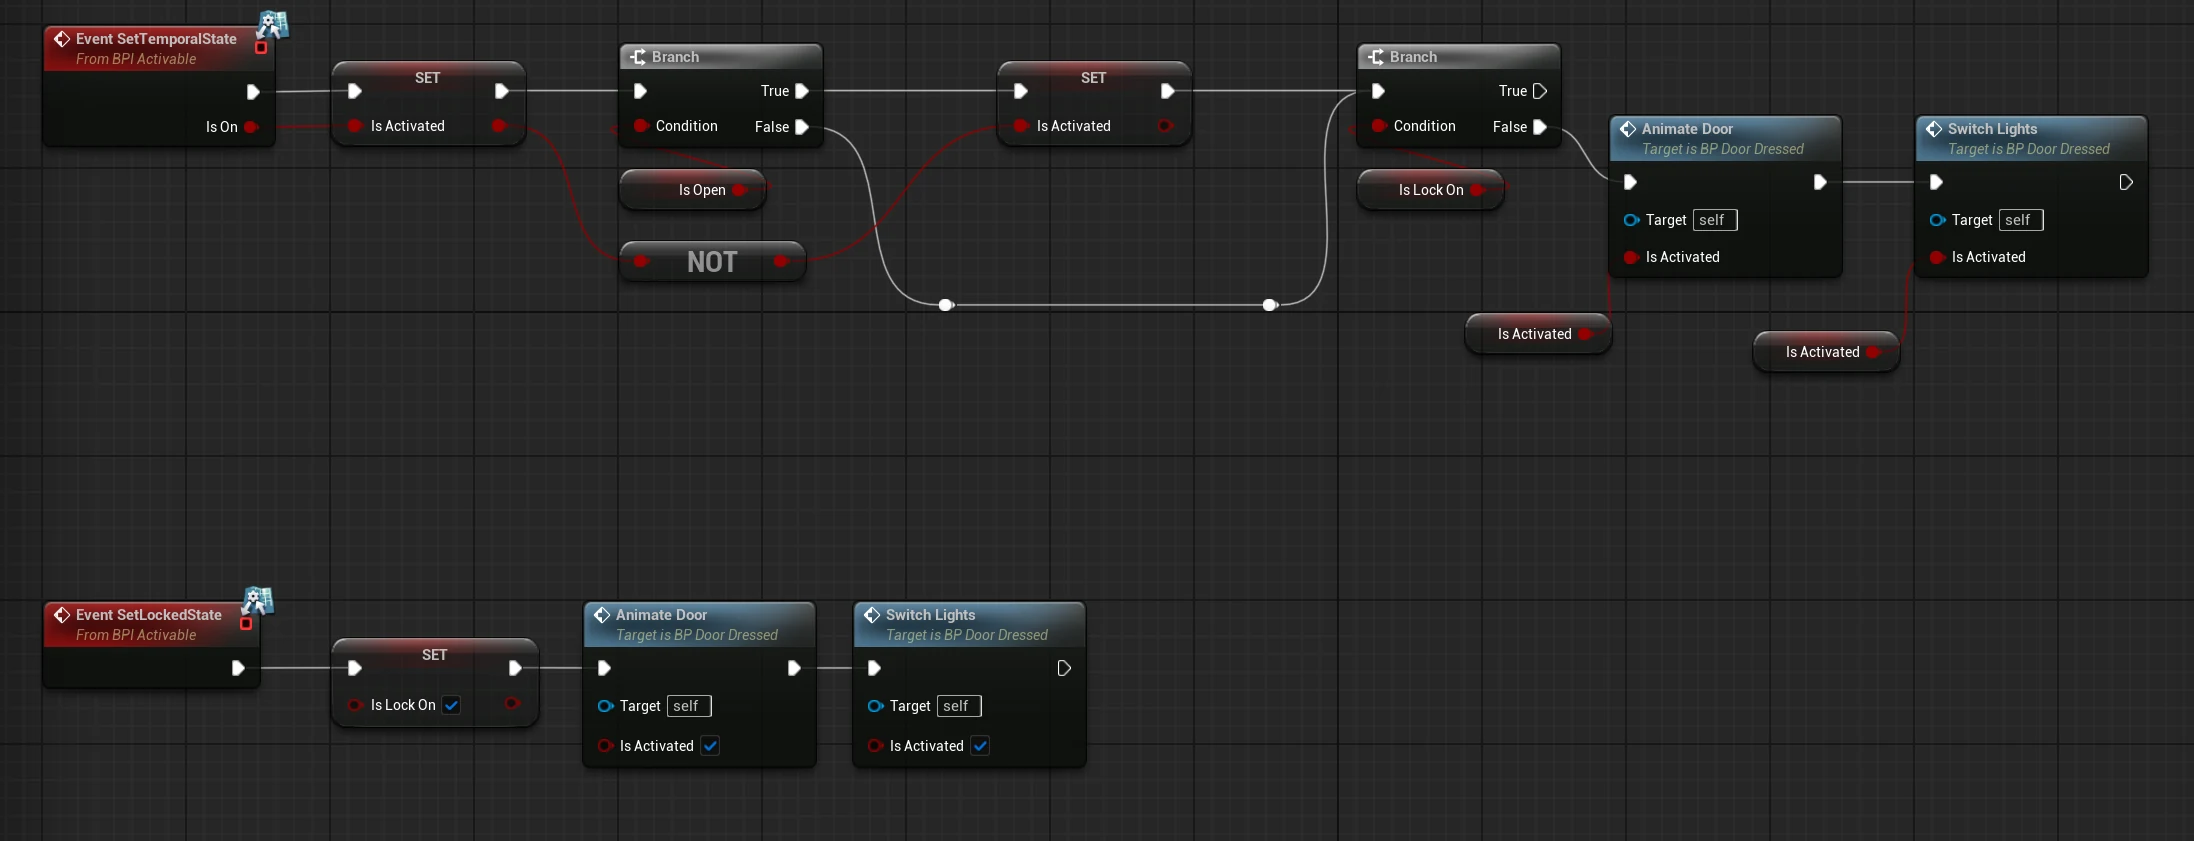
The interface has two calls: Locked, for buttons, permanent and with no value; Temporal, for sockets, on or off. A Locked door opens for good and ignores later signals.

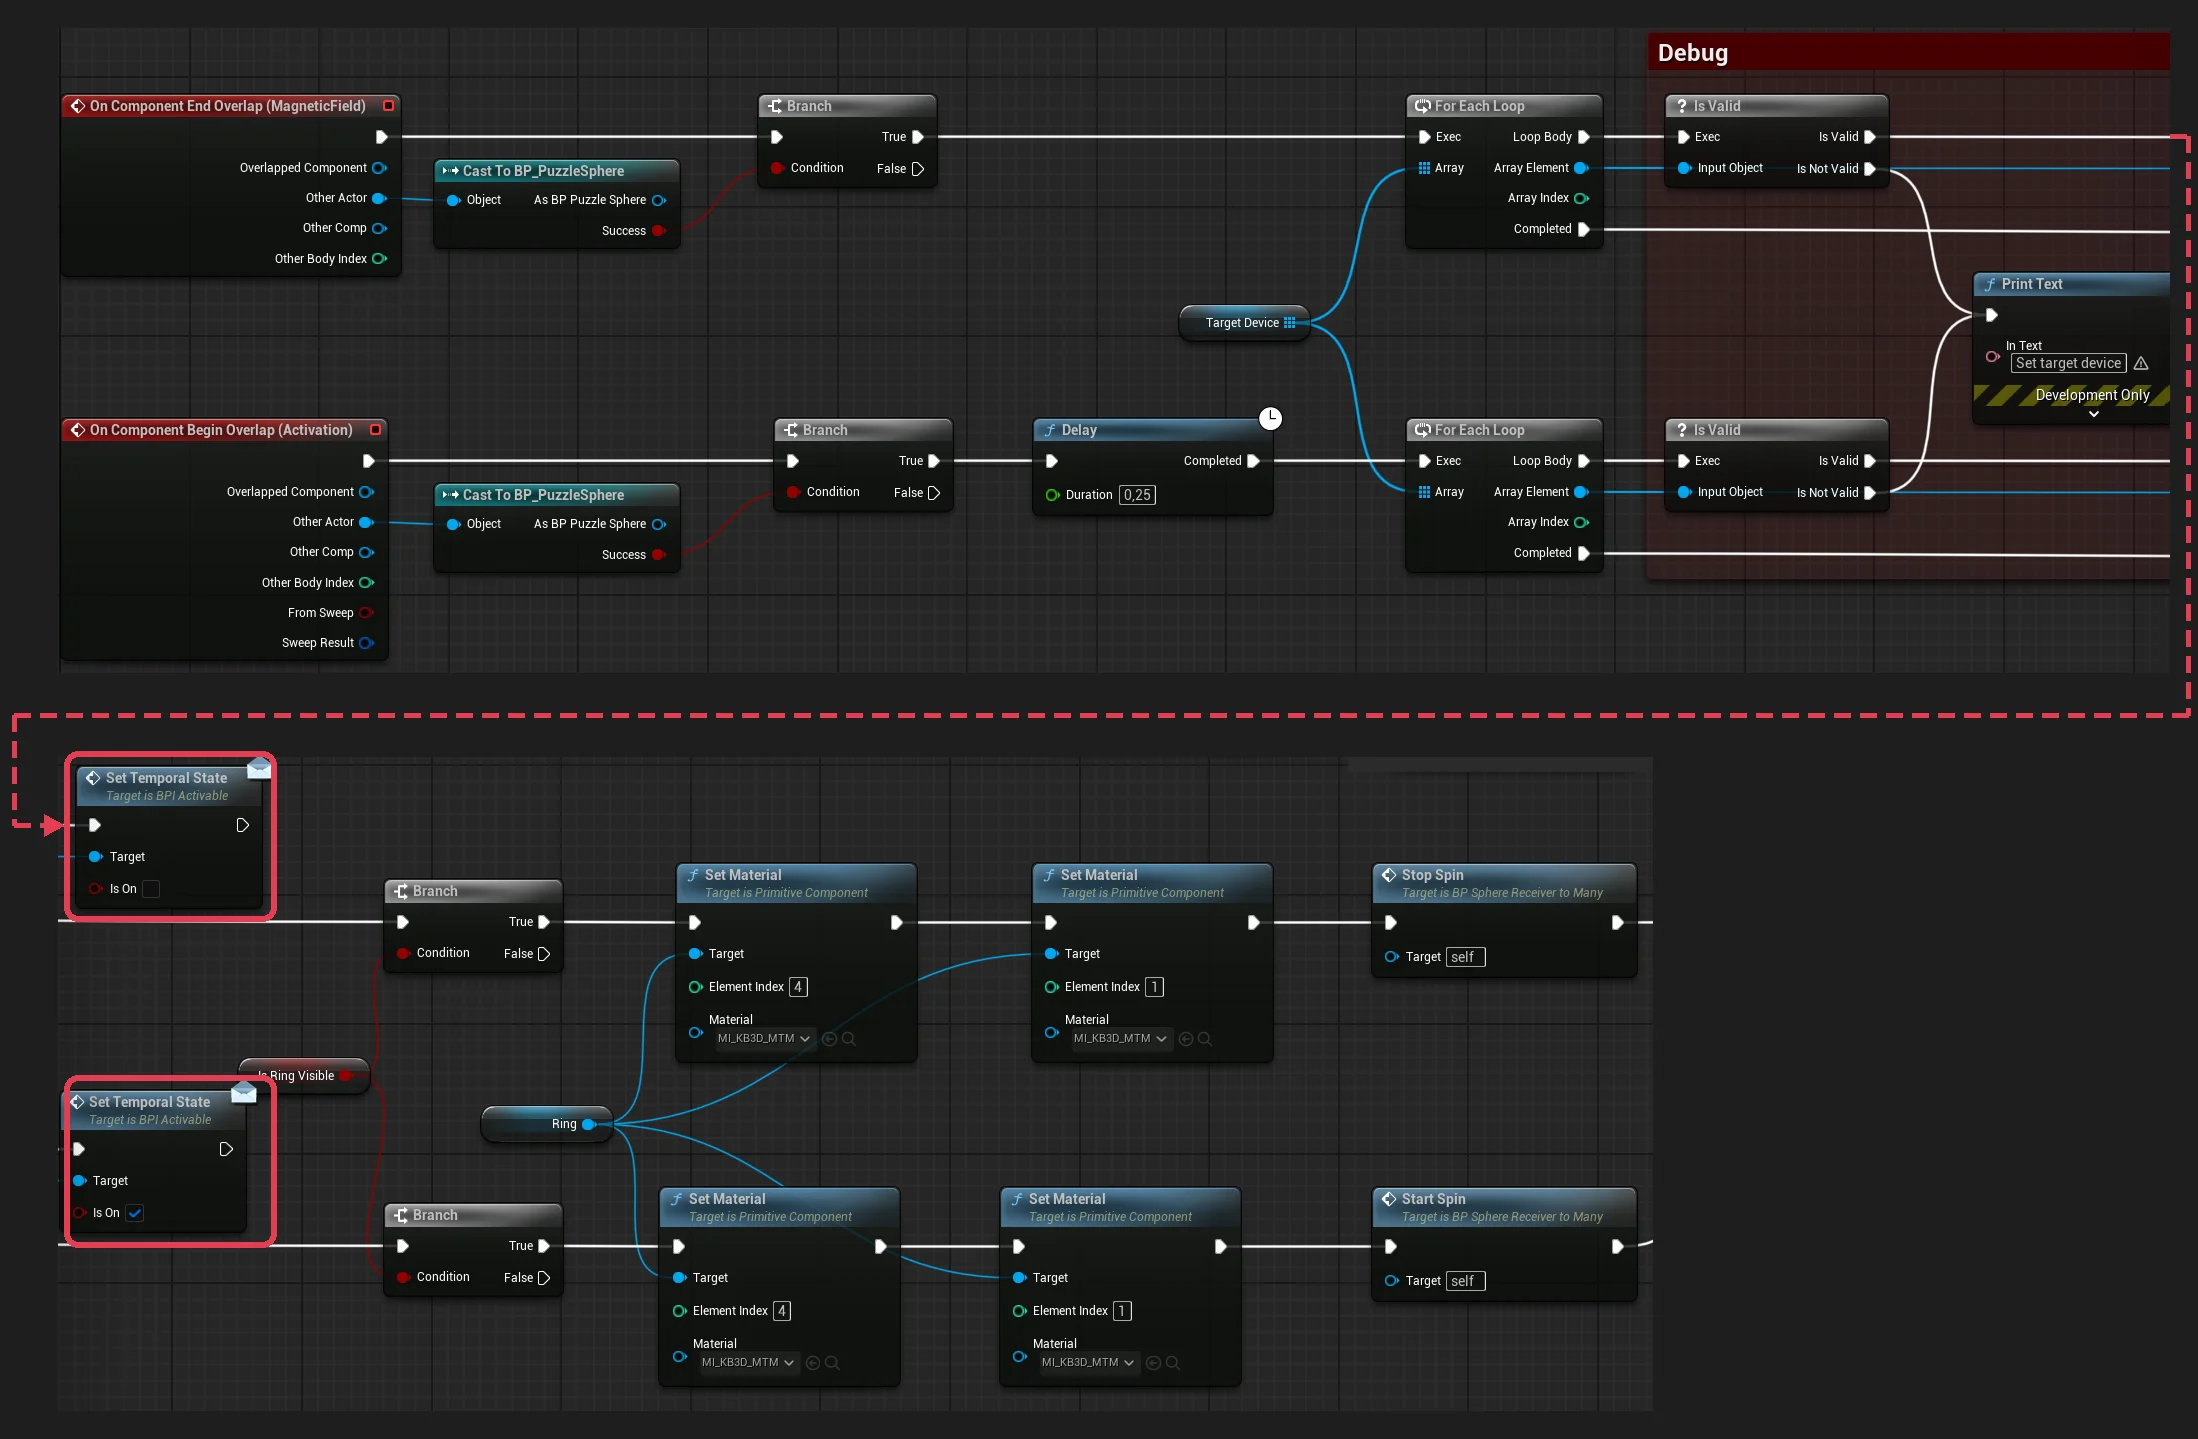
Bring a sphere close and the socket takes it from your hands, pulls it in and holds it; a quarter of a second after it enters, the socket turns on every target in its list, and off when the sphere leaves. A socket left with an empty list warns the designer in development builds.

One socket asset is the base for the whole game: a toggle turns it into a plain holder that keeps the sphere floating and sends nothing. For a special case, a designer could clone the asset or make a child Blueprint and override only the events they needed: the drain button is one, a child that adds the water sequence.

The socket's Blueprint graph, in two parts. Above: two overlap events, the sphere checked, a quarter of a second of delay when it enters, then a loop over the socket's list of targets, with a development-only warning when an entry is empty. Below, where the loop continues: a Set Temporal State message to each target through the BPI_Activable interface, outlined, off when the sphere leaves and on when it enters, then the ring's lights and spin.
The socket: on or off to every target in its list, through the BPI_Activable interface (outlined). The graph continues where the dashed line points.
The door's Blueprint graph: one event for the Temporal signal, one for Locked, each animating the door and switching its lights.
The door: Temporal and Locked.
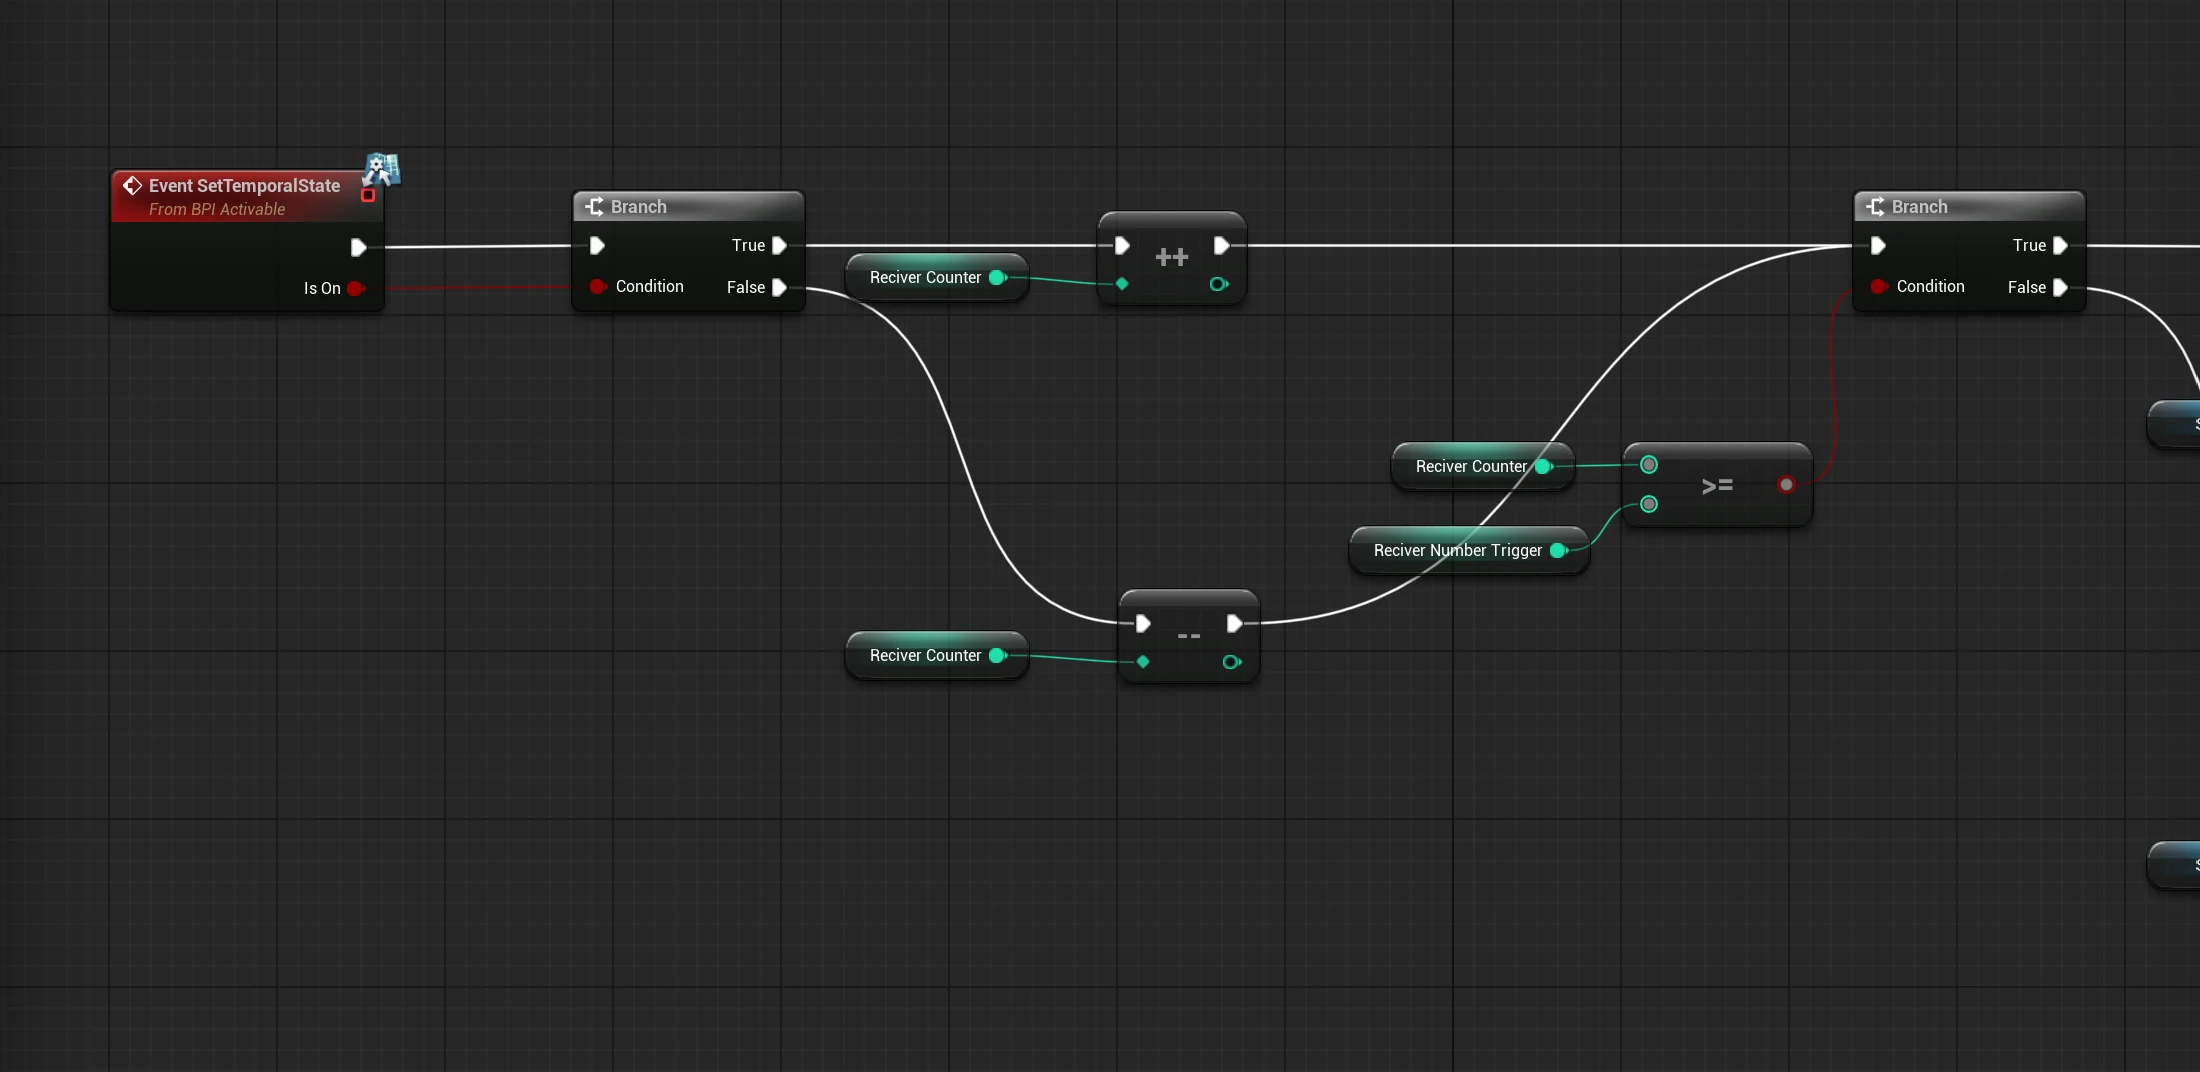
The central door's counter: plus one when an input turns on, minus one when it turns off, compared with the number of inputs it waits for.
The central door's counter.

08Postmortem

Postmortem: keep, change, next

Keep

  • Button/socket → target: the standard pattern, set from the Details panel, so wiring a puzzle never meant opening a graph.
  • Objectives first: with the team, we fixed where the game's four final objectives sit on the ship's map, then built each level around them.
  • A toy to carry: not only set paths; the sphere is something you hold and play with, which is why it is Free.

Change

  • Too many spheres: of the three spheres the reviver needs, one is found only by exploring, and nothing gives the player a strong enough reason to look for it.
  • More guidance on the walkway: some players reached the open door and didn't see the way into the duct; the broken grate leading into it wasn't enough for everyone.
  • A parent class for doors: the doors and the other activatable objects on a parent class from the start, with a child for each kind.

Next

  • An emergency rewind: falling out of the level only fades to black and puts you back; a forced rewind of the player would fit the mechanic better.
Show the known issue
  • Rarely, a sphere gets stuck in a socket when its rewind passes through the socket's collision; leaving the area and coming back frees it.

09Who did what

Who did what

Mine

  • The Laboratory and the Flooded Corridor: layout, puzzles, dressing, lighting
  • The button/socket → target setup in Blueprint, used by the whole design team to wire their puzzles
  • The redesign of the core affordances: my call to build puzzles around an energy sphere and sockets, with the linear pieces kept and fitted into the pacing; the sphere's sound, effects and material; the ring socket's feedback
  • The door lights, red when closed and green when open: prototyped in my blockout and kept across the game
  • The rewind paths of every static object in the Laboratory and the Flooded Corridor, designed in Level Sequences: eased curves on linear pieces, constant speed on looping ones
  • The game's trailer: recorded and edited by me

Shared

  • Time-rewind mechanic, co-designed; built by the programmers
  • Water mechanic and macro puzzle, co-designed
  • Win conditions, agreed by the design team
  • The 85-page design document: I wrote the Laboratory's level design sections; the mechanics were defined as a group
  • The story premise: my ideas included the drifting ship, the logs left around it and the repairs needed to escape; the story itself was written by others

The team's

  • The choice of art asset packs, from the academy's library
  • Glitch overlay and the walkman interface
  • The translucent glitch material on rewindable objects
  • The door model used across the ship, built on my door-light prototype
  • UI/UX